Cedar Play Table for Trains, Games and Beyond
One day my son, like so many before him, started really liking trains. When this happened, we went and bought a bunch of wooden trains for him to play with (you probably know the ones I’m talking about). We quickly figured out that our coffee table wasn’t going to work for a long-term play area for train play. First, it was a smidge small, and nobody likes to play train in nothing but a circle. Next, everything kept sliding off. And last, there was the issue of storage. So, I measured what we had, and used that for a starting point.
I’m writing this post after our son has had this table for a few months. So bear with me as I remember what was happening along the way. And I’m sorry in advance for skipping a lot in the middle. I’ll do better with future builds.
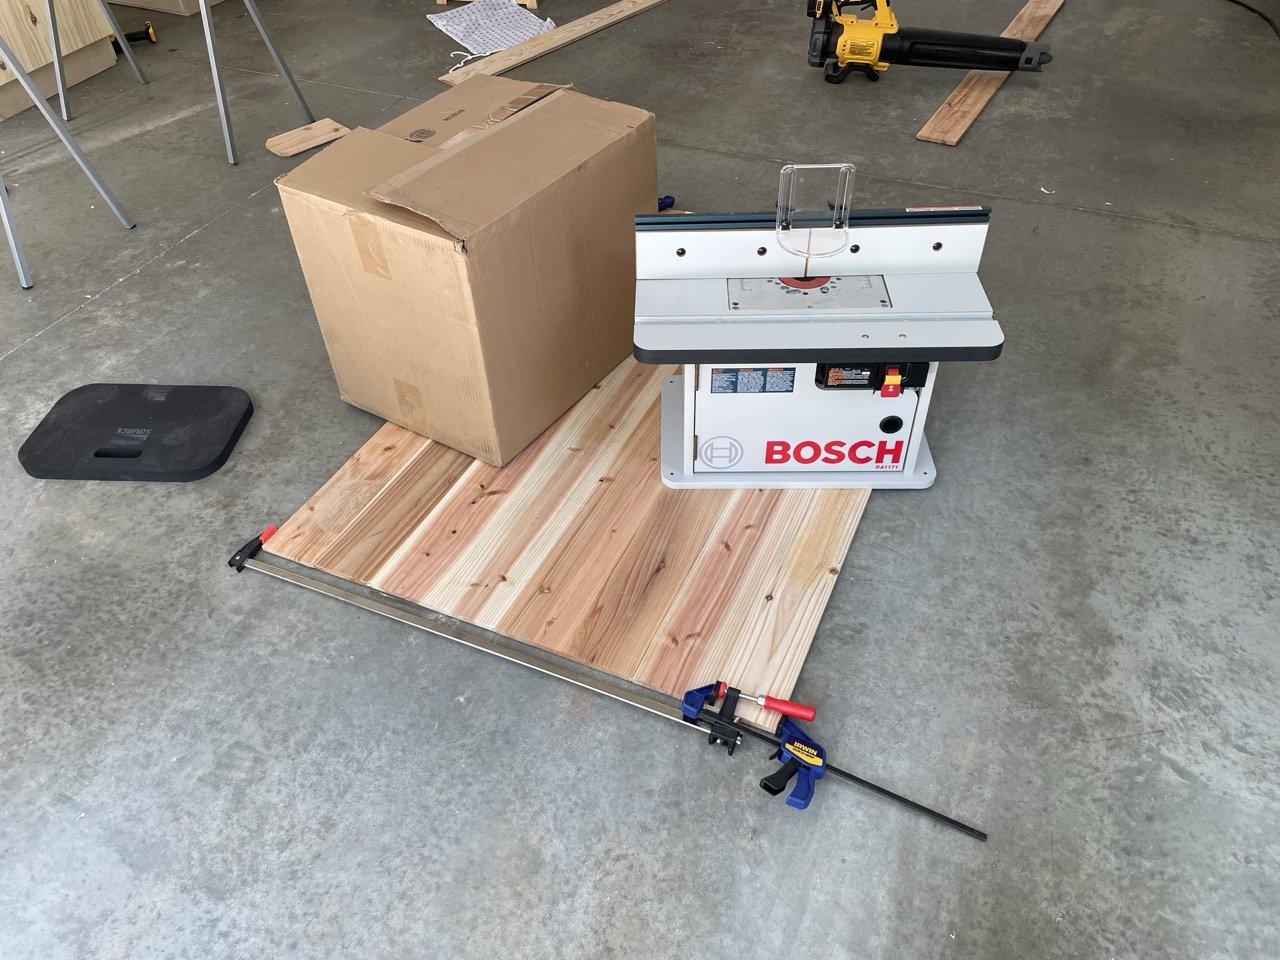
Gluing the table top up, and trying desperately to keep it flat with my hack to get a long enough clamp.
Okay, before I get too far ahead of myself with the above picture, let’s talk about how I got here. I started with a bunch of cedar pickets, and ran each of them through my planer. It took a few passes to get them down to where I wanted them. Then, I went through making them tongue and groove. I didn’t have the router table when I did this process, so I ended up using my table saw to make repeated shallow cuts to get both sides of the tongue and groove cut. As evidence by the router table being used as a weight, I swore I would never do it this way again.
Finally, I was able to start test fitting boards. Since I cut each separately, I had to do a lot of trial and error to match boards that fit snugly. Once I had it figured out, I started gluing it up. Each board got some liberal glue, and then slid into the groove of the next. After it was done, and I had the size I wanted, I discovered my clamps weren’t quite long enough. I ended up improvising and using the approach pictured above. It worked great, other than the pressure wanting to bow the middle up. That’s when I went and got the heavy stuff to keep flat.
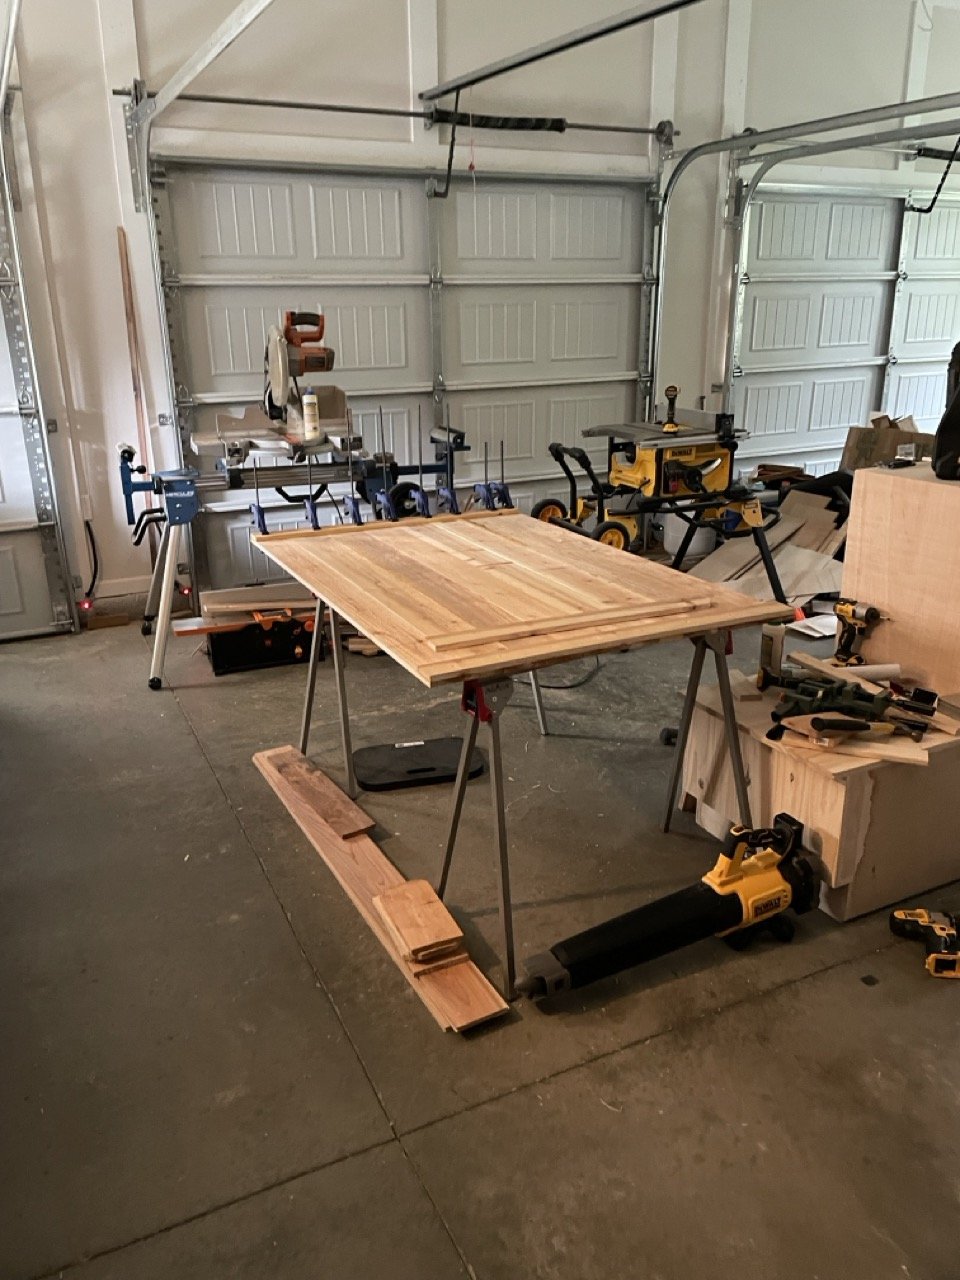
After the glue had set on the table top, I carefully flipped the top onto some saw horses so I could begin bracing the bottom. I started with two end pieces to secure the boards together, and ensure they didn’t completely cure warped.
If you look in the bottom, you can see some of the scraps and templates I had from making the tongue and groove. Also, you can see the custom benches still being built at the same time.
Here you can see the final bracing I did along the table. My goal was to have it supported, with a uniform rim, since I didn’t know how I was going to finish the edges yet. From this angle, you can really see the unfinished sides of the cedar pickets.
Okay, I skipped a bunch of steps, but here’s the first table leg I built. This is skipping where I used the table saw to cut a slot into the vertical pieces. Then glued the bottom down and slid the slats into the risers. Each of them have a pocket screw holding them into place, so it could take a little one pushing and pulling on the table. In the end, this perfectly fits into the bracing of the table top.
After this looked good, I repeated the process and made 3 more. It was about here that Kathryn asked if I could make shelves. So, I got these 4 in place, and then finished them off with a back and bottom for each side. This gave an open middle of the table, with a large cubbie on each end.
After the bottom was assembled, I flipped the table back over so I could begin sanding down the table top. As you can see, there was still a lot of roughness left over that had to go.
After sanding, the table looked great! I still hadn’t created the railings for the sides yet though. At this point, I got the first coats of poly onto the table top.
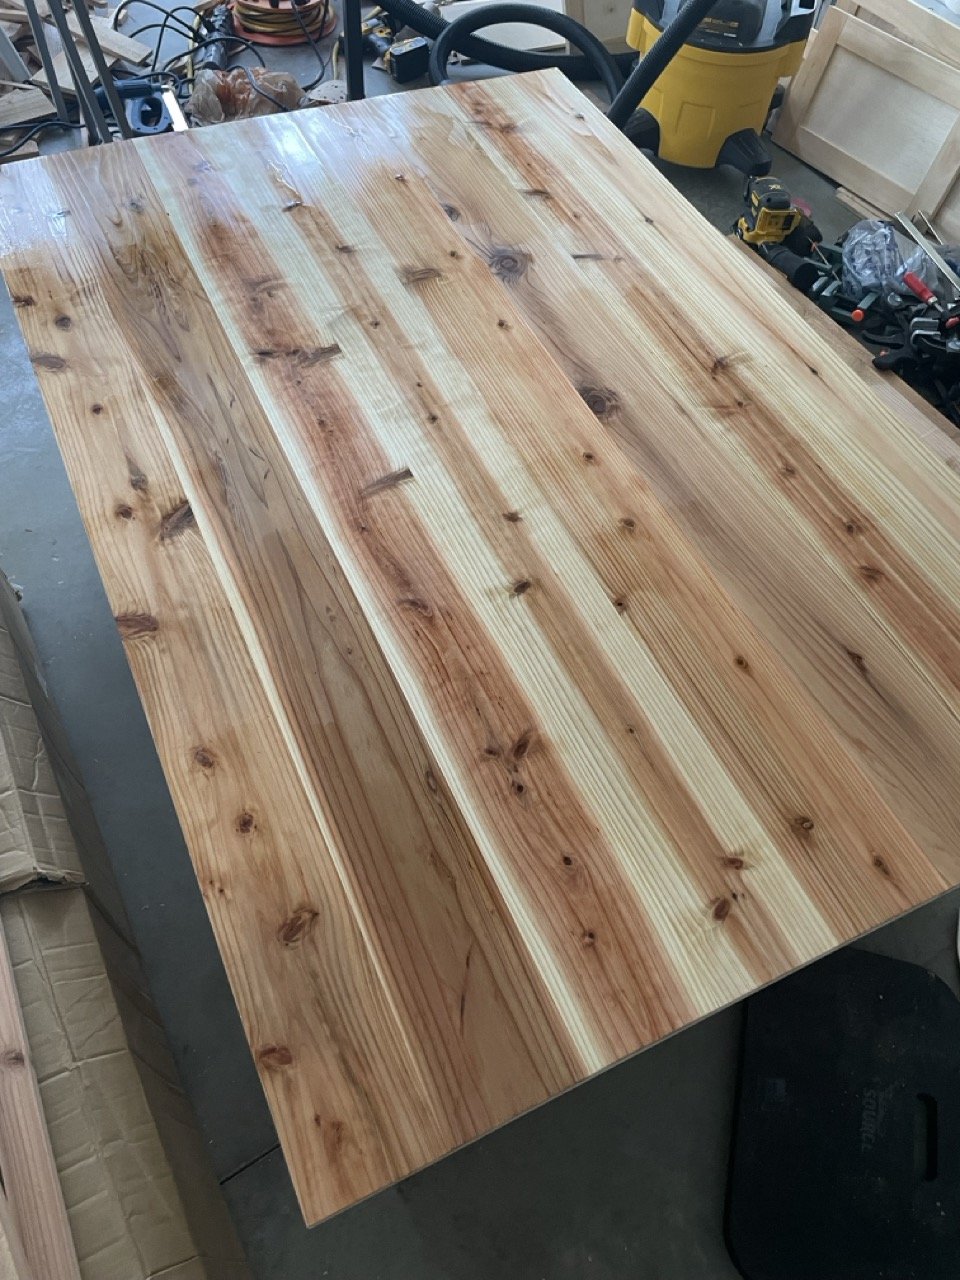
First coat of polyurethane. I chose oil based to provide as much durability as possible, since I knew it was going to take some serious abuse.
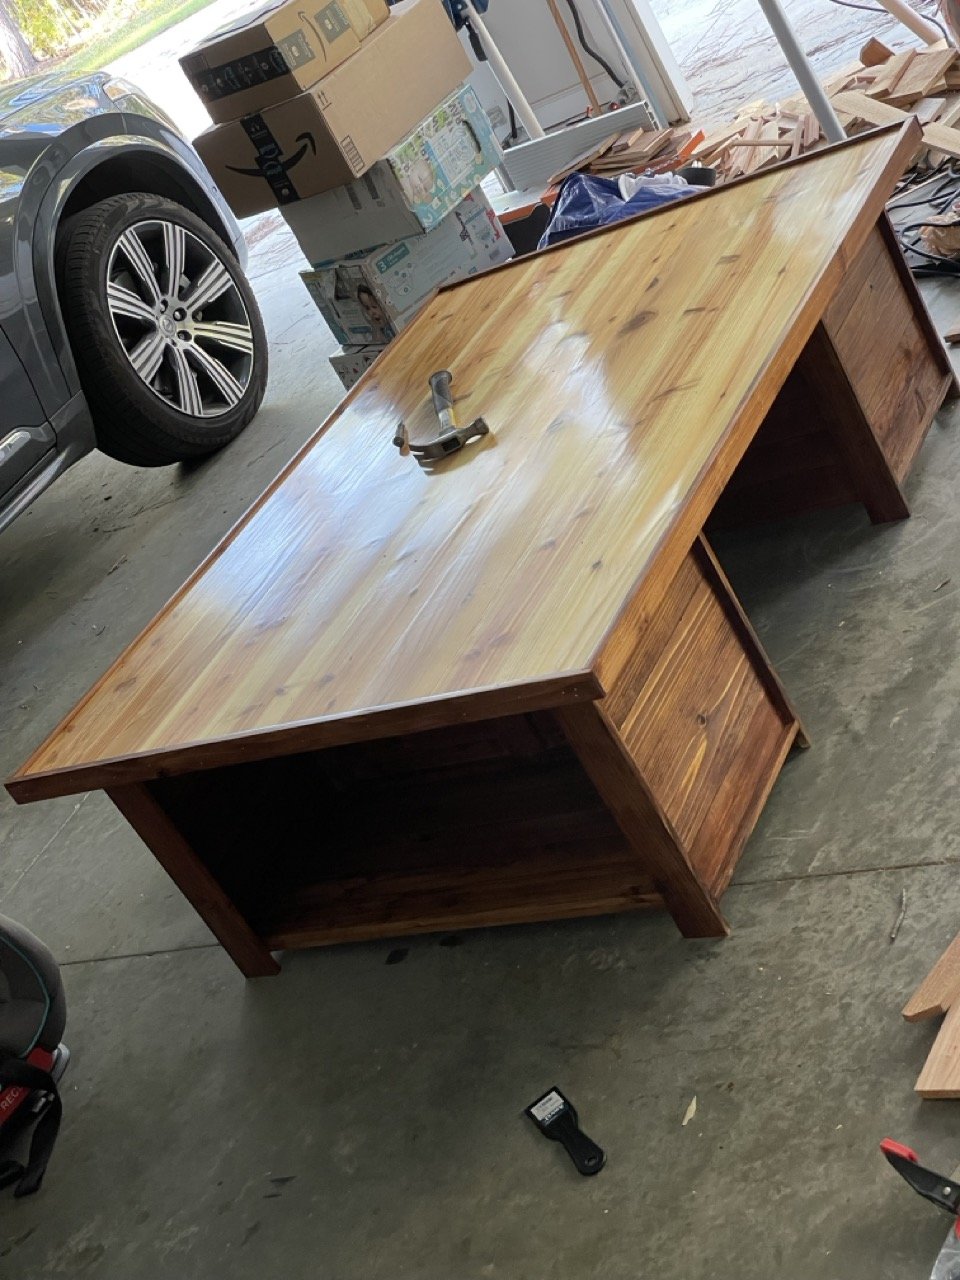
Wrapping up the final coat of poly. I ended up with 4 coats, since I was positive our son would be walking, stomping, jumping on the thing.
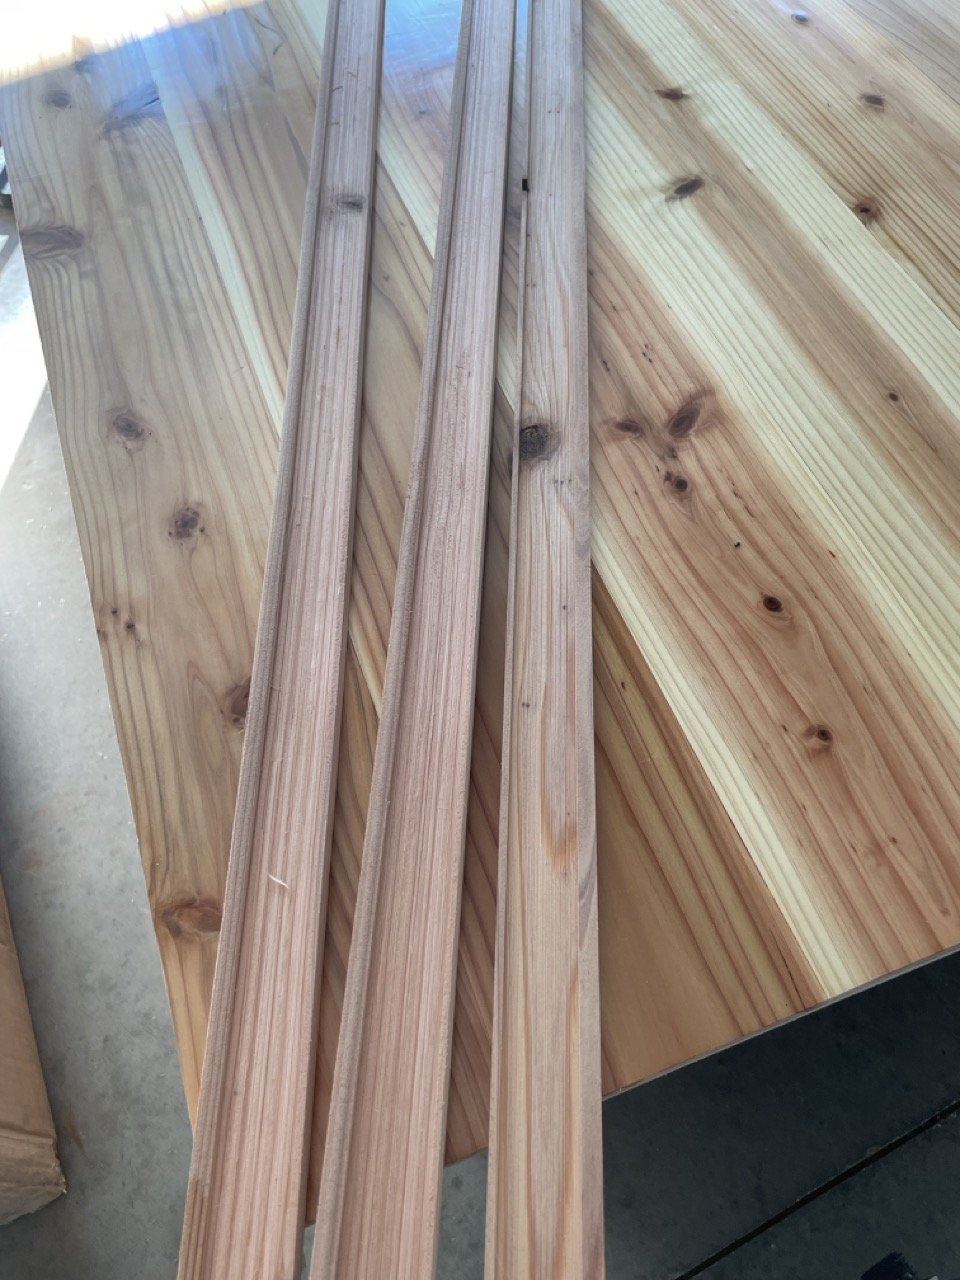
I finally figured out what I wanted to do with the edges. I don’t have pictures of staining and sealing them, but it was funny to see. I had blocks of scraps taped to the bottom so I could apply stuff to most of the sides at once evenly.
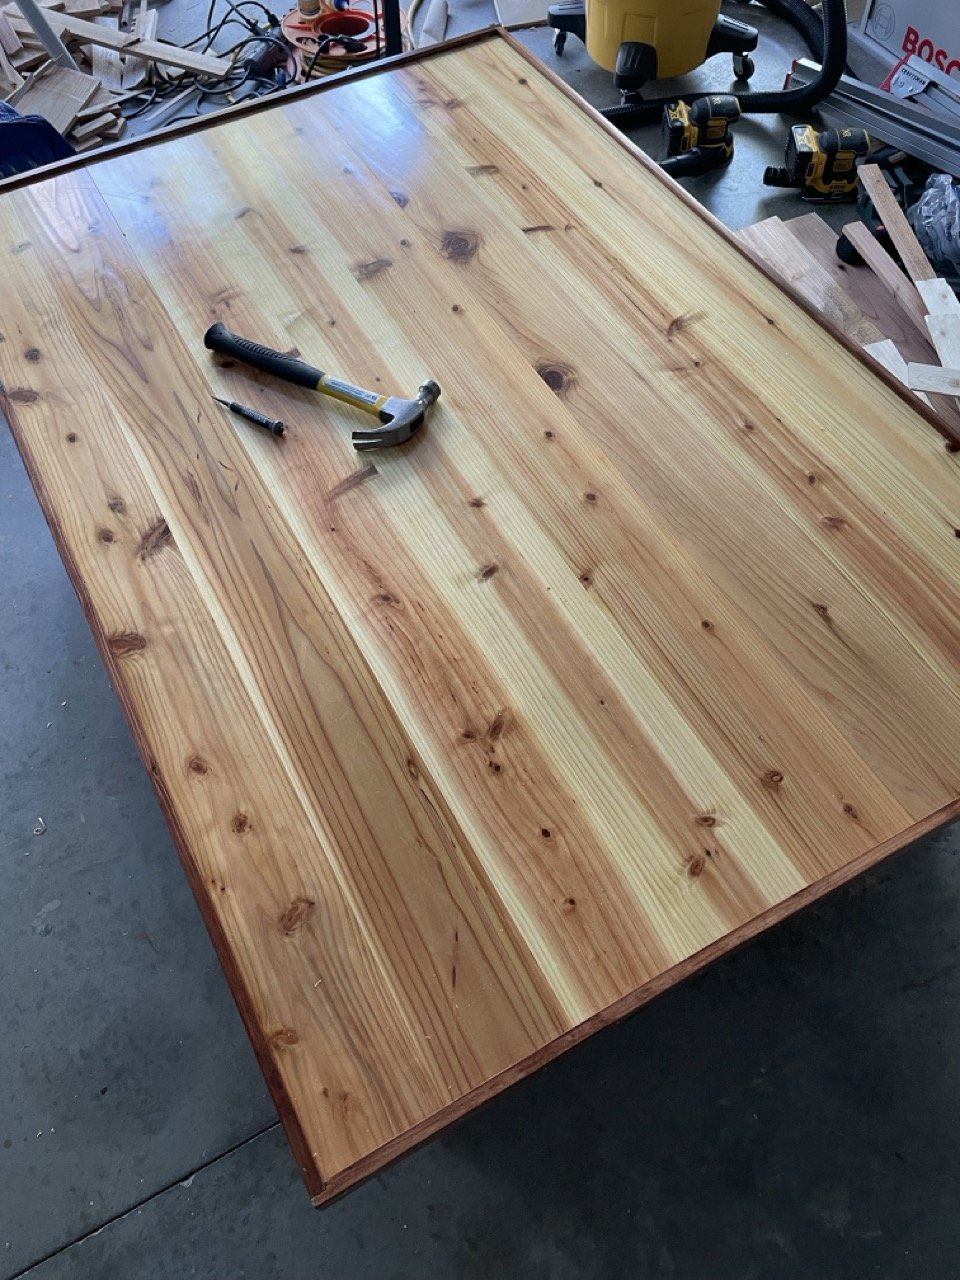
Final product!
Table top with railing installed.

