
Chevron Bookshelves
Whelp, here’s another one of those builds that started from a picture on social media. To keep all parties anonymous, I’ll just make up a name and call the site “Interest”. On Interest is this cool looking book shelf that’s made up of a chevron pattern, where books lay opposed to each other. Stunned at the price, I decided to make a few and cross some names off my Christmas list at the same time.
Full disclosure, I made the prototype first, and have already sold that at our church marketplace. Since I didn’t really take any pre-work pictures of these, I am sprinkling in some (one) of the initial process from that build too.

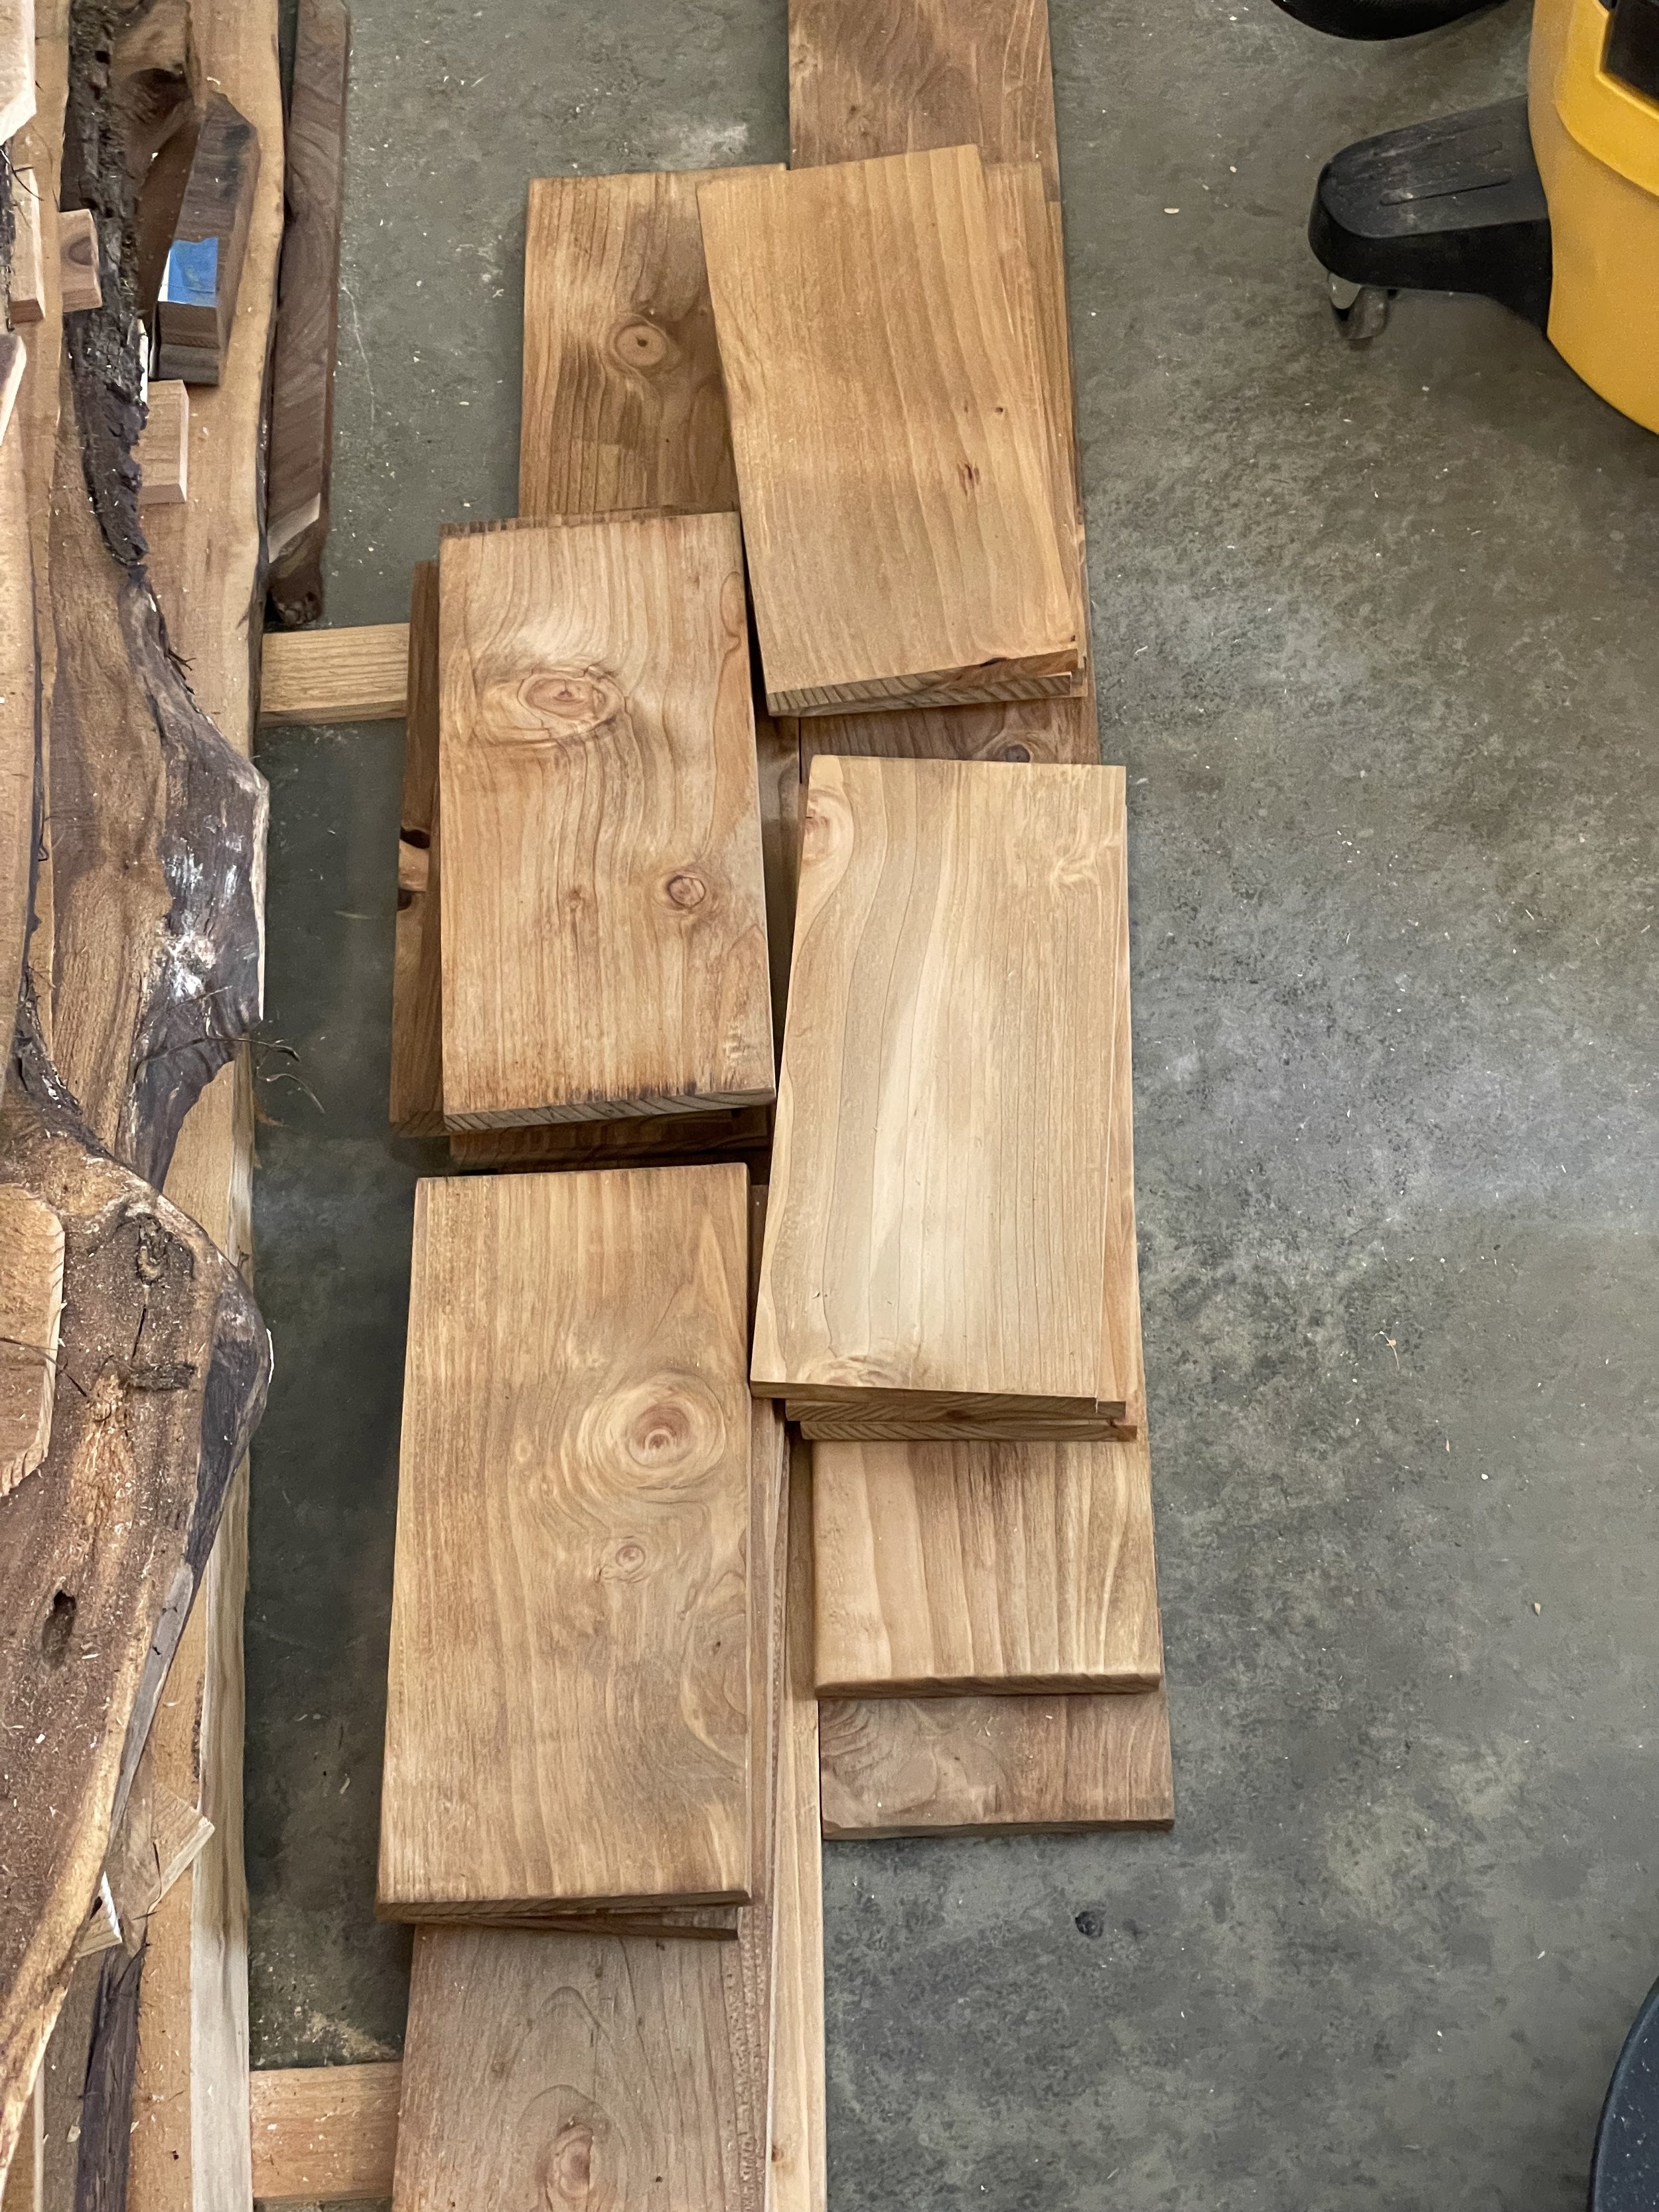
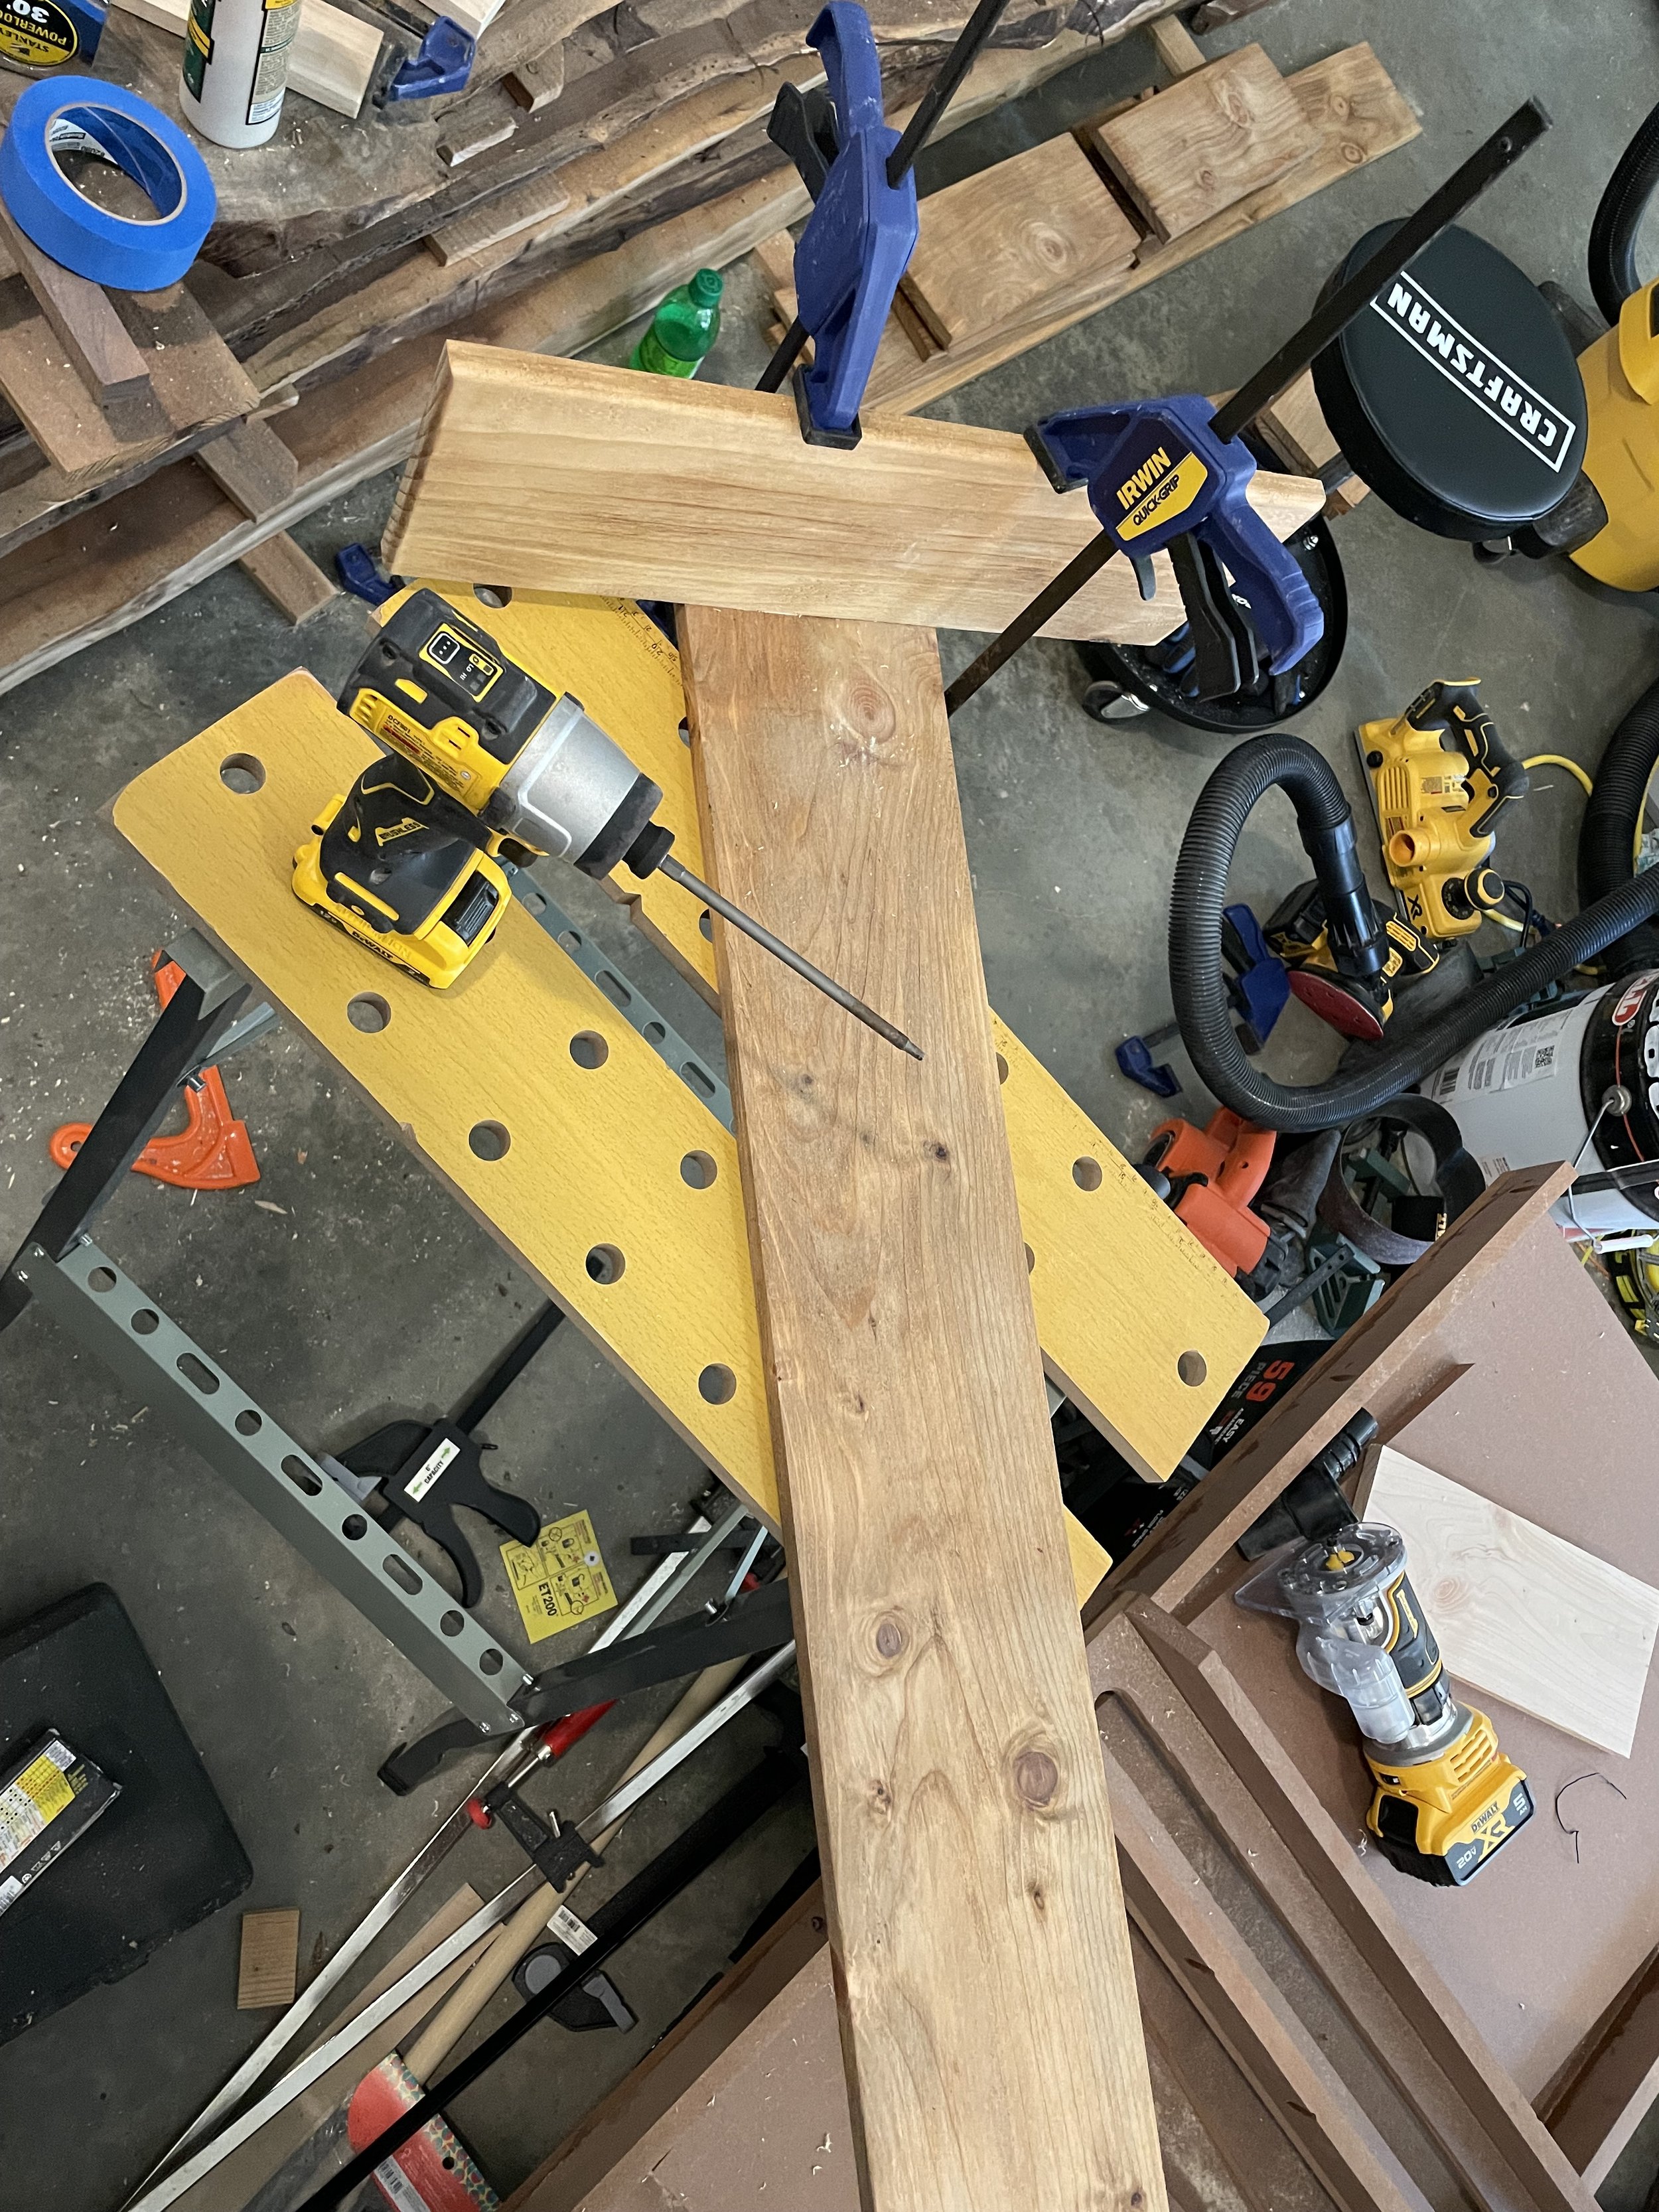
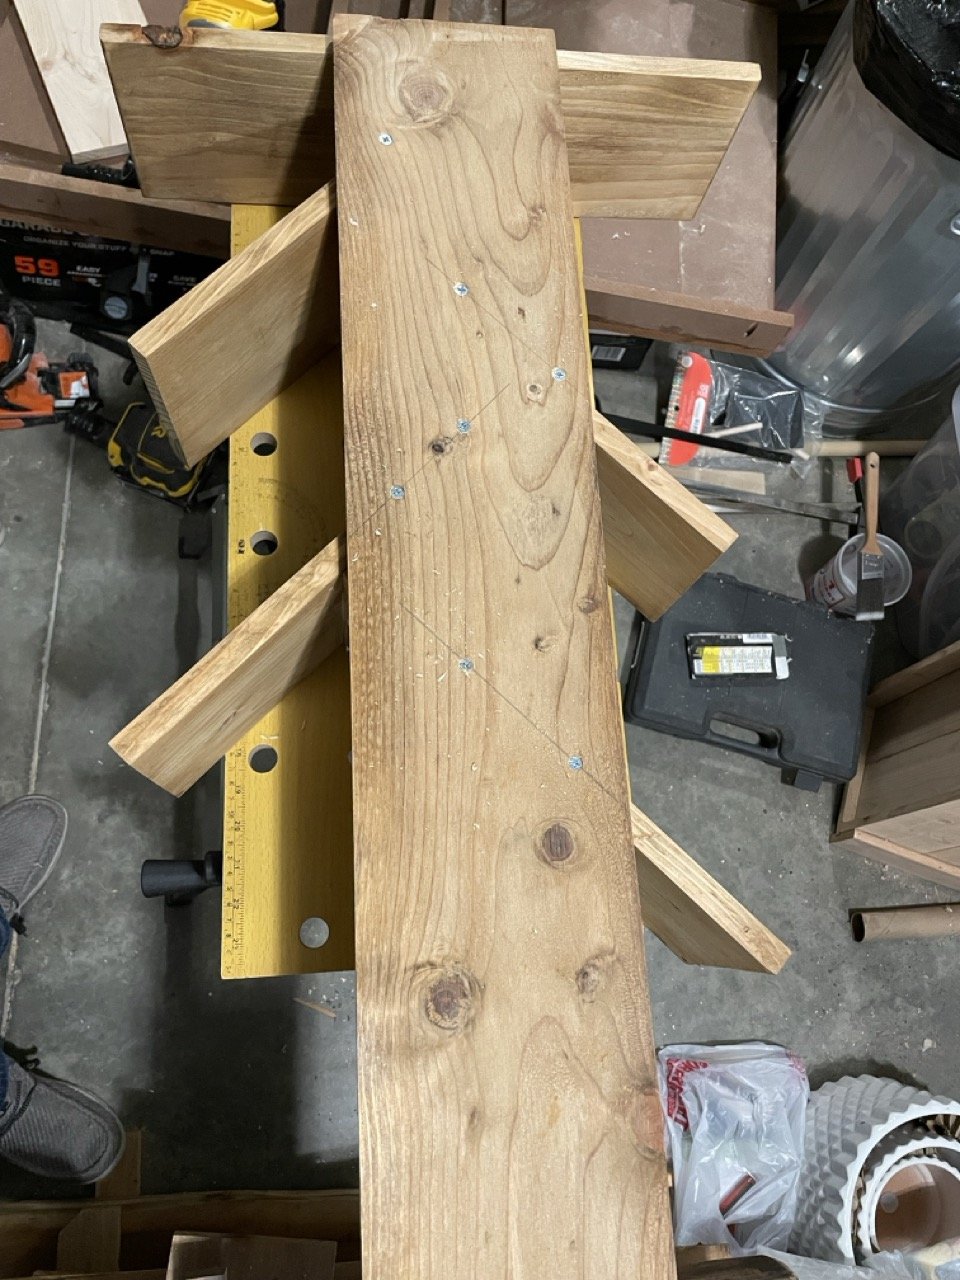
I started by planing and sanding my pieces. It was a little tricky to measure how long the back piece should be. I used to love stacking dominoes as a kid, so I used those mad skills to balance the pieces on their end and measure.
I drilled pocket holes in all but one of these boards. This way I could easily attach them to the board beneath it. I also drilled 3 pocket holes on the bottom of the base board, so it could attach to the back board. For the prototype, I didn’t miter the bottom piece to be flush with the base, but I did in the subsequent builds. Last, I used my router to round the front 3 edges of the base, and the top front of the backboard.
After sanding, I went through and stained the boards. Usually, I stain stuff after I put it together. For this build though, I opted to do the opposite. I’m not completely sure why I did this, but it wasn’t horrible.
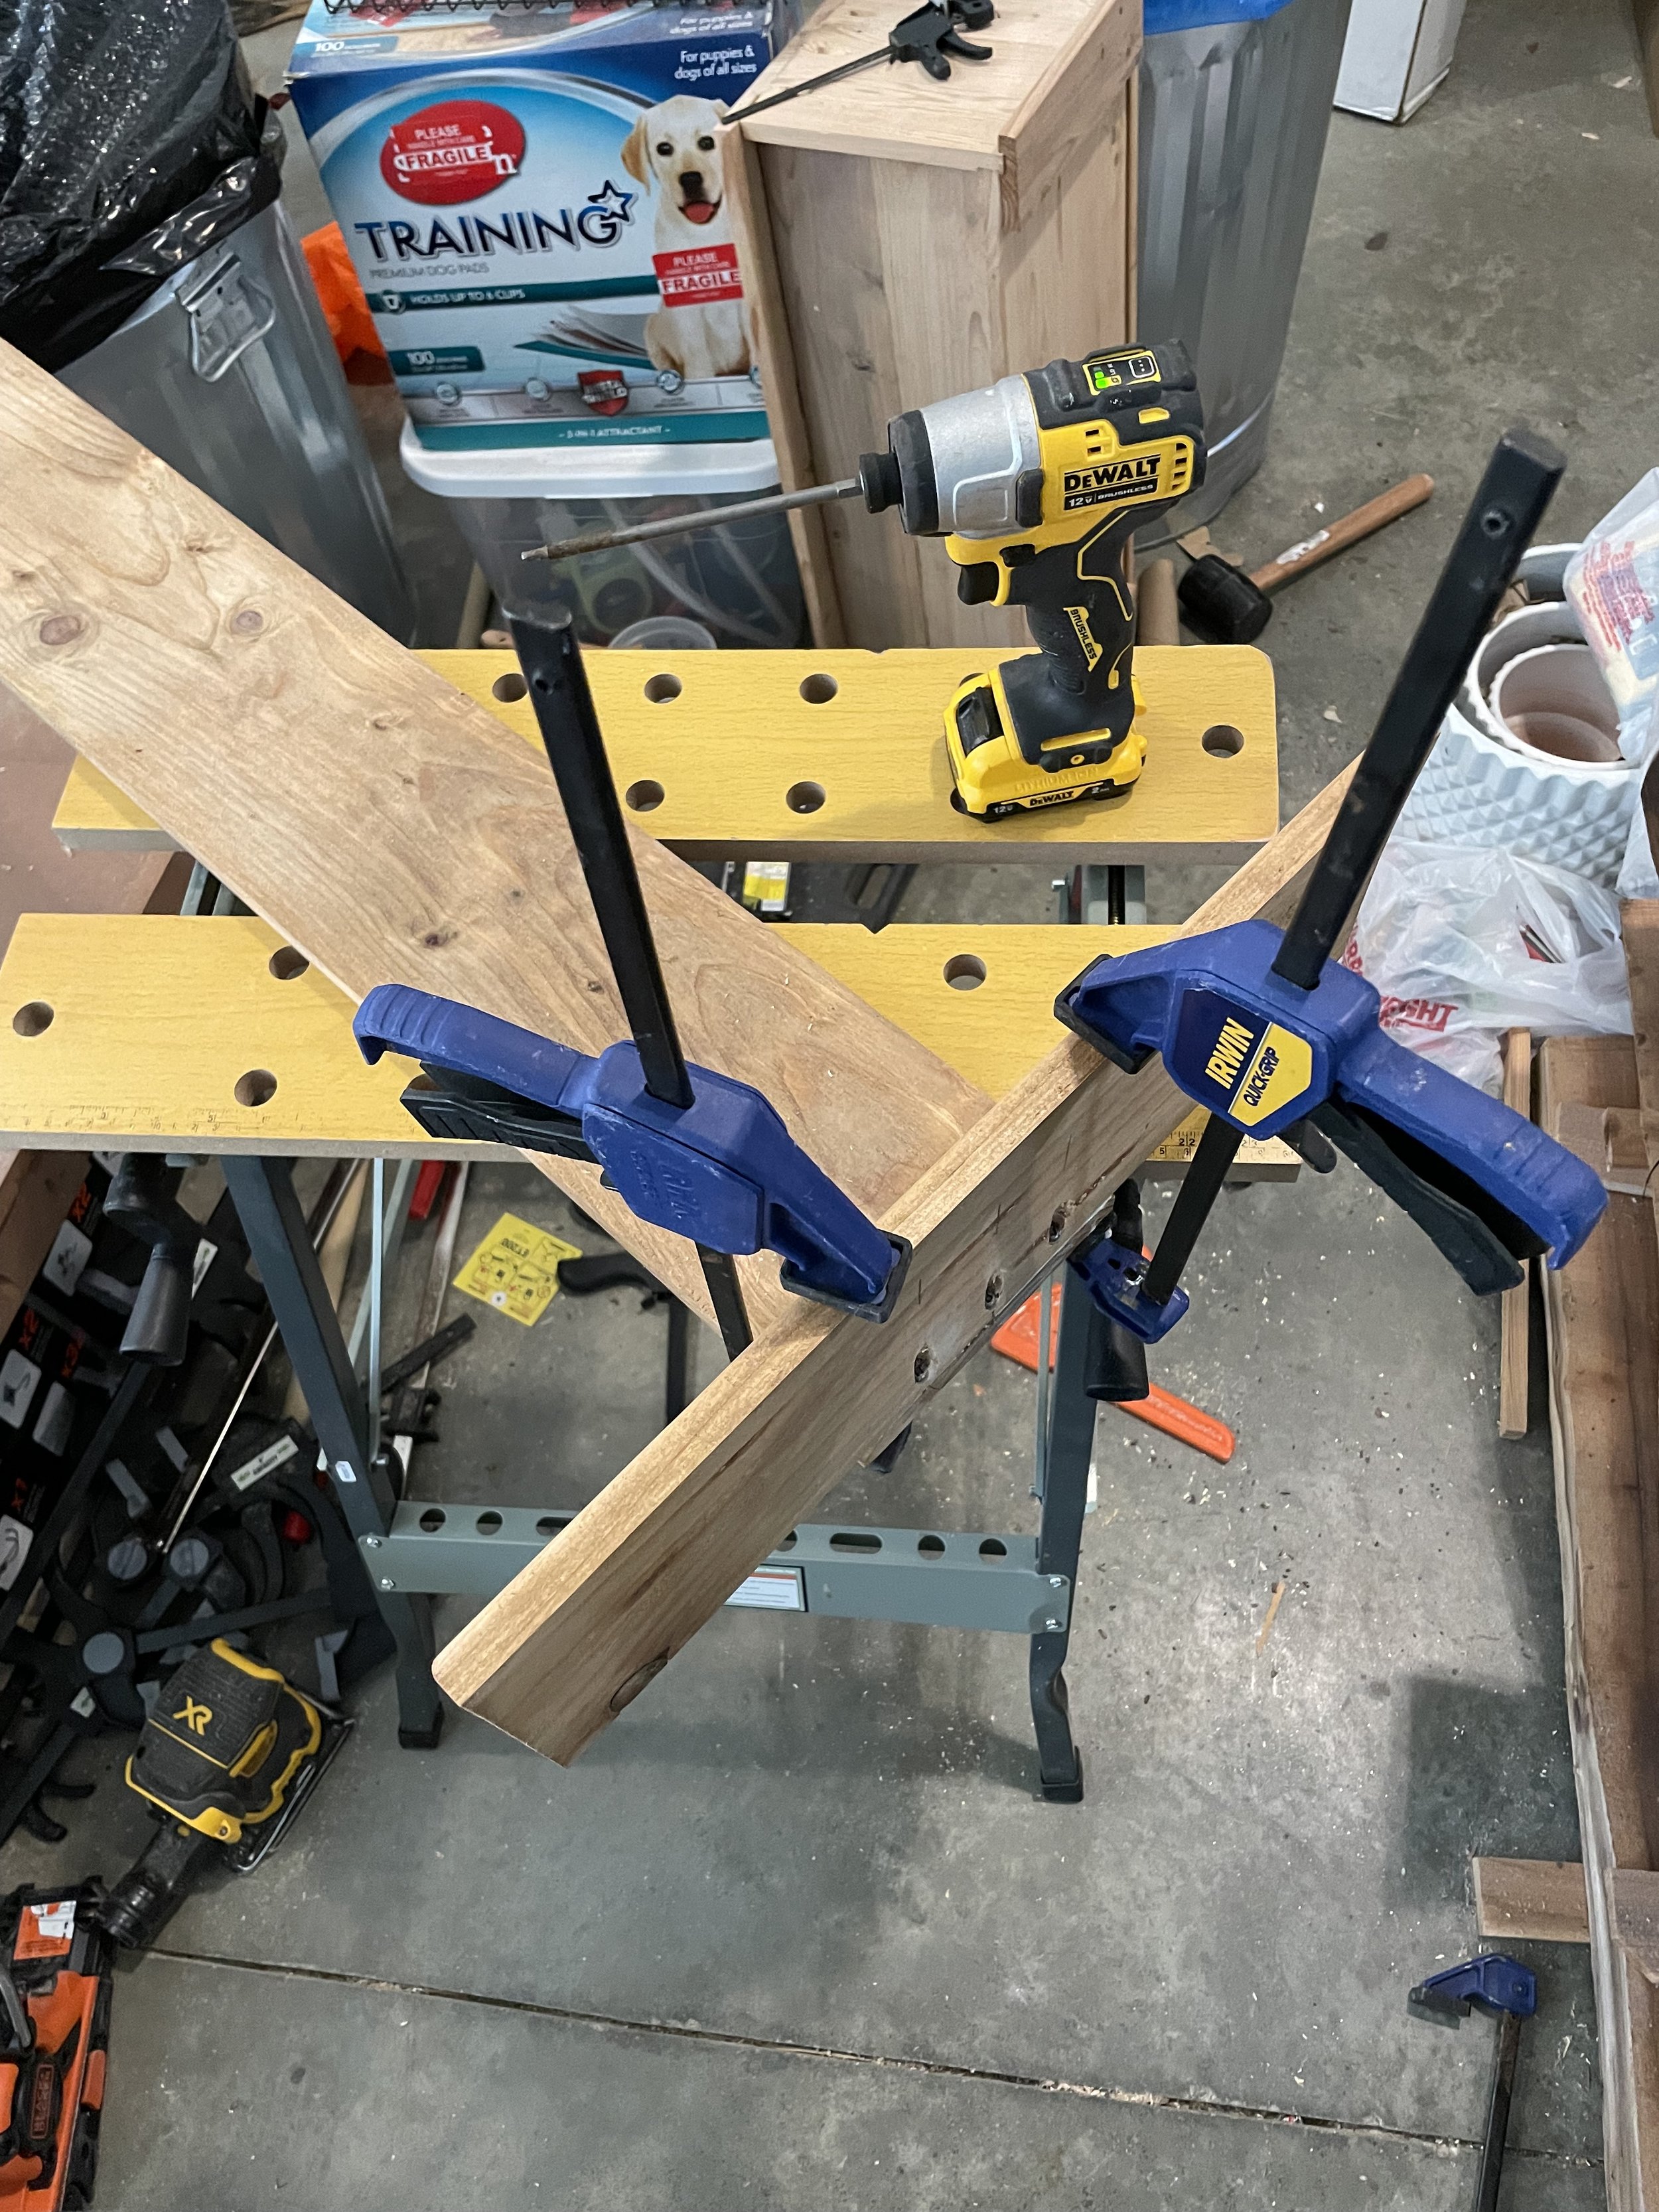
To start assembly, I first attached the base board to the backboard. Getting this square is not for the weak hearted, as the clamps + wood that warped some under stain, made it tricky. For added fun, the wood was still a smidge wet too.
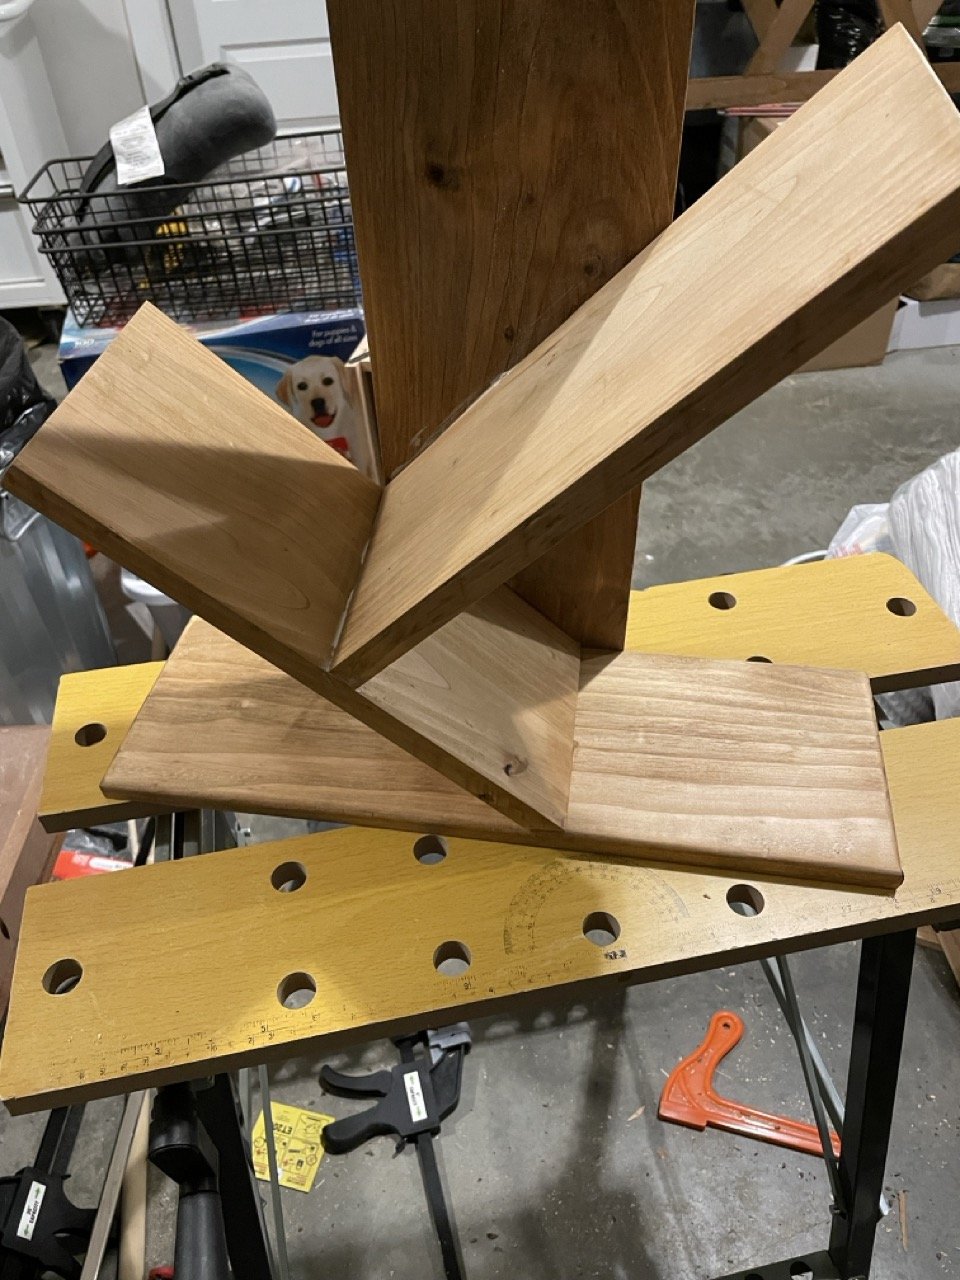
Support screws finally in place. This will allow the base to stabilize, and the back board to transfer weight directly to the ground.
First levels of the shelf going on. Ignore the creepy dog photo bombing this great wood picture.
Back of the backboard during construction. Originally I just used nails to stabilize the shelf, and transfer weight to the back. Ultimately though, I just said to screw it (that one was too easy).
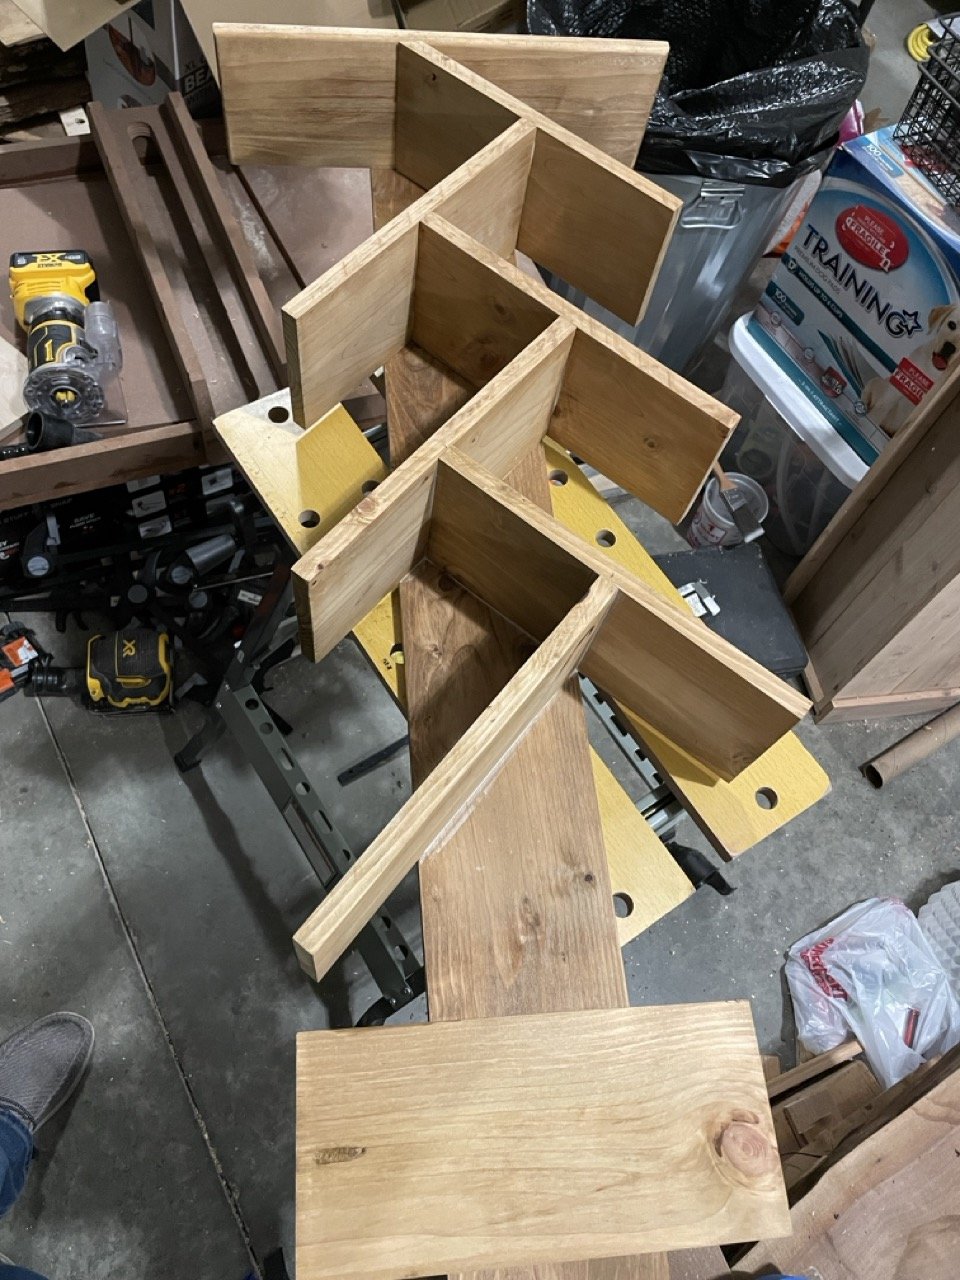
Adding a few more levels. It’s actually pretty time consuming to glue and set each of these boards, while keeping them square to each other as well as to the back.
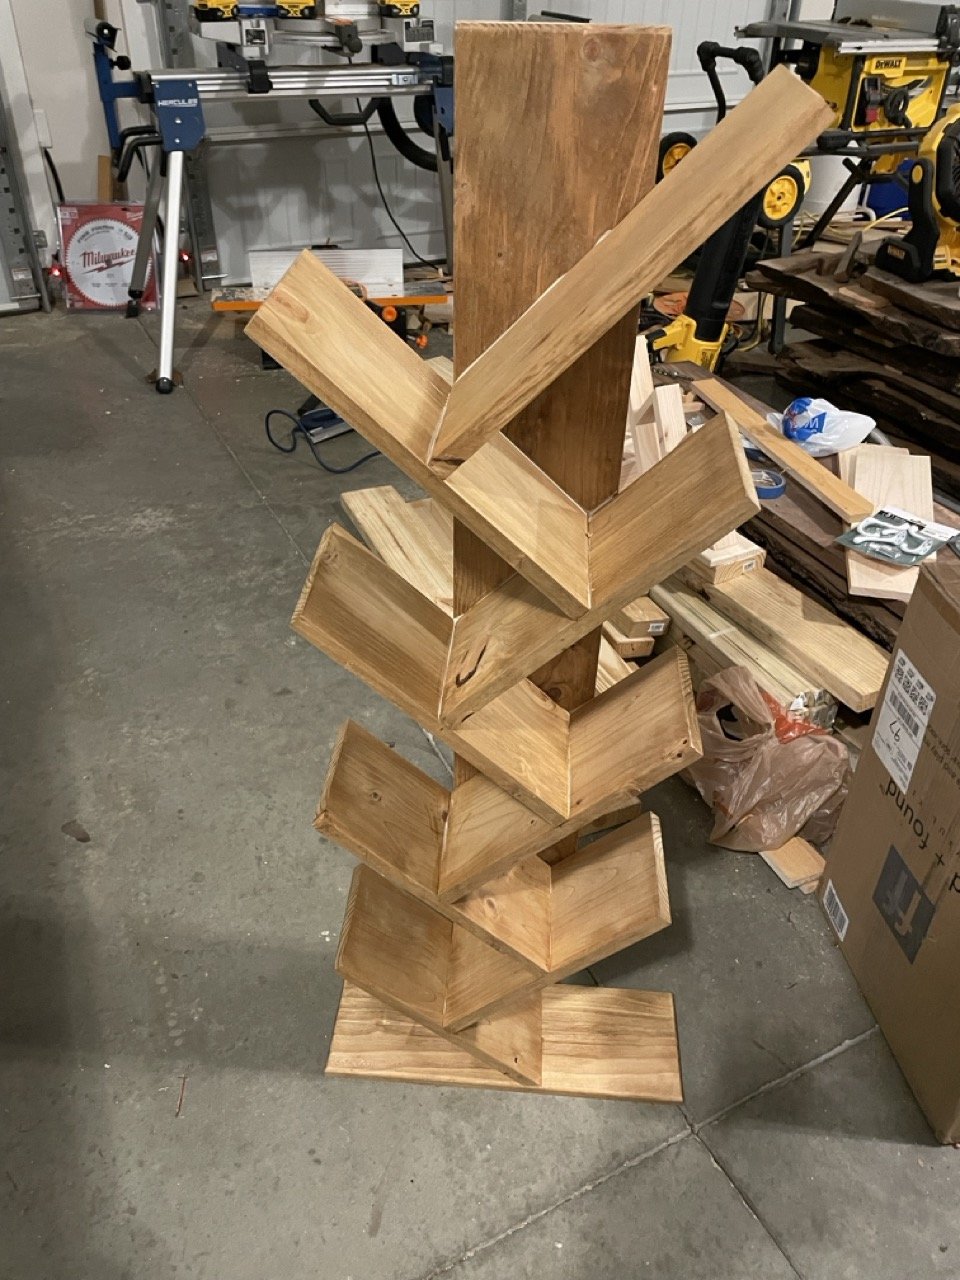
Bad angle, but it’s all glued up! Now I need to do some cleanup on a few tiny mishaps and it’ll be ready for a better photoshoot.