Un-Paper Towel Holder (ish)
I was pretty proud of myself. I started off so happy that I thought this one through before I started building. Follow along and see if you can spot where I messed up.
Kathryn has been making un-paper towels and we’ve been transitioning more and more to them. When you have an almost three year old, you find yourself really needing to find a more sustainable option to replace constant use of paper towels. Since we’ve been using them so much, I decided to make a tissue style dispenser for them. Well, it was originally going to be a box style hamper for used un-paper towels. Then it turned into something that was going to be nicer and used for clean ones. For those following along, this is not where I messed up.
My first thought about building this was that I might want to use the template for selling boxes to accompany her family packs. With that in mind, I wanted to try and use dimensions that would fit in a standard box for shipping. I landed on a 10x14 inch box that is 10” tall. This will fit nicely in a box, and provides some extra space on the sides of the un-paper towels.
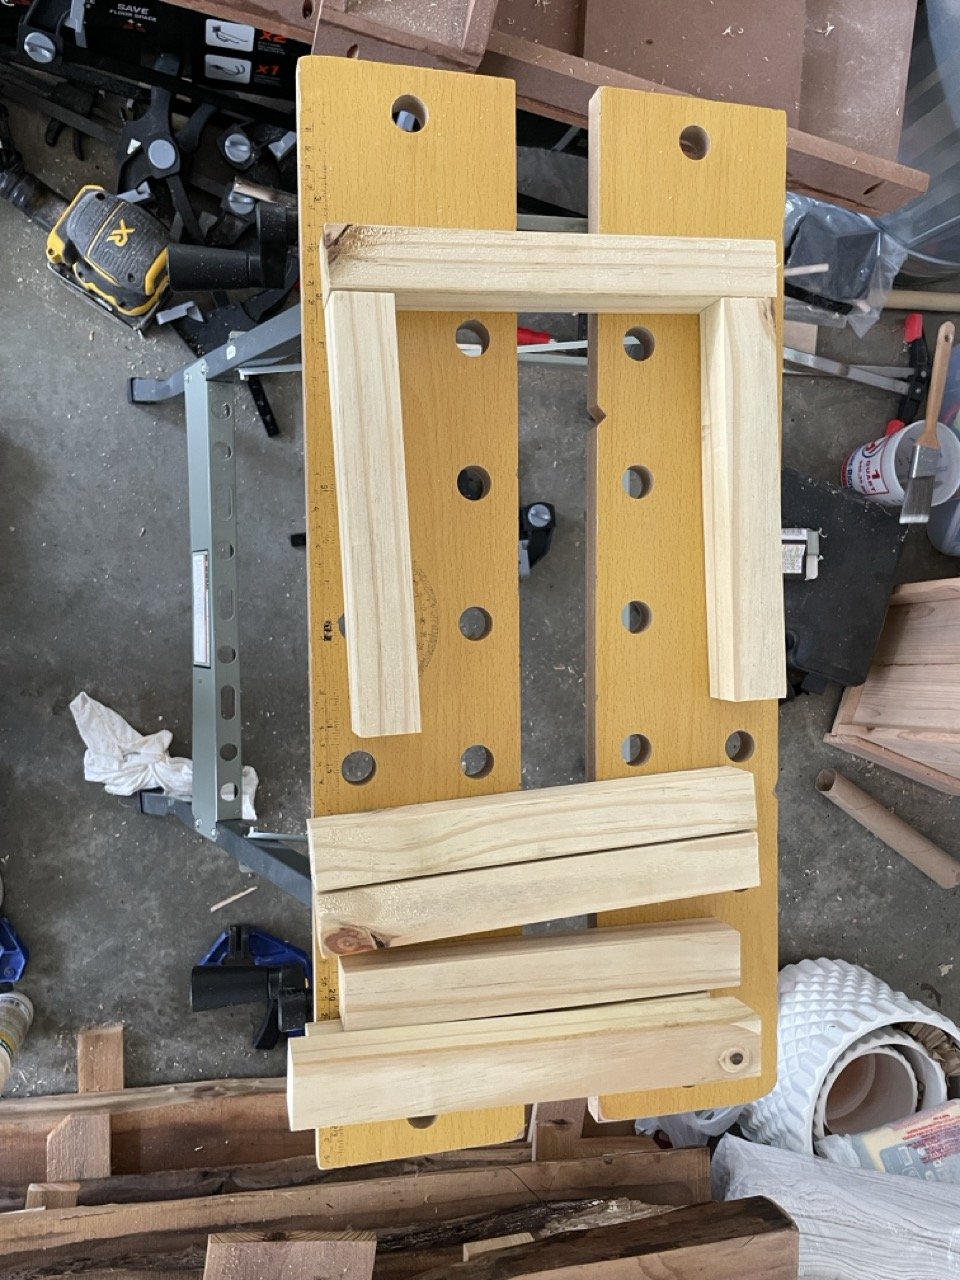
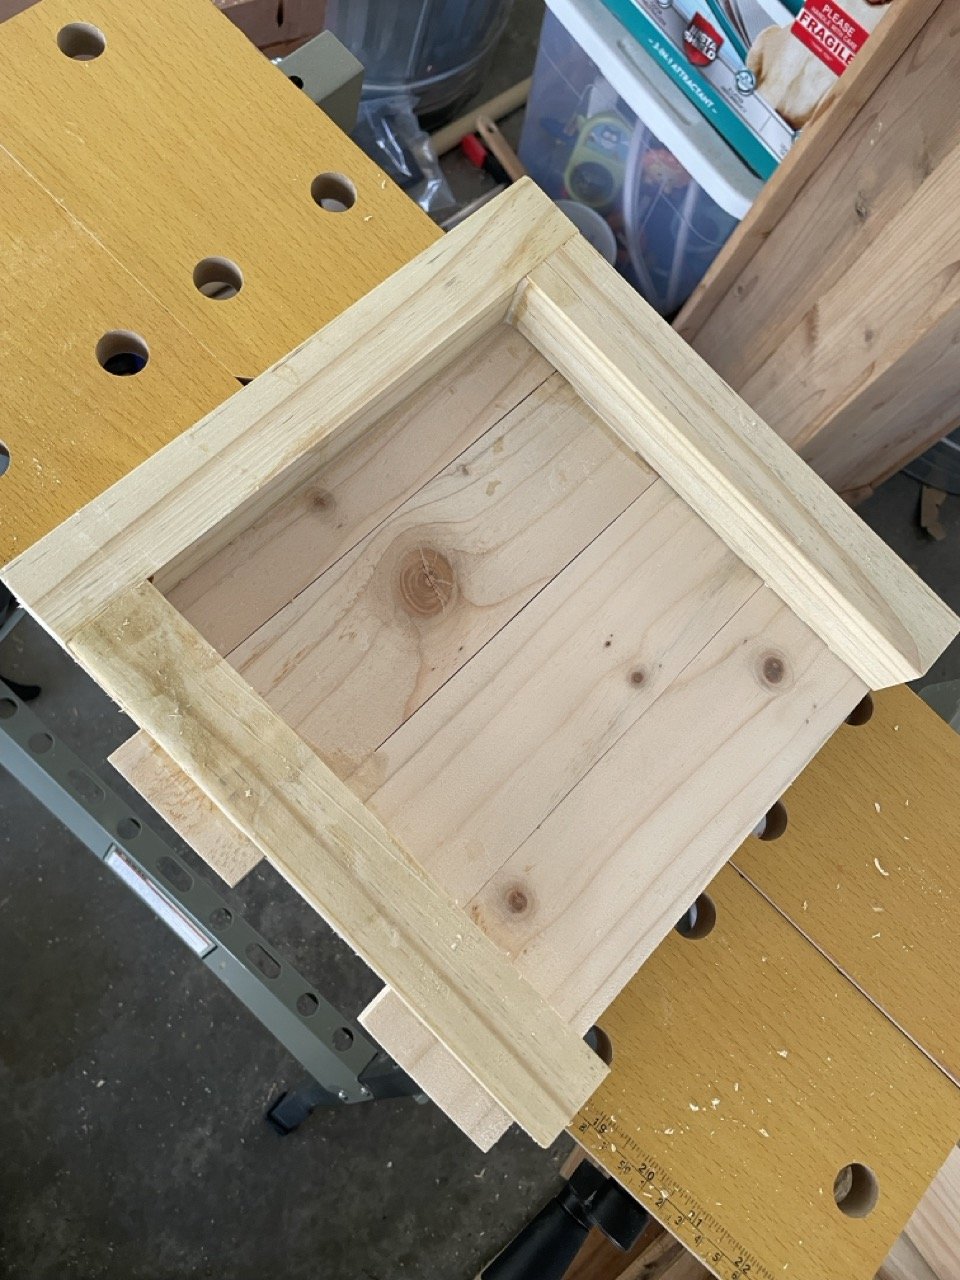
To provide structure, I cut out some pine stock to make the inside of the box. I would later attach the panels to outside of this inner structure. In retrospect, this thing is likely way overbuilt.
I drilled some pocket holes to attach the risers to the base pieces. This will provide a much better joint than a simple butt joint. Again, this un-paper towel holder is going to be certified to survive anything our toddler throws at it.
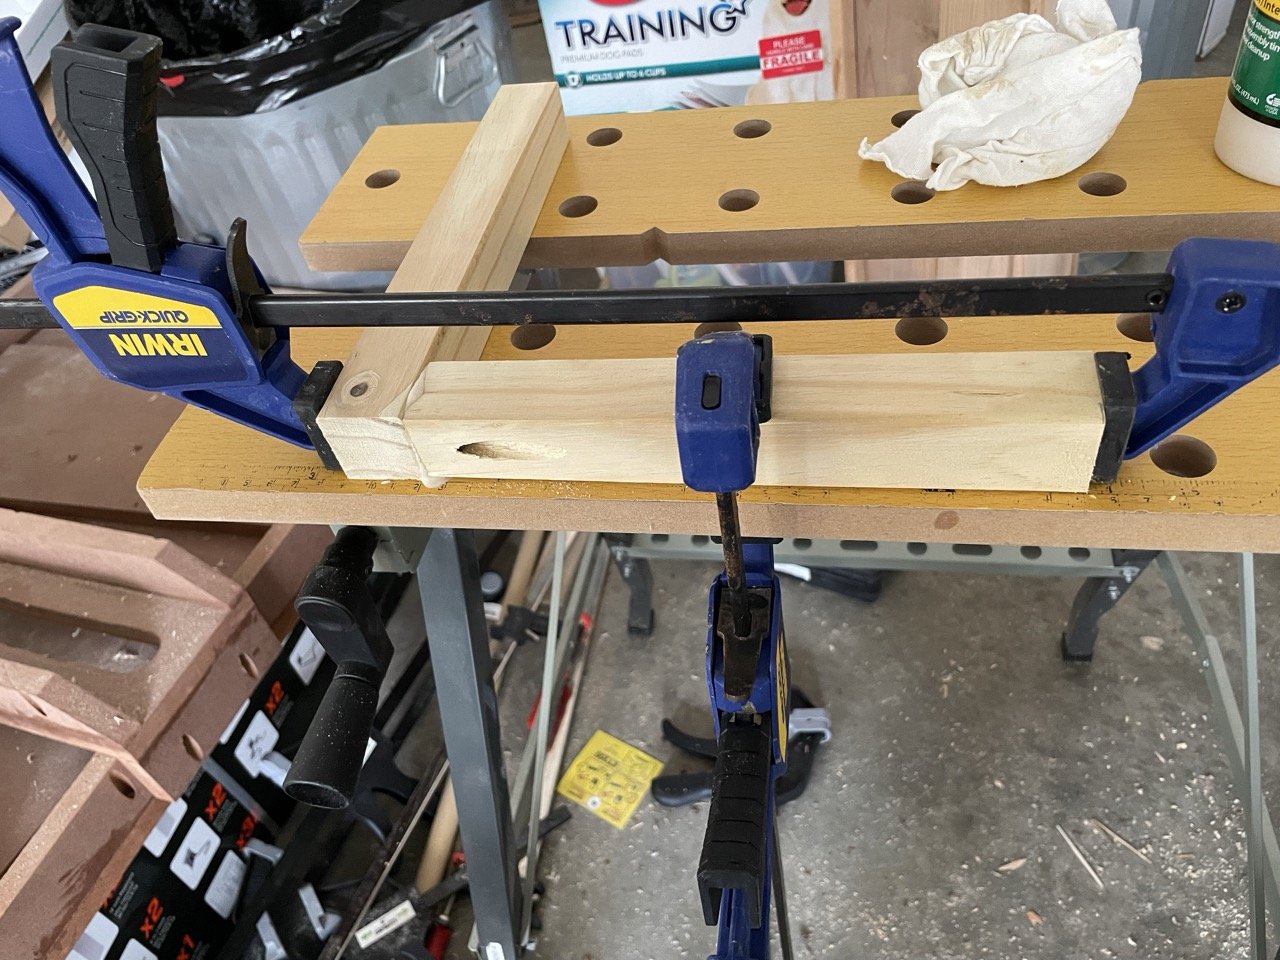
A little wood glue, and I attached the first of 4 corners. I built two “U” shaped pieces that wood (I couldn’t help myself) fit perfectly in my shipping box.
After I had the two inner supports built, I cut the pine for the outside of the box. After doing the math, I would need 4 boards to attach to each of the 4 vertical sides of the box.
I sanded down all of the side pieces, and routed 3 of the 4 edges of each board to give a bit of depth to the final product. It was then that our toddler woke up, and I needed to call it quits for a bit. Since I just spent so much time getting things straight, and the wood was a smidge wet still, I got crazy and clamped everything down.
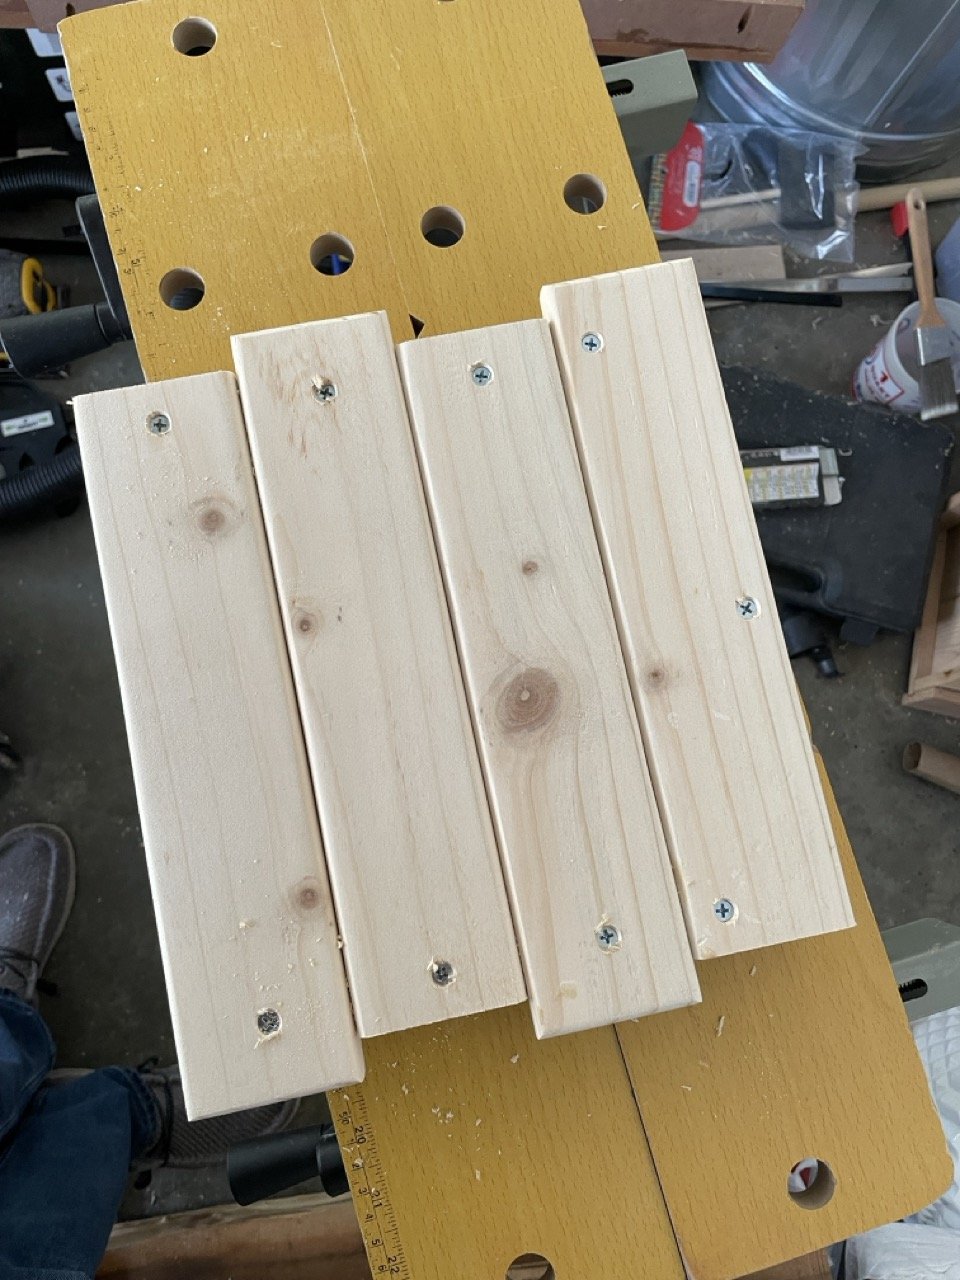
After a few days, I’m back at building this thing. I only routed three sides on purpose. I want to stagger the side planks to give this a more interesting corner. So each band around the box will appear a bit “shifted.” I also figured out pretty quickly that this was going to be a “paint it” build since Kathryn prefers to not see heads of screws. With this in mind, I made my counter sink holes a bit deeper so I could fill and sand them.
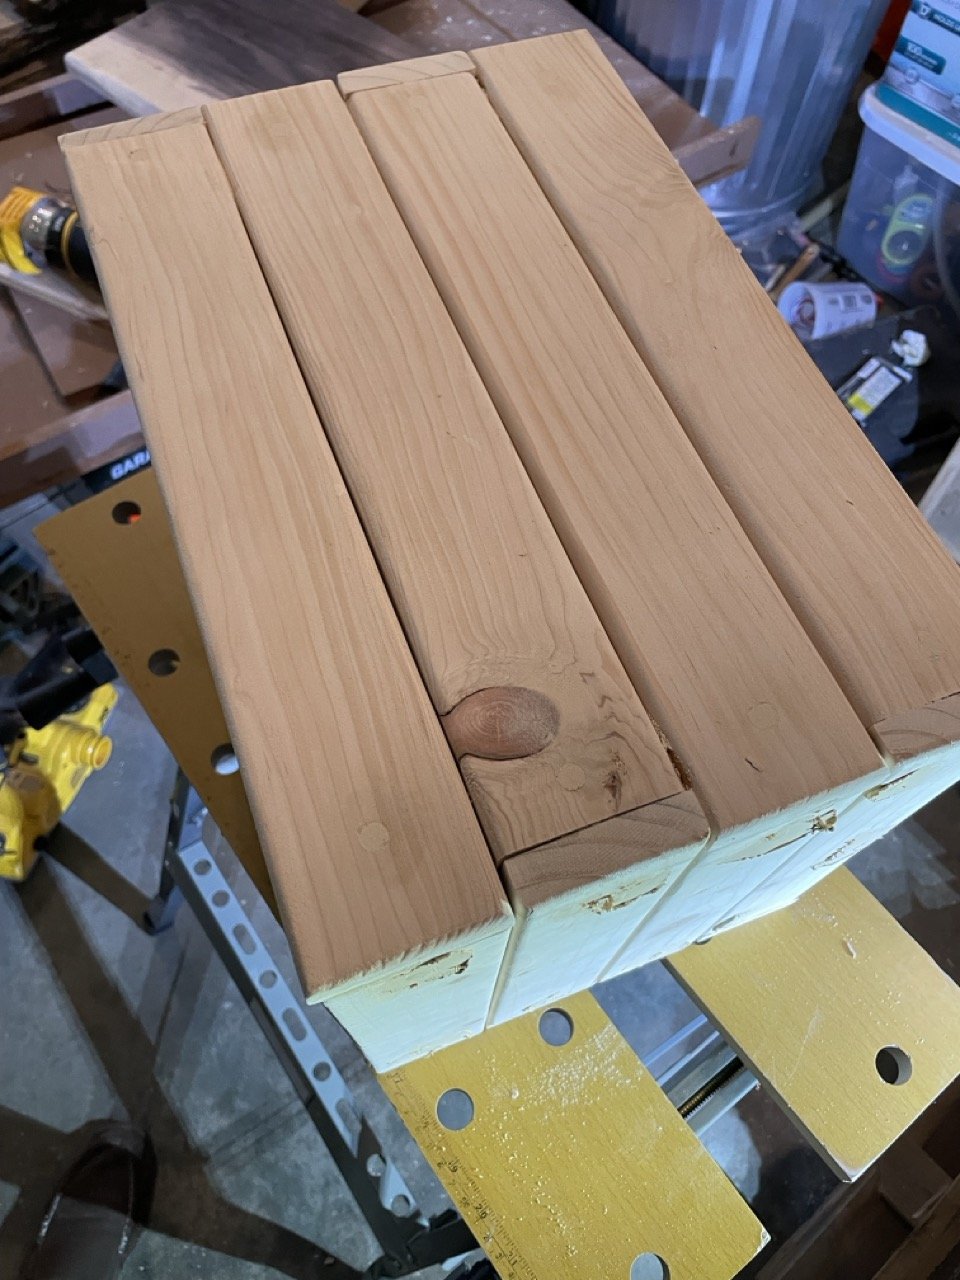
Here’s a finished short side of the box. I took this picture since the other one made me a bit happier that I had already decided to paint the box.
Yes, I may have gone a bit overboard with the wood glue, causing some stuff I’m going to need to cleanup. However, this thing is basically bulletproof now. It’s really starting to sink in that “dainty” just isn’t something people will use to describe my woodworking.
After I got the ends of the box ready, I did a quick test fit to make sure everything was lining up nicely. Also, it was here that I had to decide on how to make the floor.
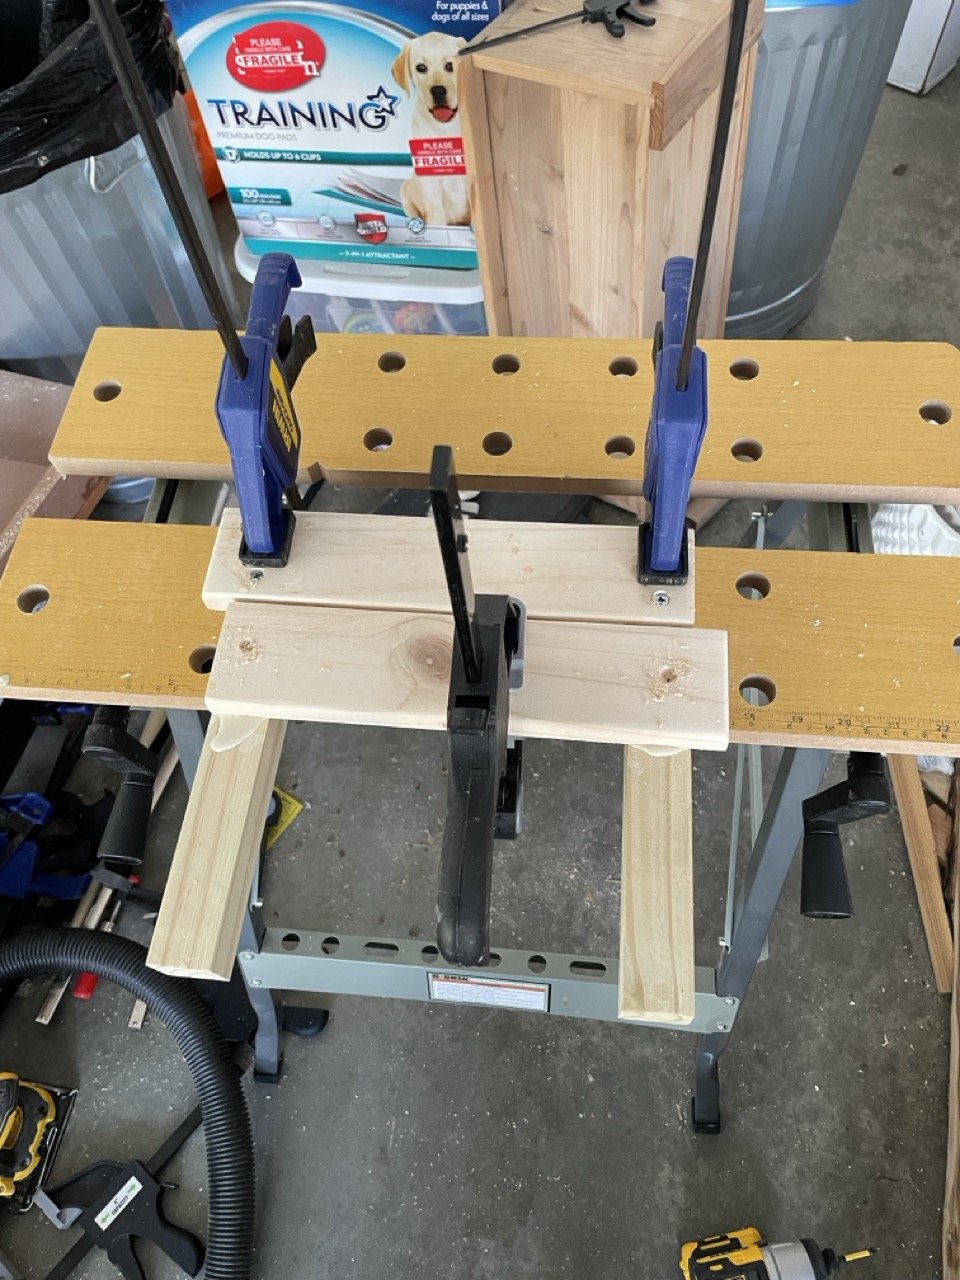
For the floor of the box, I ended up cutting a dado through the base of the two ends. Then I trimmed down some pine plank to fit. I drilled some holes for pocket screws to pull the boards together and set to gluing and screwing it up. Not screw it up as in “mess it up.” Although, I had realized a big flaw in my initial planning when measuring for the floor.
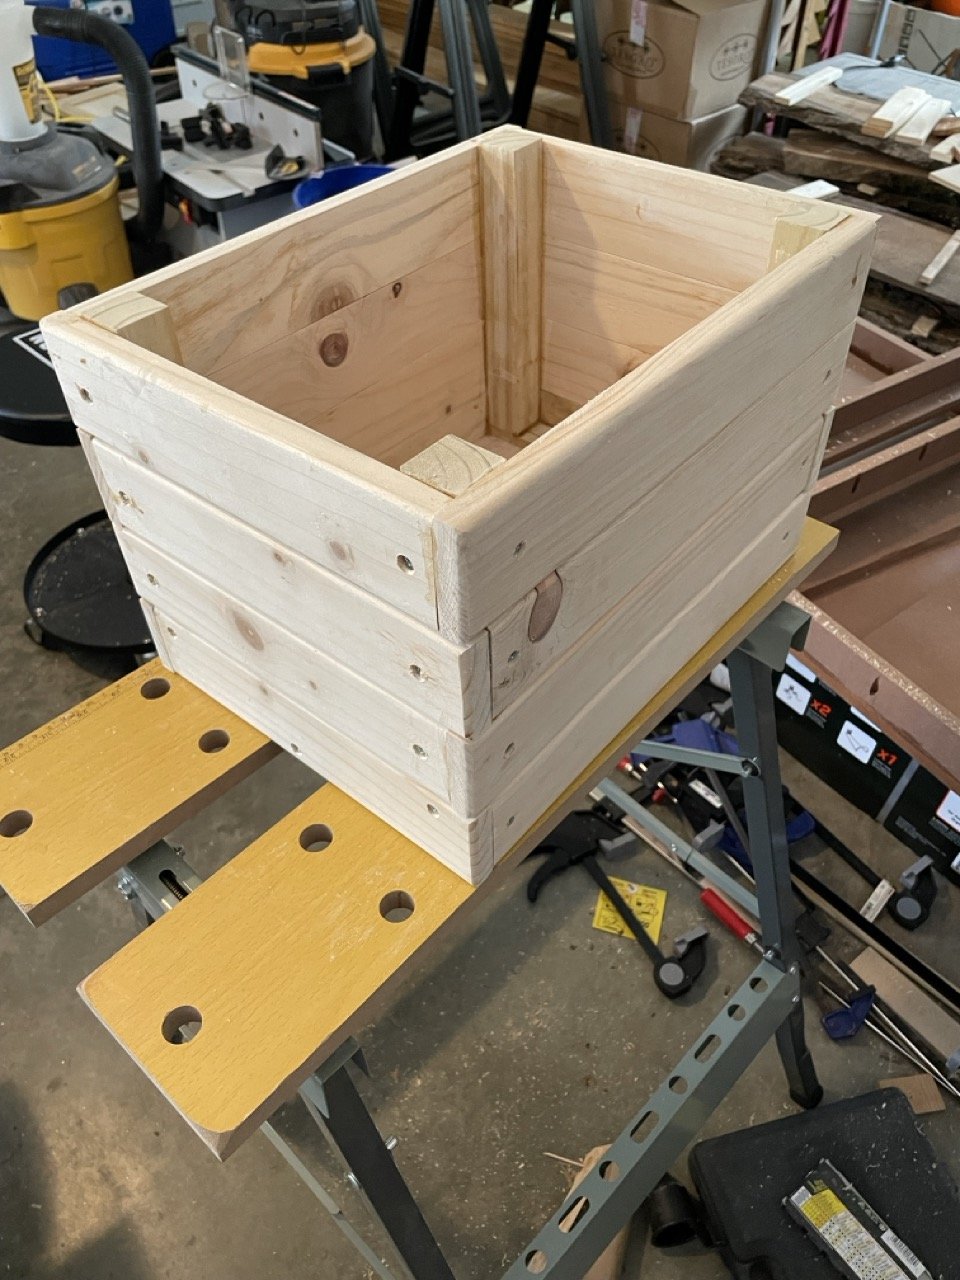
With the floor on, I started building the remaining walls. I didn’t plane all the slats to the same thickness though. So there was a decent amount of test fitting to plan ahead and find the right pieces, while leaving others to fit later on.
I kept building from the bottom up. Here you can really start to see the pattern take shape.
Overall, I was really happy with how this box turned out! The build phase of this is now done. Next steps are going to be finishing it off. For those following along and looking for where I screwed up, remember how I said I was building it to fit in a predefined shipping box? Well, I did a great job of measuring out the inner supports to fit in the box. I completely forgot to account for the width of the wood around the outside of the box.
Also, Kathryn promptly told me this thing was WAY to big for a countertop un-paper towel holder. Now, in addition to finishing off the box, I need to also find a new use for it.
It’s always kind of funny how you have to make something look worse in an attempt to hide blemishes/holes in wood. Yes, I’m heavy handed with wood filler, but this stuff was half dry already and I didn’t want to get fresh stuff. So I just slathered it on and let sit overnight to finish drying out.
I was super glad to see that the old wood filler still worked. I guess I now know just how long you can, or can’t, leave a container on the shelf.
Sanding is all done! Now I need to prime and paint.
It was a cold day in The Gillwood Garage, so I moved to “The Gillwood Dining Room” for the first coat of paint.
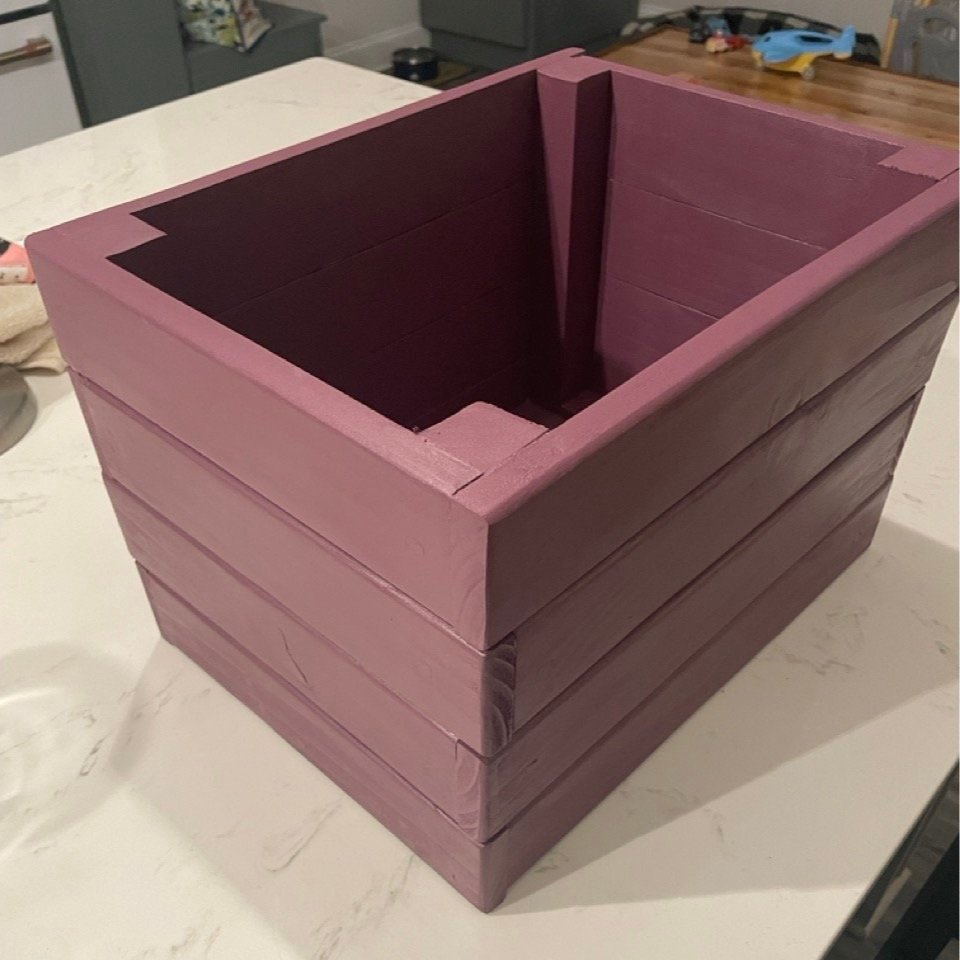
All painted up and ready for… something. I’m actually not sure what the end use will be for this now. But you’ve got to admit, it’s a pretty sweet box!

