Christmas Lap Desk
I’m not sure why, but Christmas sure snuck up on the Gill family this year. With everything going on, we found ourselves figuring out presents way late this year. Do you have any people on your list that are impossible to shop for? My dad is absolutely one of those people! When thinking about what I could get for Dad, I settled on wanting to make him something rather than buying something from the store. Kathryn suggested a lap desk for his chair, and since she knows best, the woodworking elf got busy!
For anyone who doesn’t know why this is such a great idea, my father has had a rough year. To top it all off, he recently underwent surgery and has been forced to spend a lot of time sitting and healing. Well, as much as you can make him sit still that is. He always has a TV tray next to his chair with a laptop on it, so this would be the perfect thing for “an upgrade”.
Come join me as I return to the time honored joy of making arts and crafts for my dad this year!
Every good project begins with a first cut. Well, it actually begins with a bunch of measuring, debating and arguing with myself. The internal dialog this time was around just how wide I wanted to make the desk (and how much I trusted my mom to measure without knowing why). Since Mom had said his chair seat was 22” square, I went with 21” wide for the board. I figured this would still be plenty wide enough, while still having enough “fudge factor” around Mom’s number. Sorry Mom, please still make us a Christmas chocolate pie after reading this!
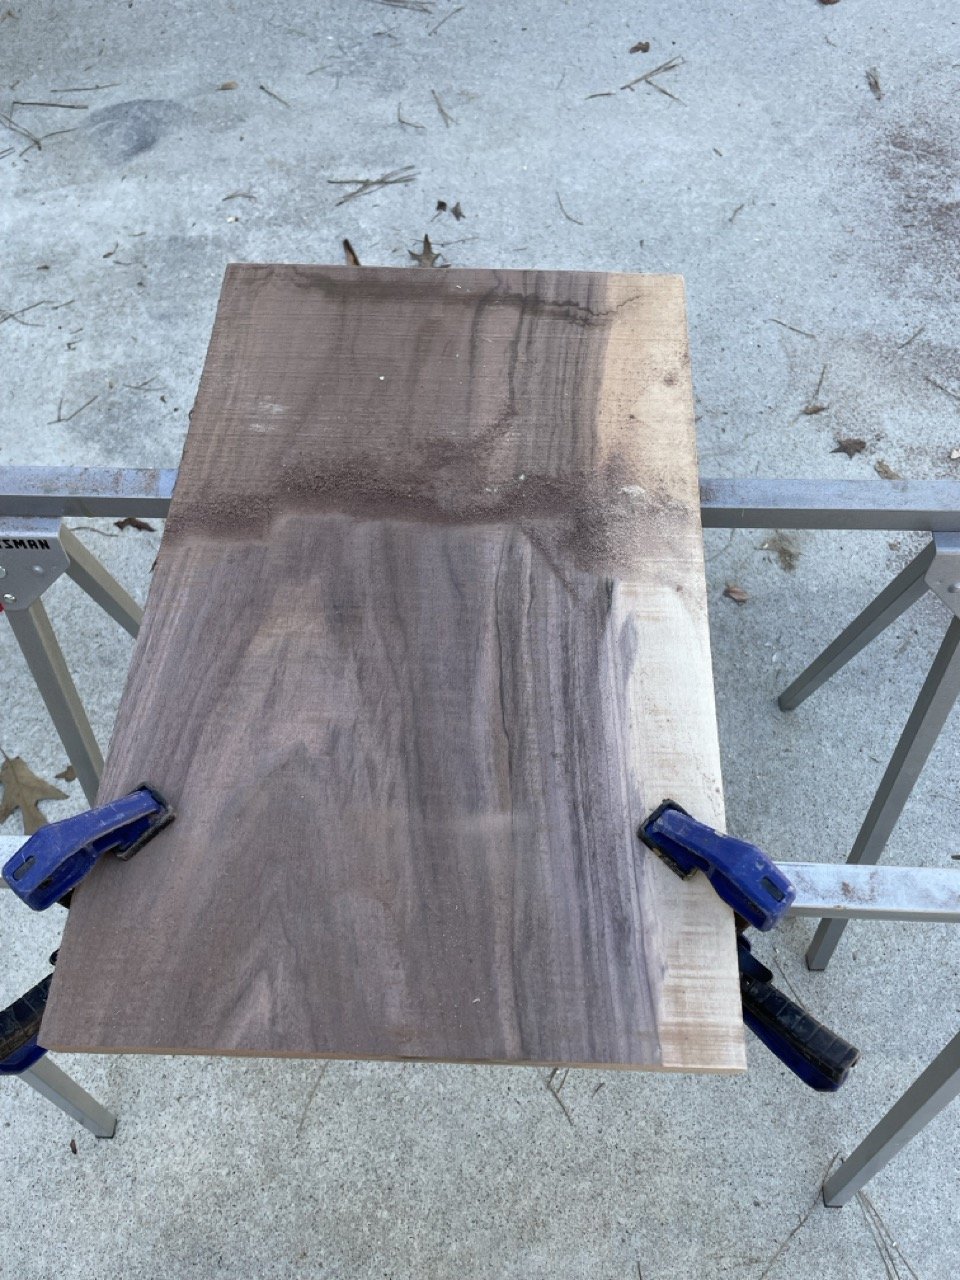
First thing I had to do was get a surface I could work with. These were rough cut boards, so there was a bunch of initial work with a belt sander. I ended up doing both sides for this project, since one would be against his legs.
Here you can also see the bit of live edge that this board had.
After some more work, the sanding is starting to pay off. It takes a decent amount of work to get this wood smoothed up, especially considering how hard this wood is.
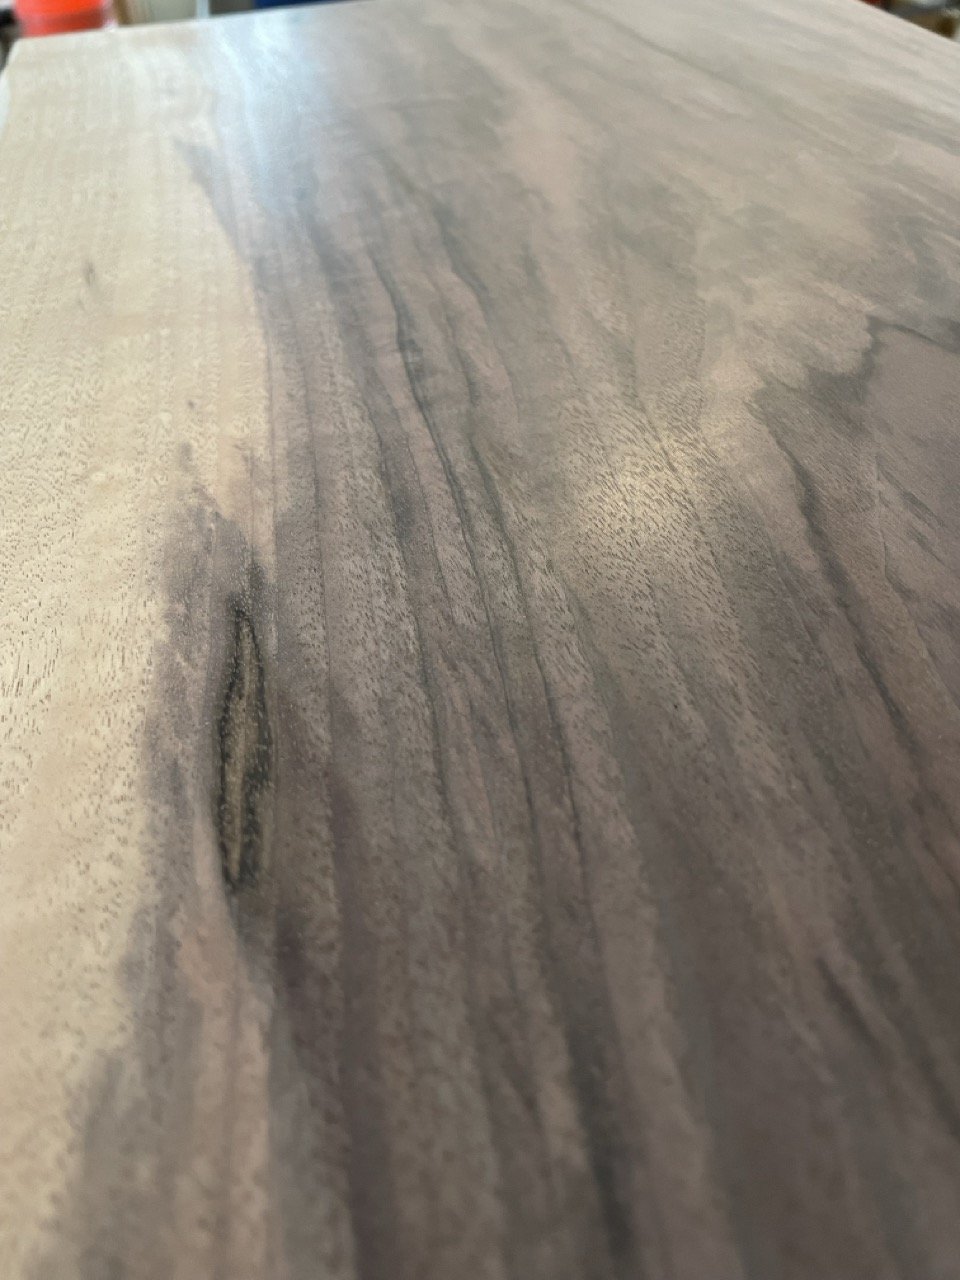
I apologize, I skipped a bit of the process between pictures here. I’m easily distracted and was excited to be making something for Dad. I’ve still got some of the saw lines still visible in the darker areas of the grain here.
First pass at the bottom of the board, and it was turning out just as pretty!
Prior to wet sanding and this thing is looking amazing! It took me a bit to realize the grain was layered, so not everything I was trying to work out was actual saw marks. Kind of like trying to vacuum up a shadow.
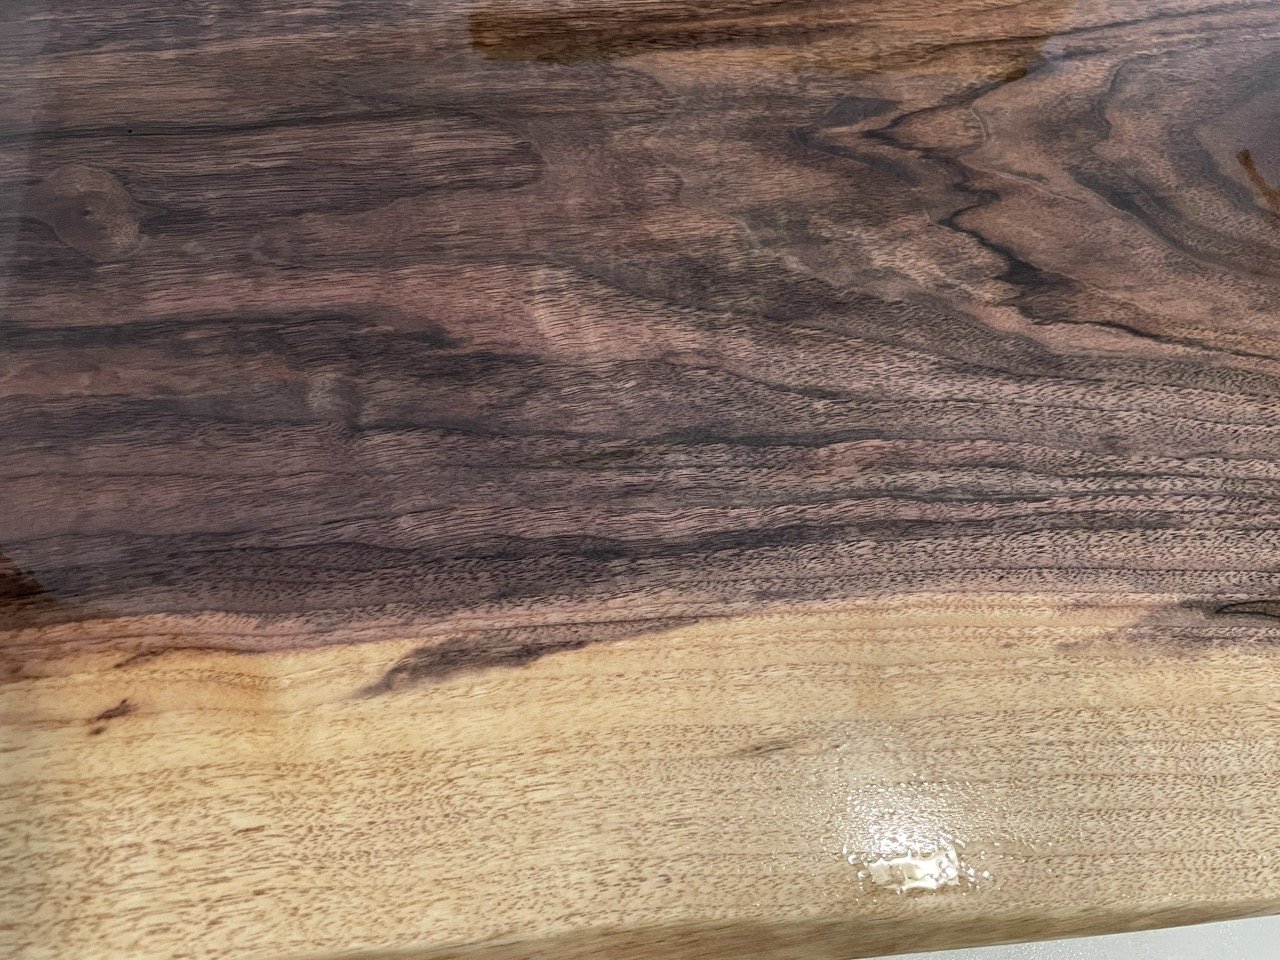
My view the first time I hit this board with water for wet sanding. I almost forgot to take a picture due to being so stunned at what I was seeing. Black Walnut is an open grain wood, so wet sanding allows the grain to be raised as part of absorbing the water, and then I can sand it off for an even smoother finish.
Close up view of the wood grain after wet sanding. The picture really doesn’t do this thing justice.
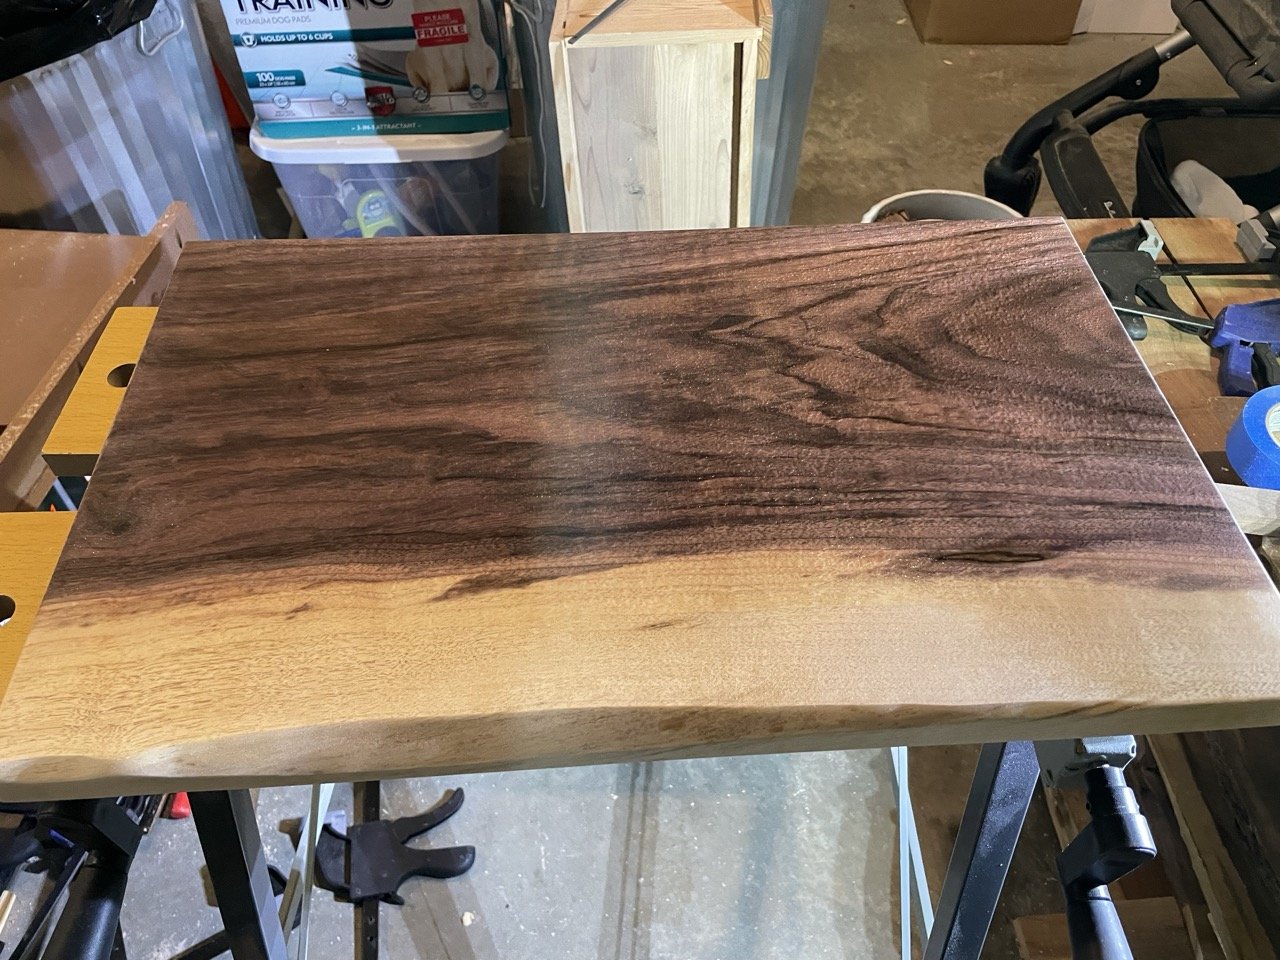
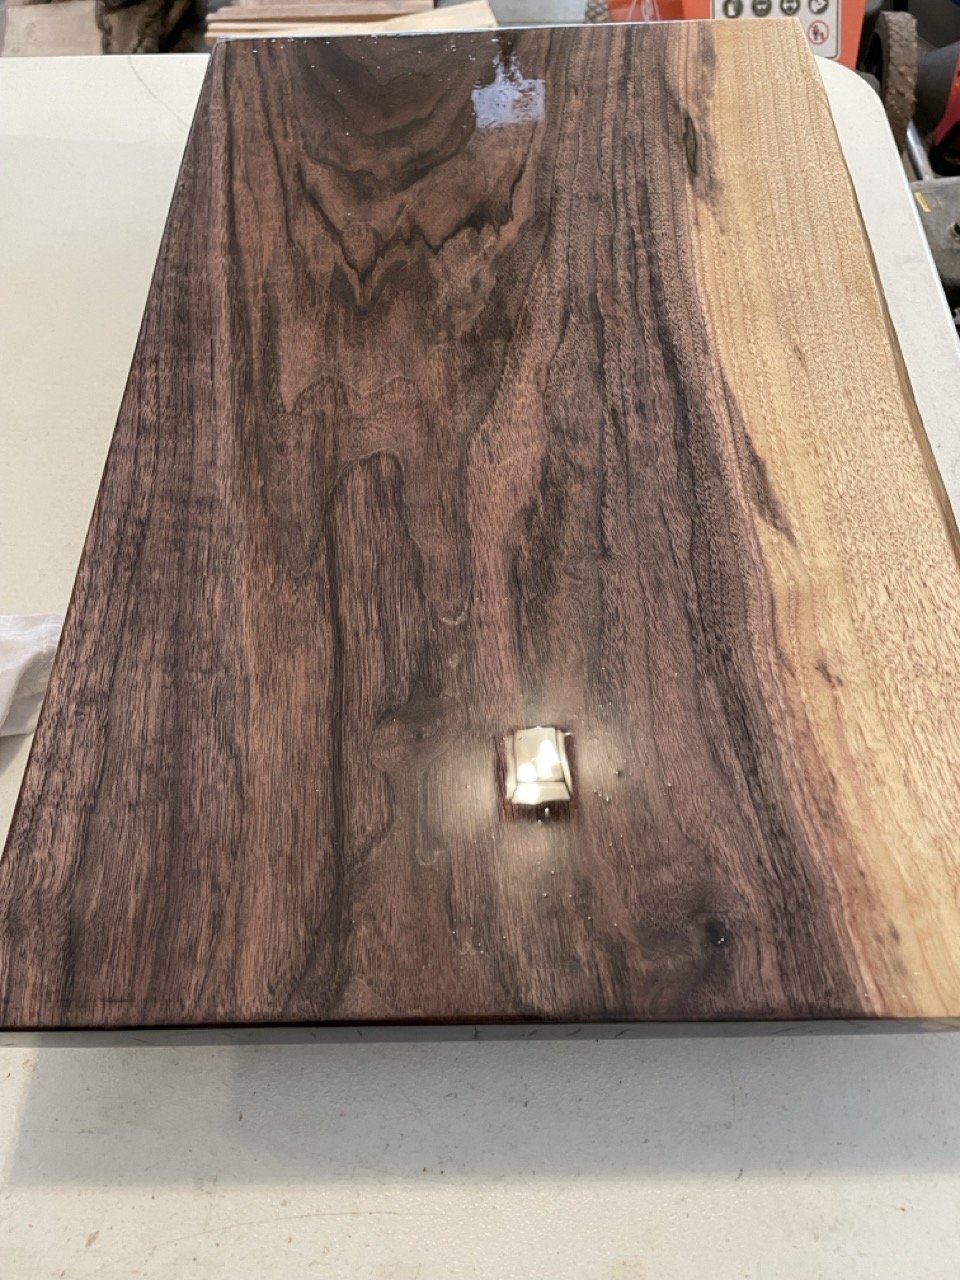
I chose danish oil for the wood finish on this project. It dries faster than the tung oil I use for our food platters and charcuterie boards. This oil will penetrate the wood in a similar manner, and will leave it with a more satin finish. Here you can see the first coat and how smooth this thing turned out. It was seriously like looking into a mirror (with a bit of floating sawdust).
Here’s another look at the board on coat 2 or 3. There are a few methods of applying this finish. Due to the timing of Santa coming, I opted for the faster method. This involves flooding the board with the first coat, and then coming back every 10-15 minutes to put more oil on spots where the wood was still soaking up oil.
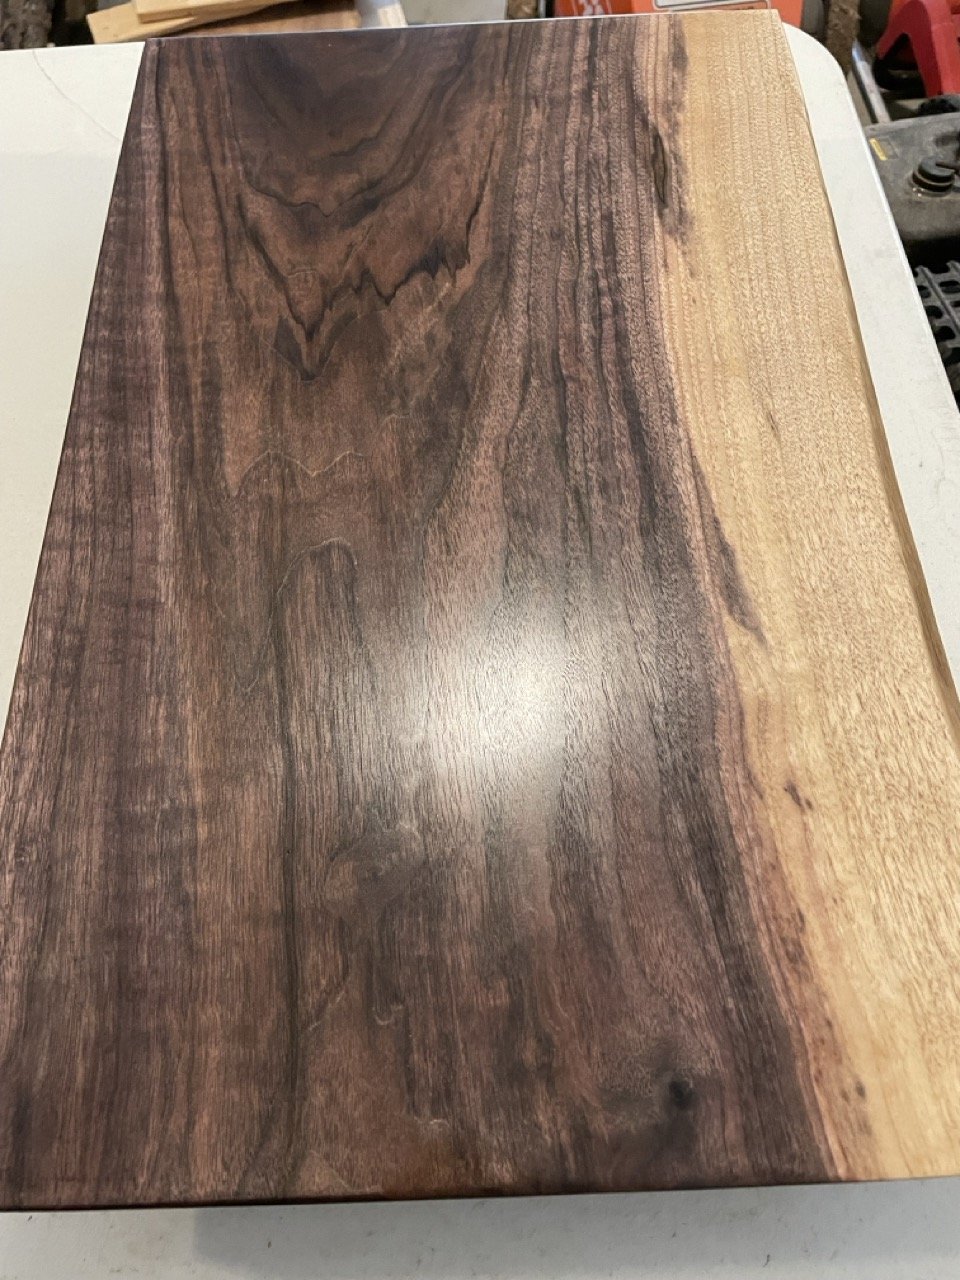
Same view as before, but after the oil had dried.
This view shows just how much character the oil finish brought out in the wood grain.
I almost just used fat wood screws to hold the metal legs onto either side of this table. As I looked at it though, I knew it was going to look “un-polished”. So I opted to use brass anchors in the wood and machine screws to connect the legs to the table top.
Drilling these holes was tricky, as I didn’t want to go through the board, and I didn’t have a bench press. After some nervous drilling, all of them were done.
Getting these things into the wood was a prime example of why you don’t only buy “just what you need.” After I made a trip back to the hardware store, I finally got a good rhythm for getting them into this wood.
First side is on! These are 6” tall legs that should make the table sit level with his armrests. Yes, this does sound short, but I believe it will still work for Dad. And, the next size up was 12”, so that was less likely to be what I needed.
Here it is! With both legs on, I’m super impressed at how sturdy the thing is. That said, it should be sturdy with as much as it weighs.
Here’s a good view of the side of the lap desk showing off some leg.
My mom did a quick stand-in for Dad to get a pic of the desk in action. This was easily the present I was most excited to give this year!


