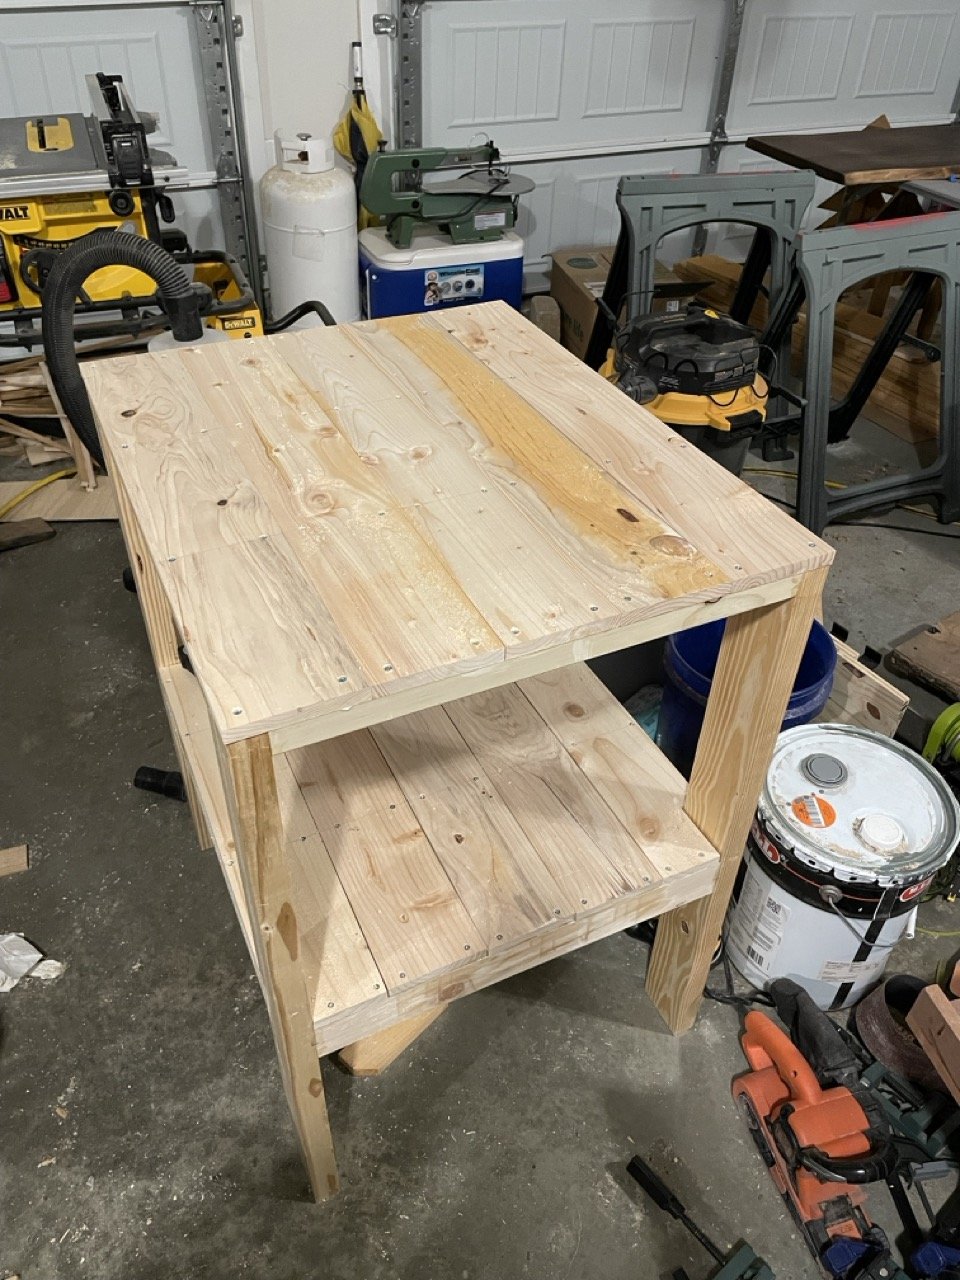
Planer Stand
Welcome to my distraction while in the middle of building my black walnut bookcases for my home office. Let me set the scene, I’ve been on my hands and knees planing the thick and heavy boards for my bookcases on concrete. Besides the obvious discomfort, the planer required a lot of room to accommodate the full length of boards on both sides. This means the heavy tool needs to be moved on a regular basis when not in use. Lastly, it’s called a “benchtop planer”, not a “sit on the floor planer”.
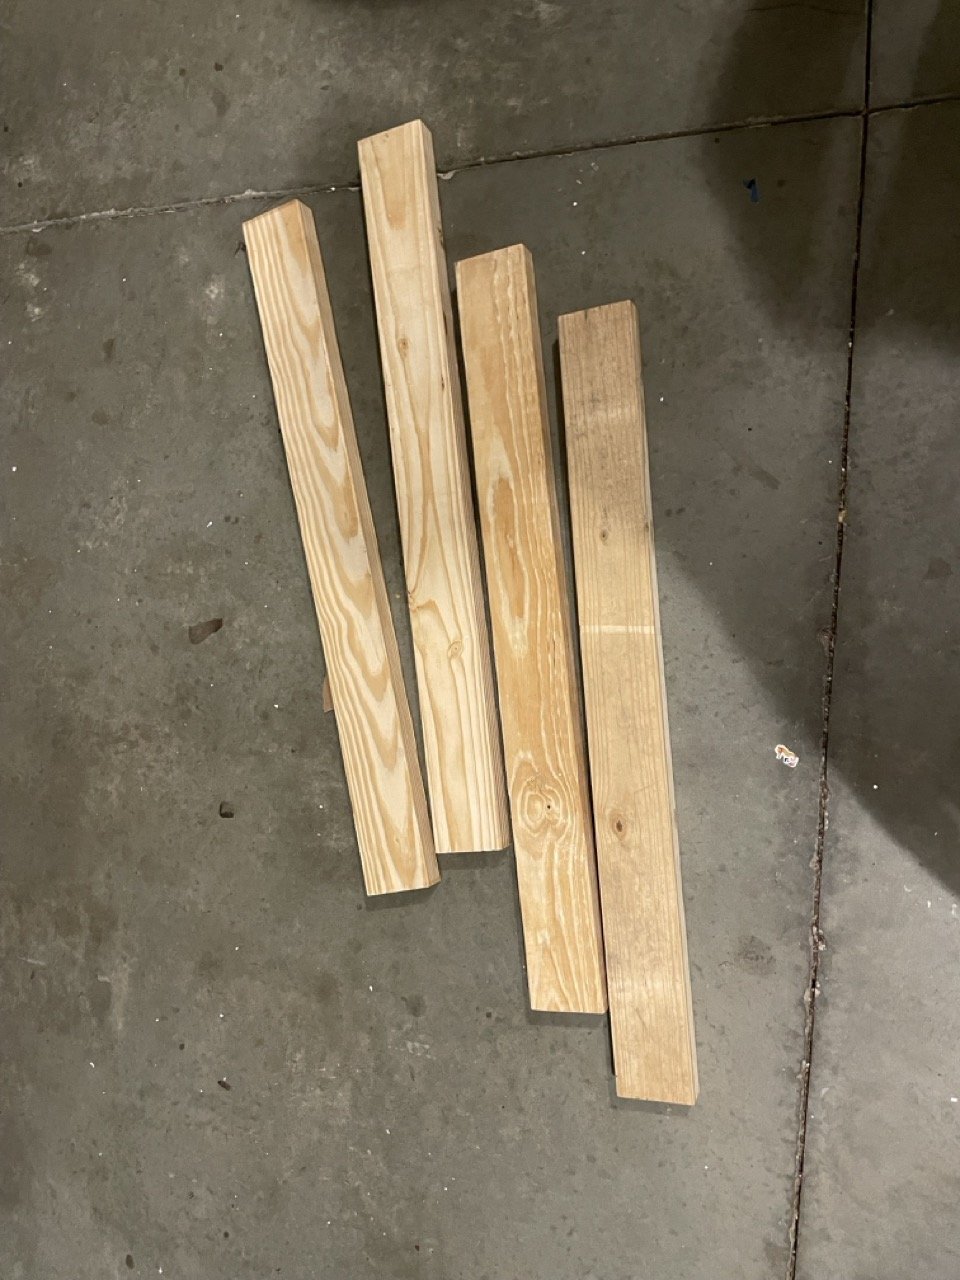
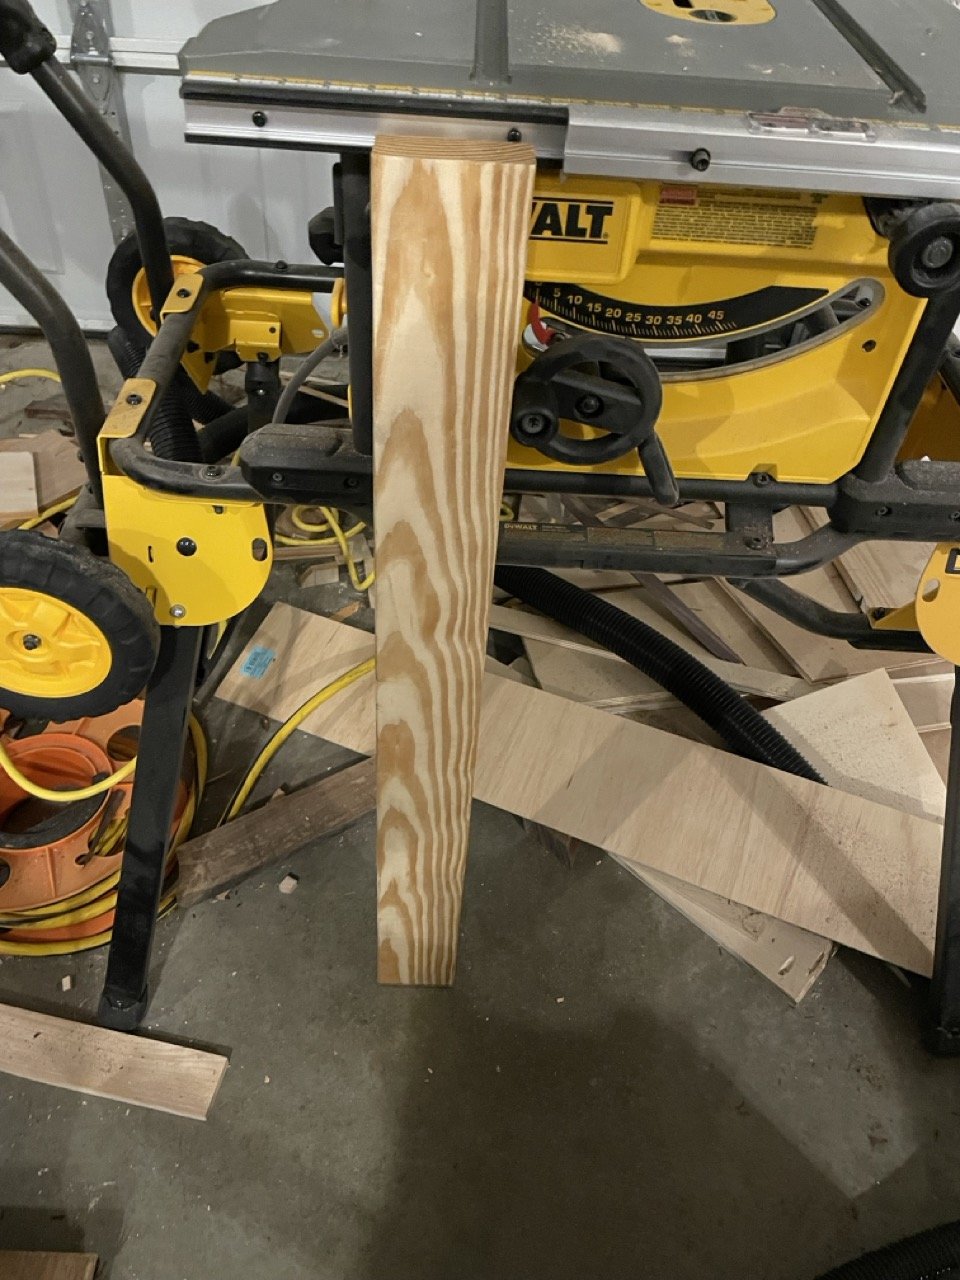
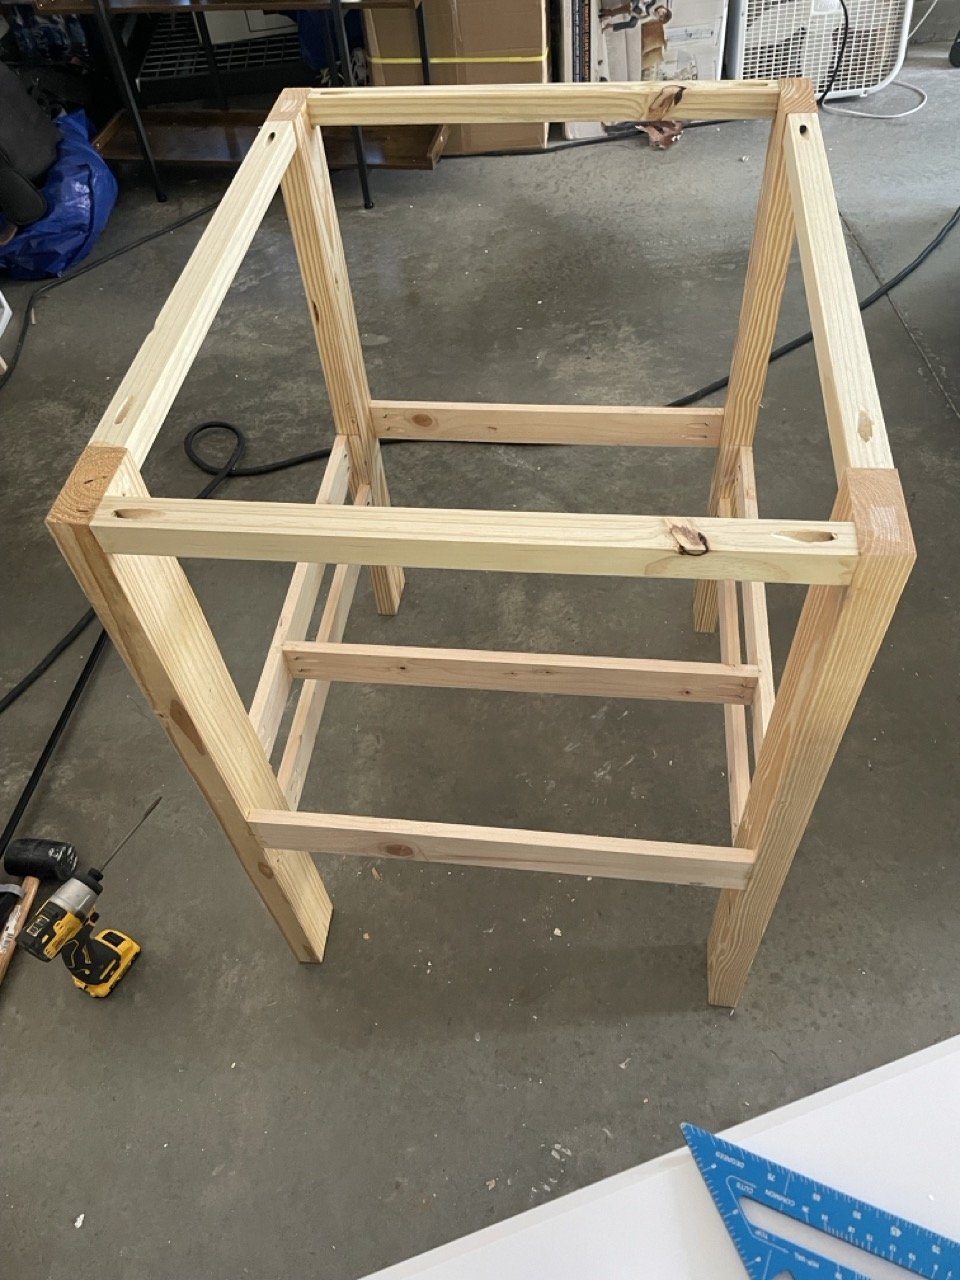
I did some looking online and got some ideas that weren’t just 4 legs and a top. Then, I went out to start seeing what stock I had around already. I settled on using the four pieces of 2x4 I already had. Plus, is it really a workbench if you don’t have some 2x4’s in it? I measured the height of my table saw stand and figured I’d shoot for the same height.
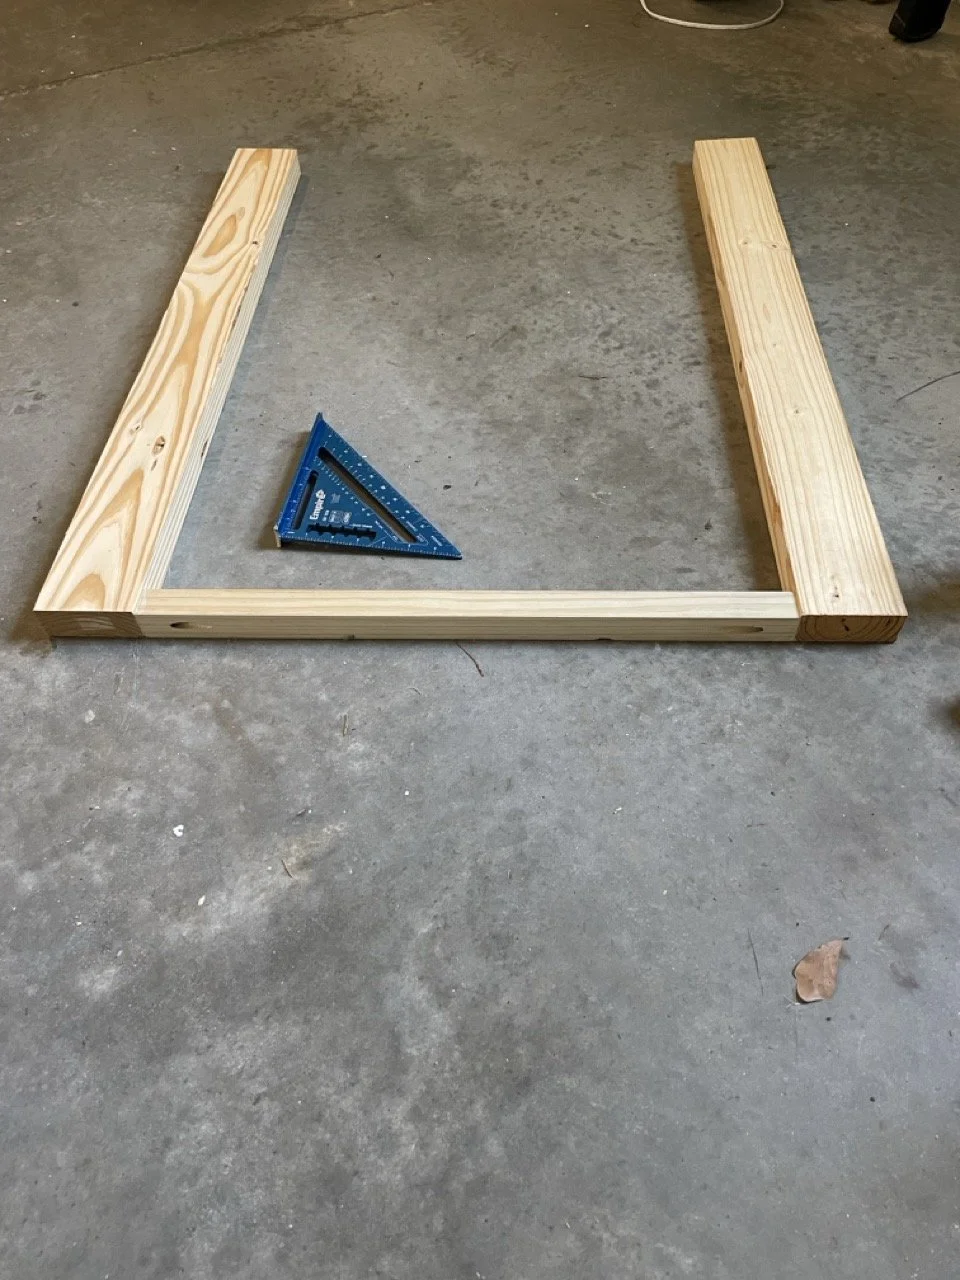
I had some 1x1 stock laying around, so I got on my and and knees to plane that straight as well. Then used the pieces to make the top rail of the frame. In hindsight, I should have chose something different. However, I didn’t decide on this until the glue had set.
While I was building the two sides, I also ran a piece of trimmed down fence plank on the inside of the legs. This will help with stability, but it’s primarily so I can build a drawer for the bottom of the table. Want to take bets on if I get that drawer built during this build?
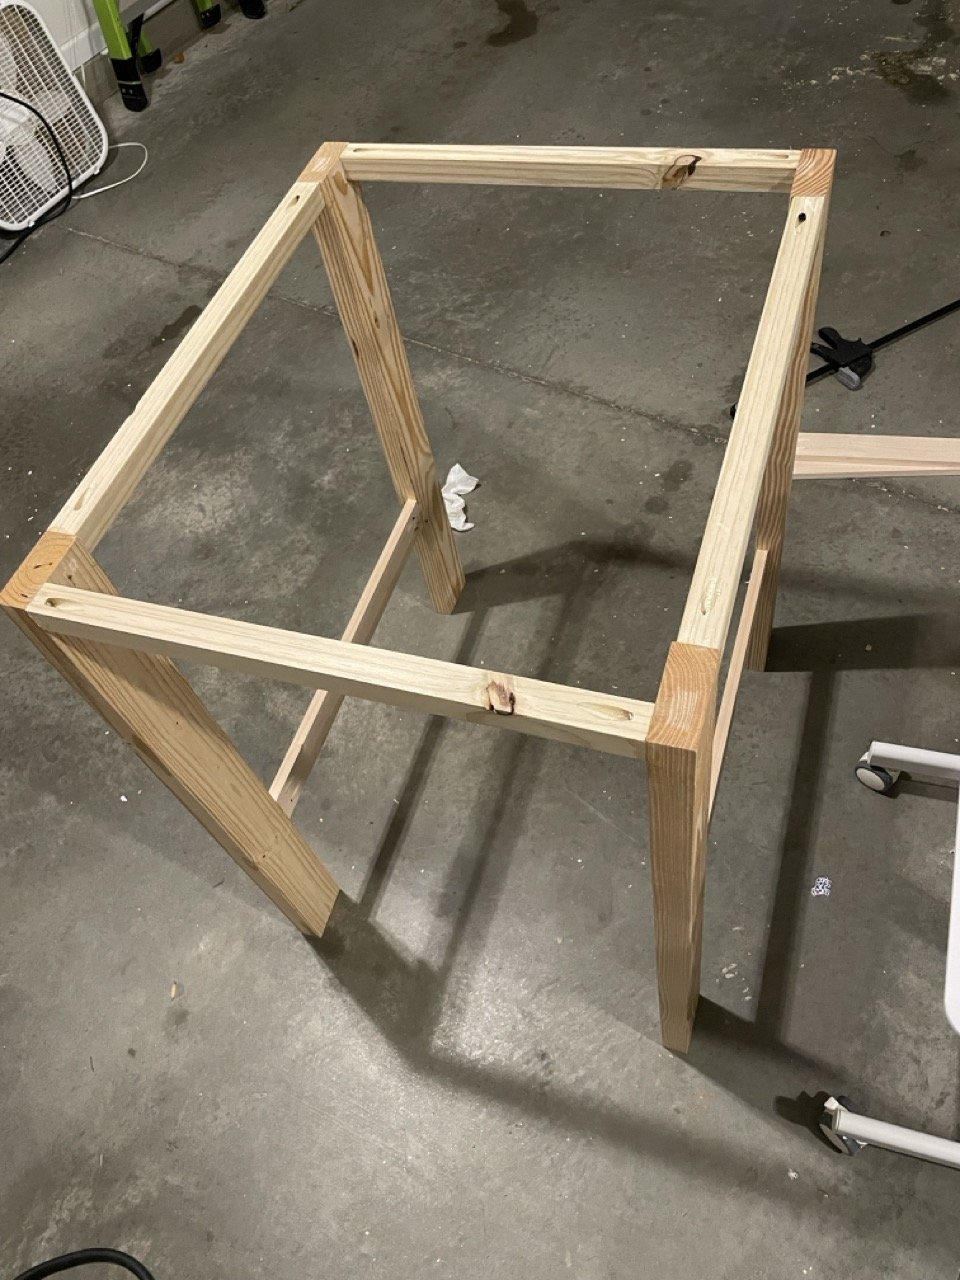
It was when I finally got the two sides connected that I decided I probably messed up with the top rail. I know, I said that before, but this was when I fully admitted it to myself. Oh well, I’ll make it work.
I wanted to put a lower level top, above the drawer area, for added storage. After all, I plan on this thing having wheels, and it’ll be built like a tank in the end. I measured up a bit, and added the first rails to be the base of this level. This also added the stability needed for connecting the two sides together.
I love what you can get out of fence planks. I ripped some more down and made the stringers for my lower level. The area was just too large to not have support through the middle.
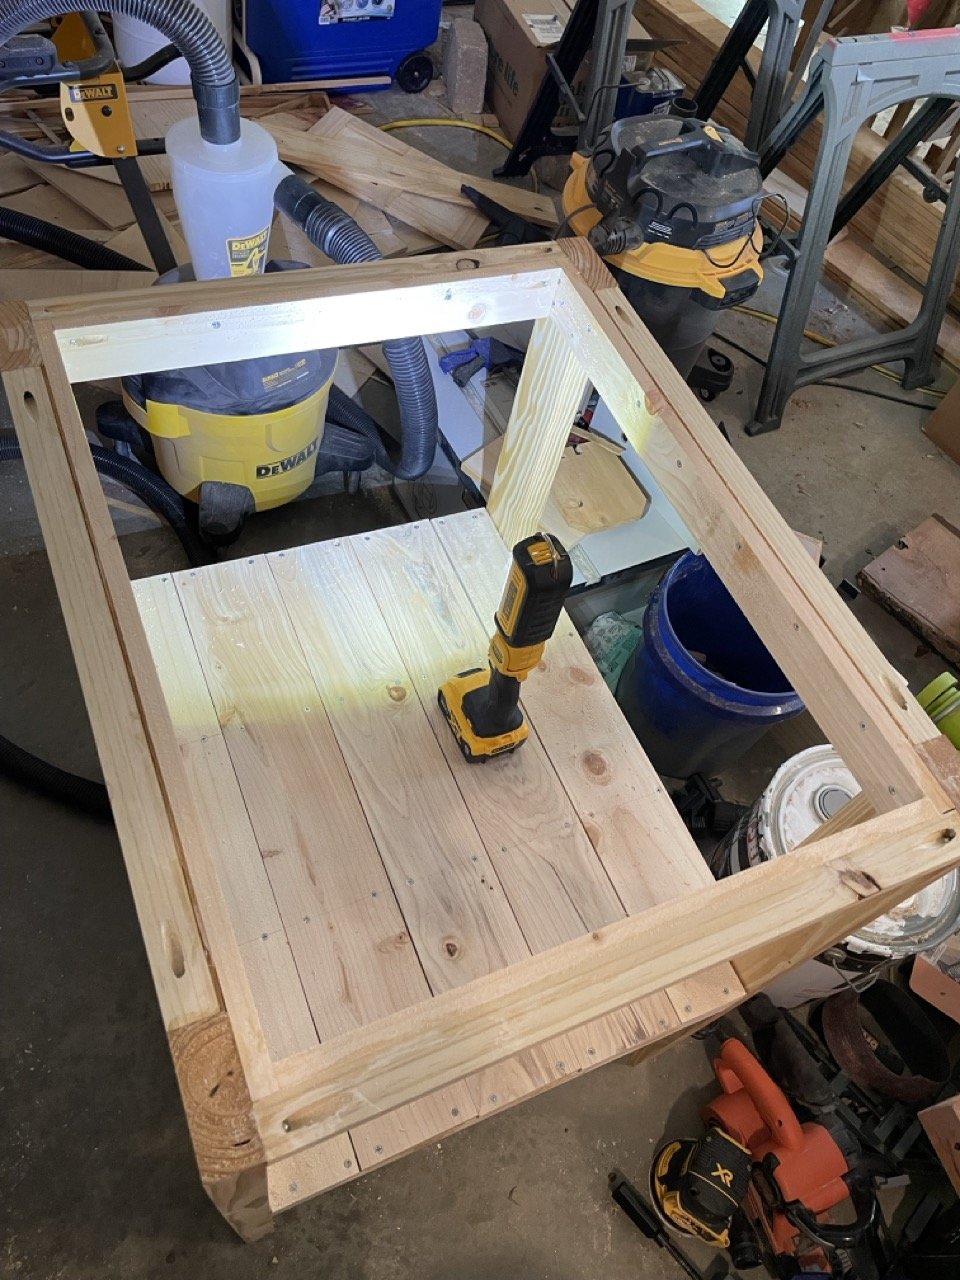
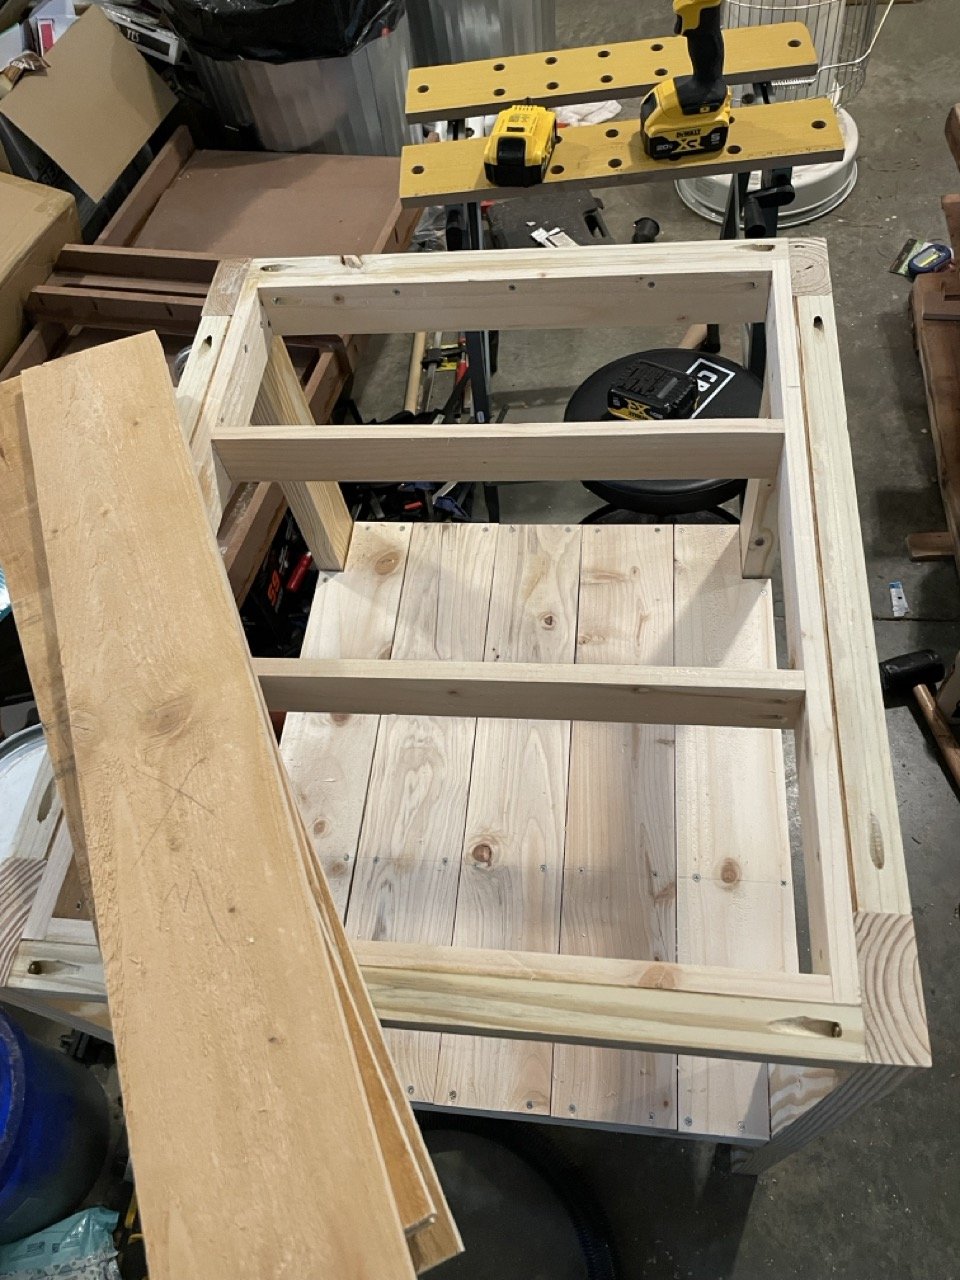
Okay, I suck at remembering to take pictures sometimes. So, a lot has happened between these. First, I got the middle slats planed and cut out the corners with a jig saw. I then decked the lower level to make a shelf. Next, I moved back to fixing my earlier mistake of making the top rail a smidge skinny. I ripped down some more pine fence pickets and made an inner support rail. I secured it to the main 2x4s and to the existing 1x1 rail. When it was done, I tried testing the rail with a bit of weight and said the obligatory, “that’s not going anywhere” to bless the fix.
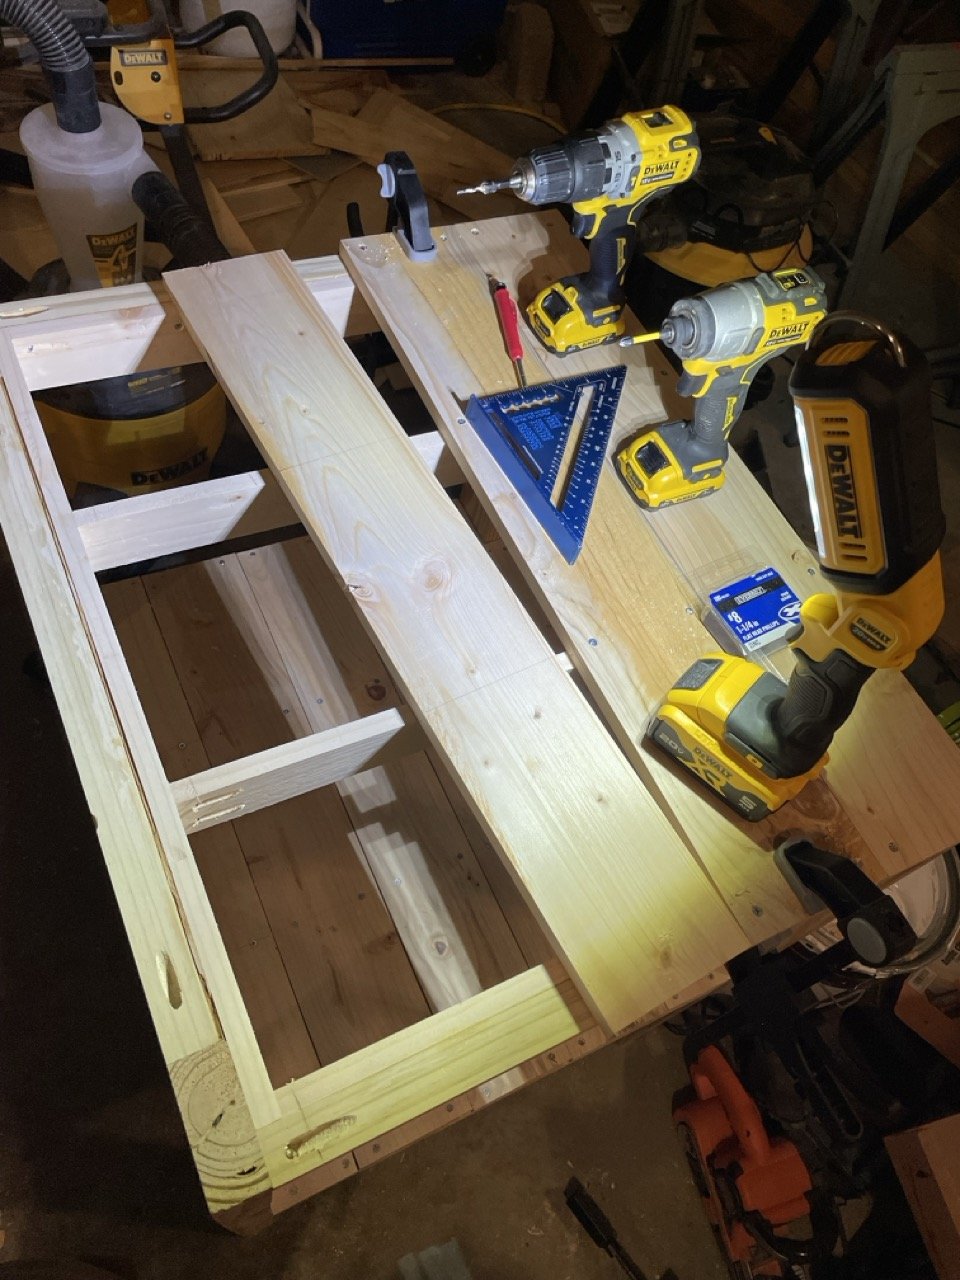
I am planning to deck the top in the same way as the bottom. As part of this, I had to make one board a smidge skinnier than all of the others. I was so close to a happy coincidence of dimensions lining up unplanned. Anyways, off to planing on the cold concrete again.
Since I missed documenting the whole bottom level, I’m trying to make it up now. I’m super excited about how the inner rail is adding so much extra support. This might have worked out great after all! I’m getting to play with clamping to the rails, and it’s actually nice having different levels to grip from.
The top is done! I was tempted to call the project as “good enough” for now, but I want to do a few things first. Spoiler, the planned bottom drawer is not on that short list of enhancements.
Time for wheels! I found some casters that allow the wheels to be locked down, or pulled up so the table sits firmly on the ground. This sounded like a great idea so that I could move the table around the garage. I was super excited that it came with a good template for measuring from.
Wheels are on, and the table is level. I was really proud of myself… until I realized that I had outsmarted myself. I put the wheels on the inside of the table since I wanted to keep the footprint smaller. Besides, I’m clumsy enough already without the pedals sticking out, trying to trip me. While I was patting myself on the back though, I realized the wheels were exactly in the place I was originally talking about a bottom drawer. So, I guess that’s not happening now.

