Above Ground Cedar Planter - The Raised
It’s that time of the year in Georgia. Yes, we are getting warmer weather, but I’m talking about the arrival of our yellow pollen. Every year it comes around just when the weather turns nice. It also means everyone starts planting and praying it won’t freeze again. Last year I made Kathryn a raised planter bed for the back yard. It worked amazingly well and Holden loved “helping” with it. Especially when it came to the digging part. This year we decided he should have his own garden.
Let’s start with a look at least year’s garden. I did a few things that turned out great, and a couple that didn’t. One thing that has always bugged me was not finishing off the tops of the posts. I also made the top and bottom runs with thicker cedar than the middle ones. This was to allow the middle boards to flex some, and give some depth. In the end though, the difference wasn’t enough to give the effect I wanted. And it just ended up costing a lot of extra money and time.
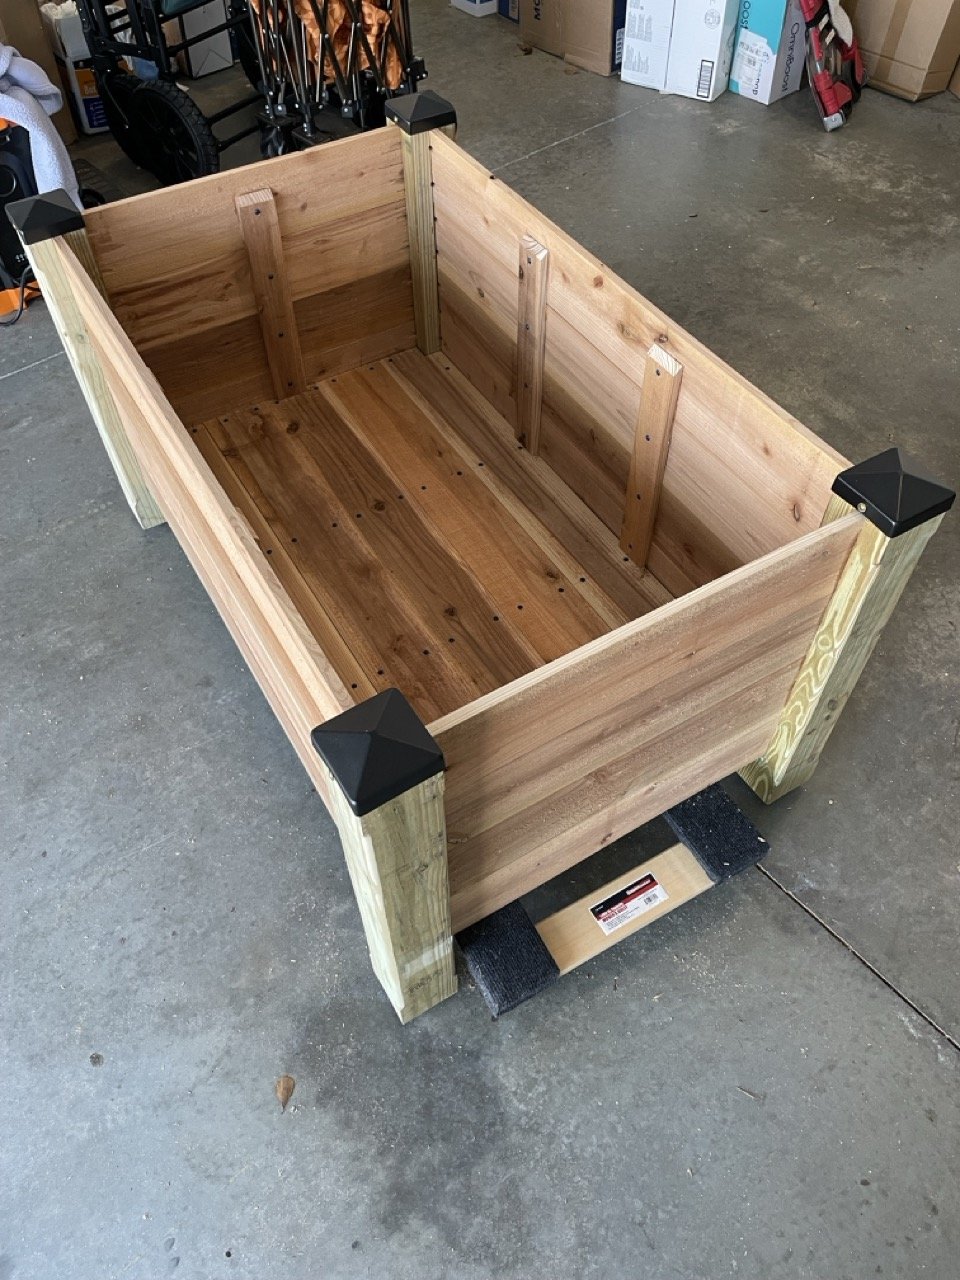
A major difference between the original planter and the one I’m about to start is that the OG had no bottom. This was because we put it directly on the ground and allowed the soil in the planter to contact the ground. It greatly simplifies things, but wasn’t going to work for Holden’s. We wanted this one to replace an old outdoor coffee table that is currently holding up broken pots. Since it’s going onto concrete, It needed to be a raised planter that was raised in the air (Raised squared for the mathletes in the audience).
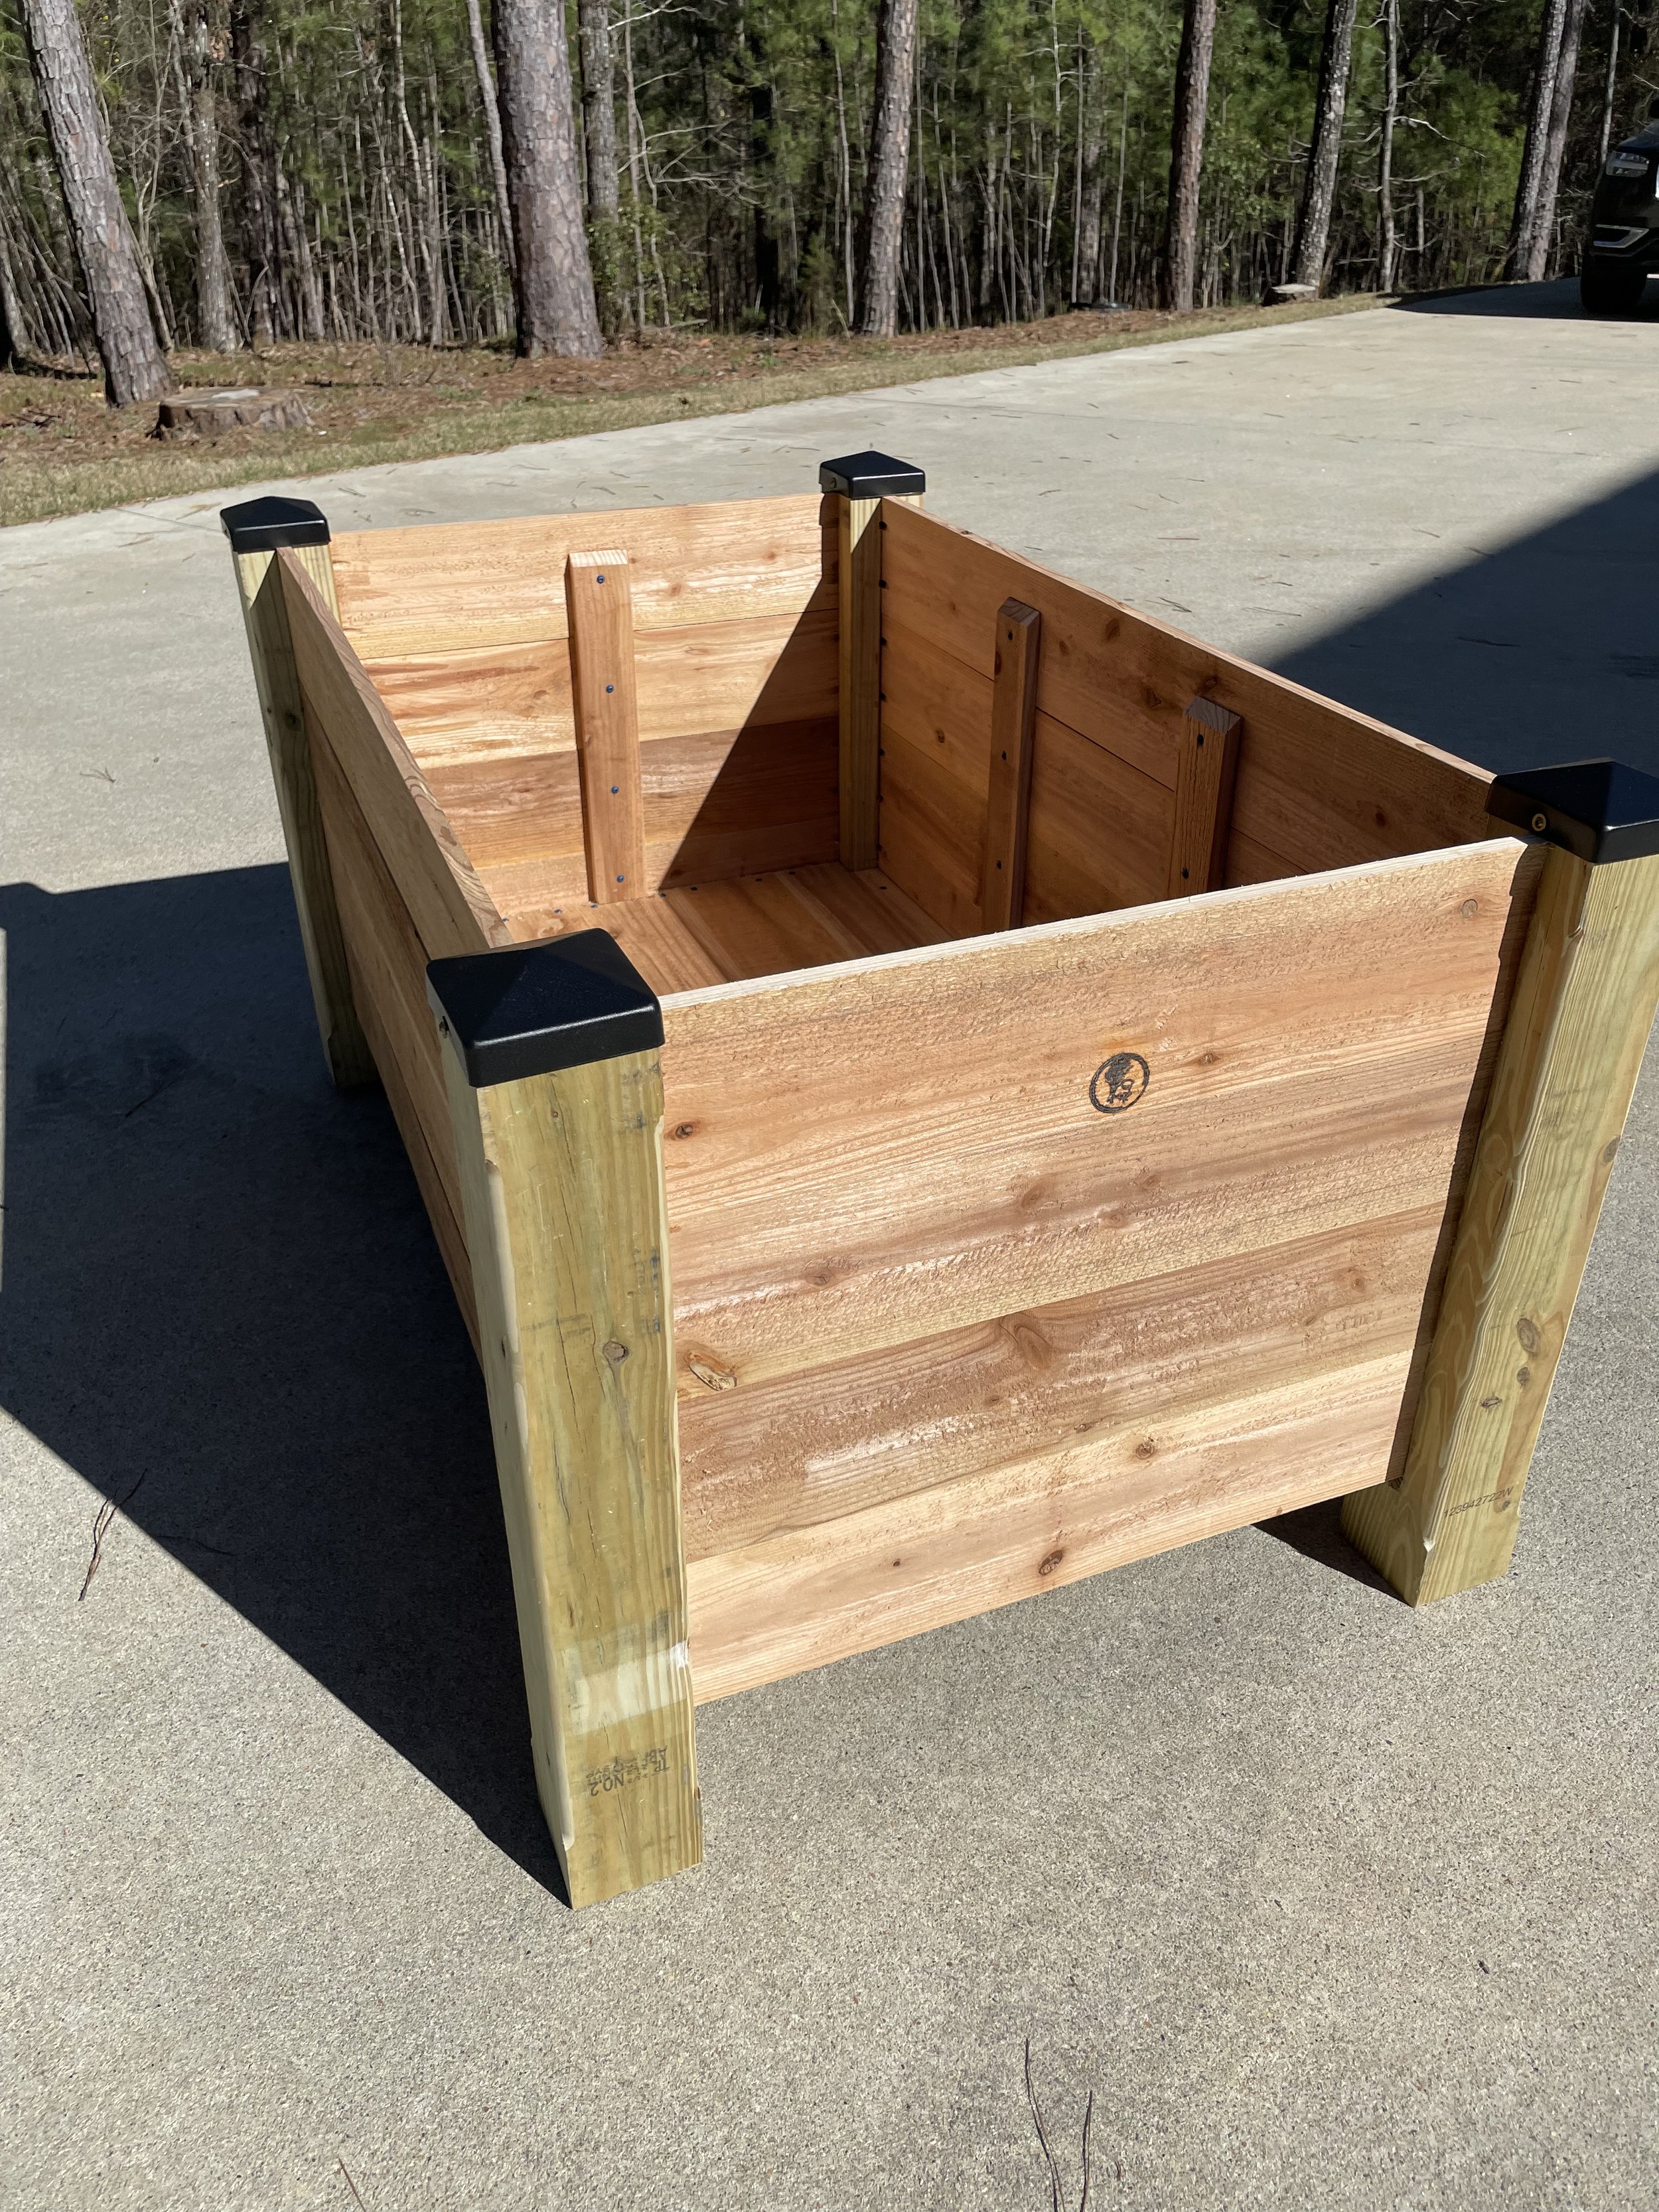
Another change that I made was to use pressure treated wood for the posts this time. This helps in a couple areas. First, it solves that thing that’s been bugging me from the original planter: It allows me to easily find caps! Second, I need the legs to remain sturdy through the elements and gardening activities.
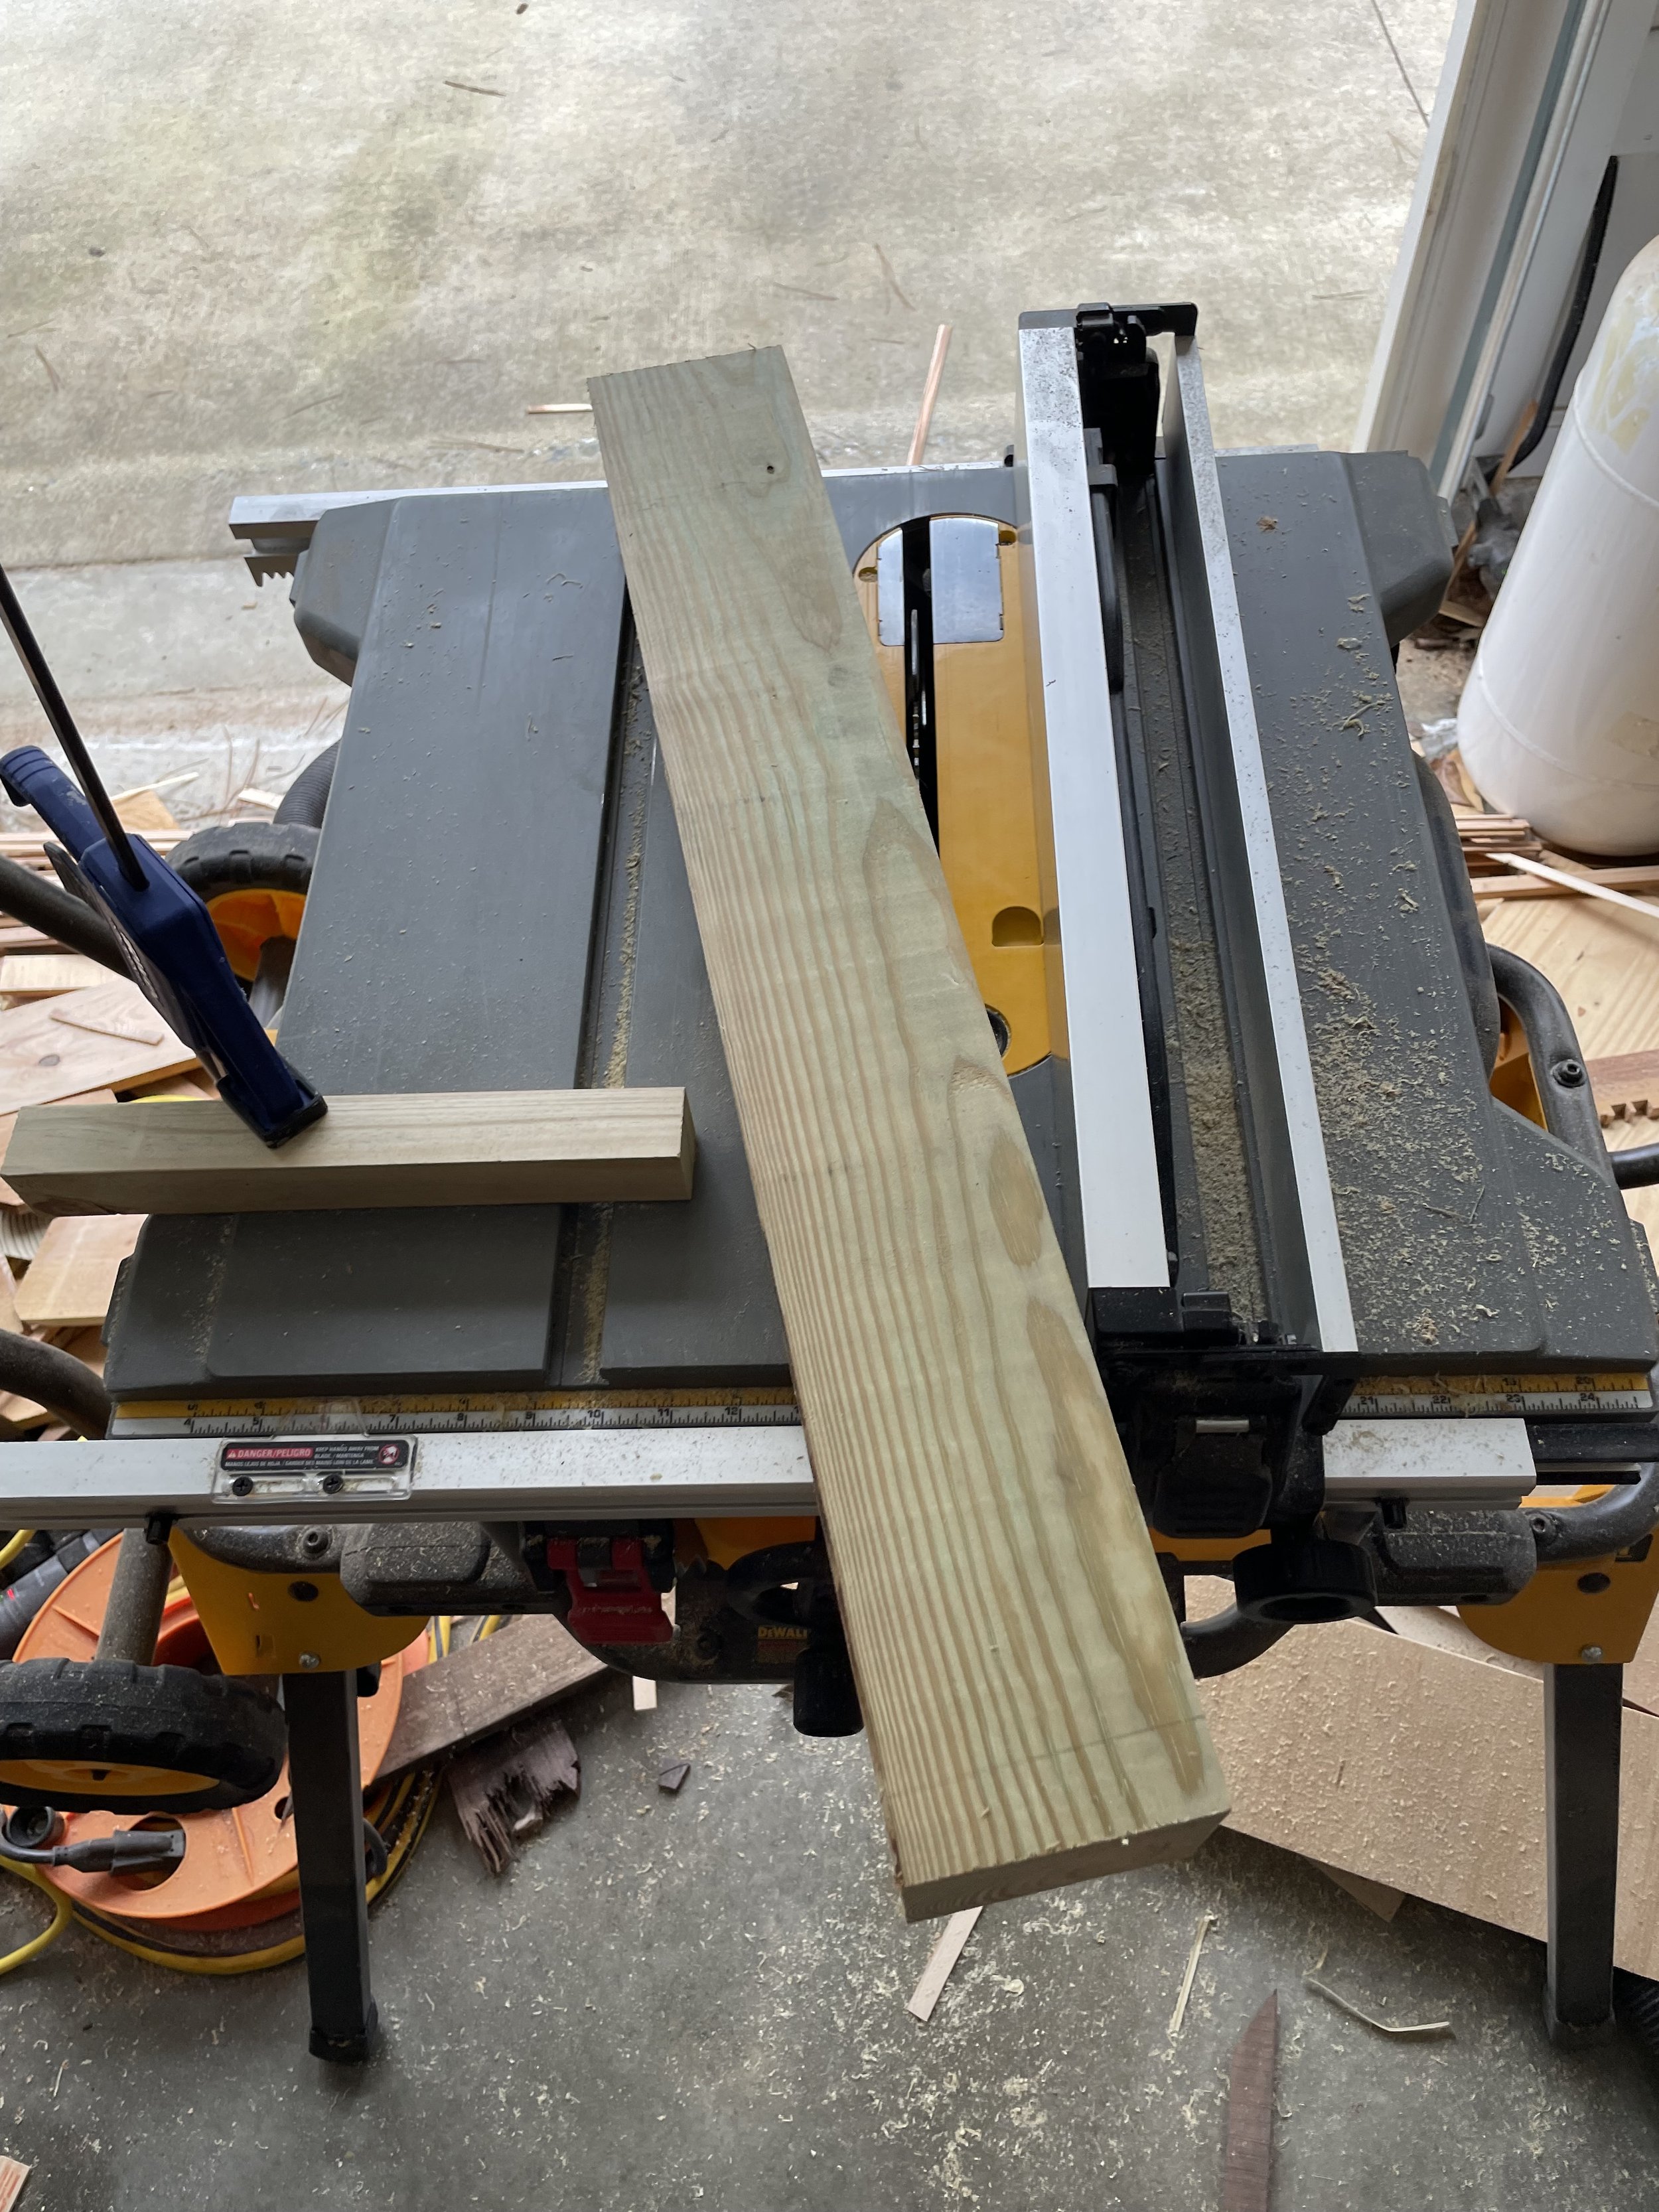
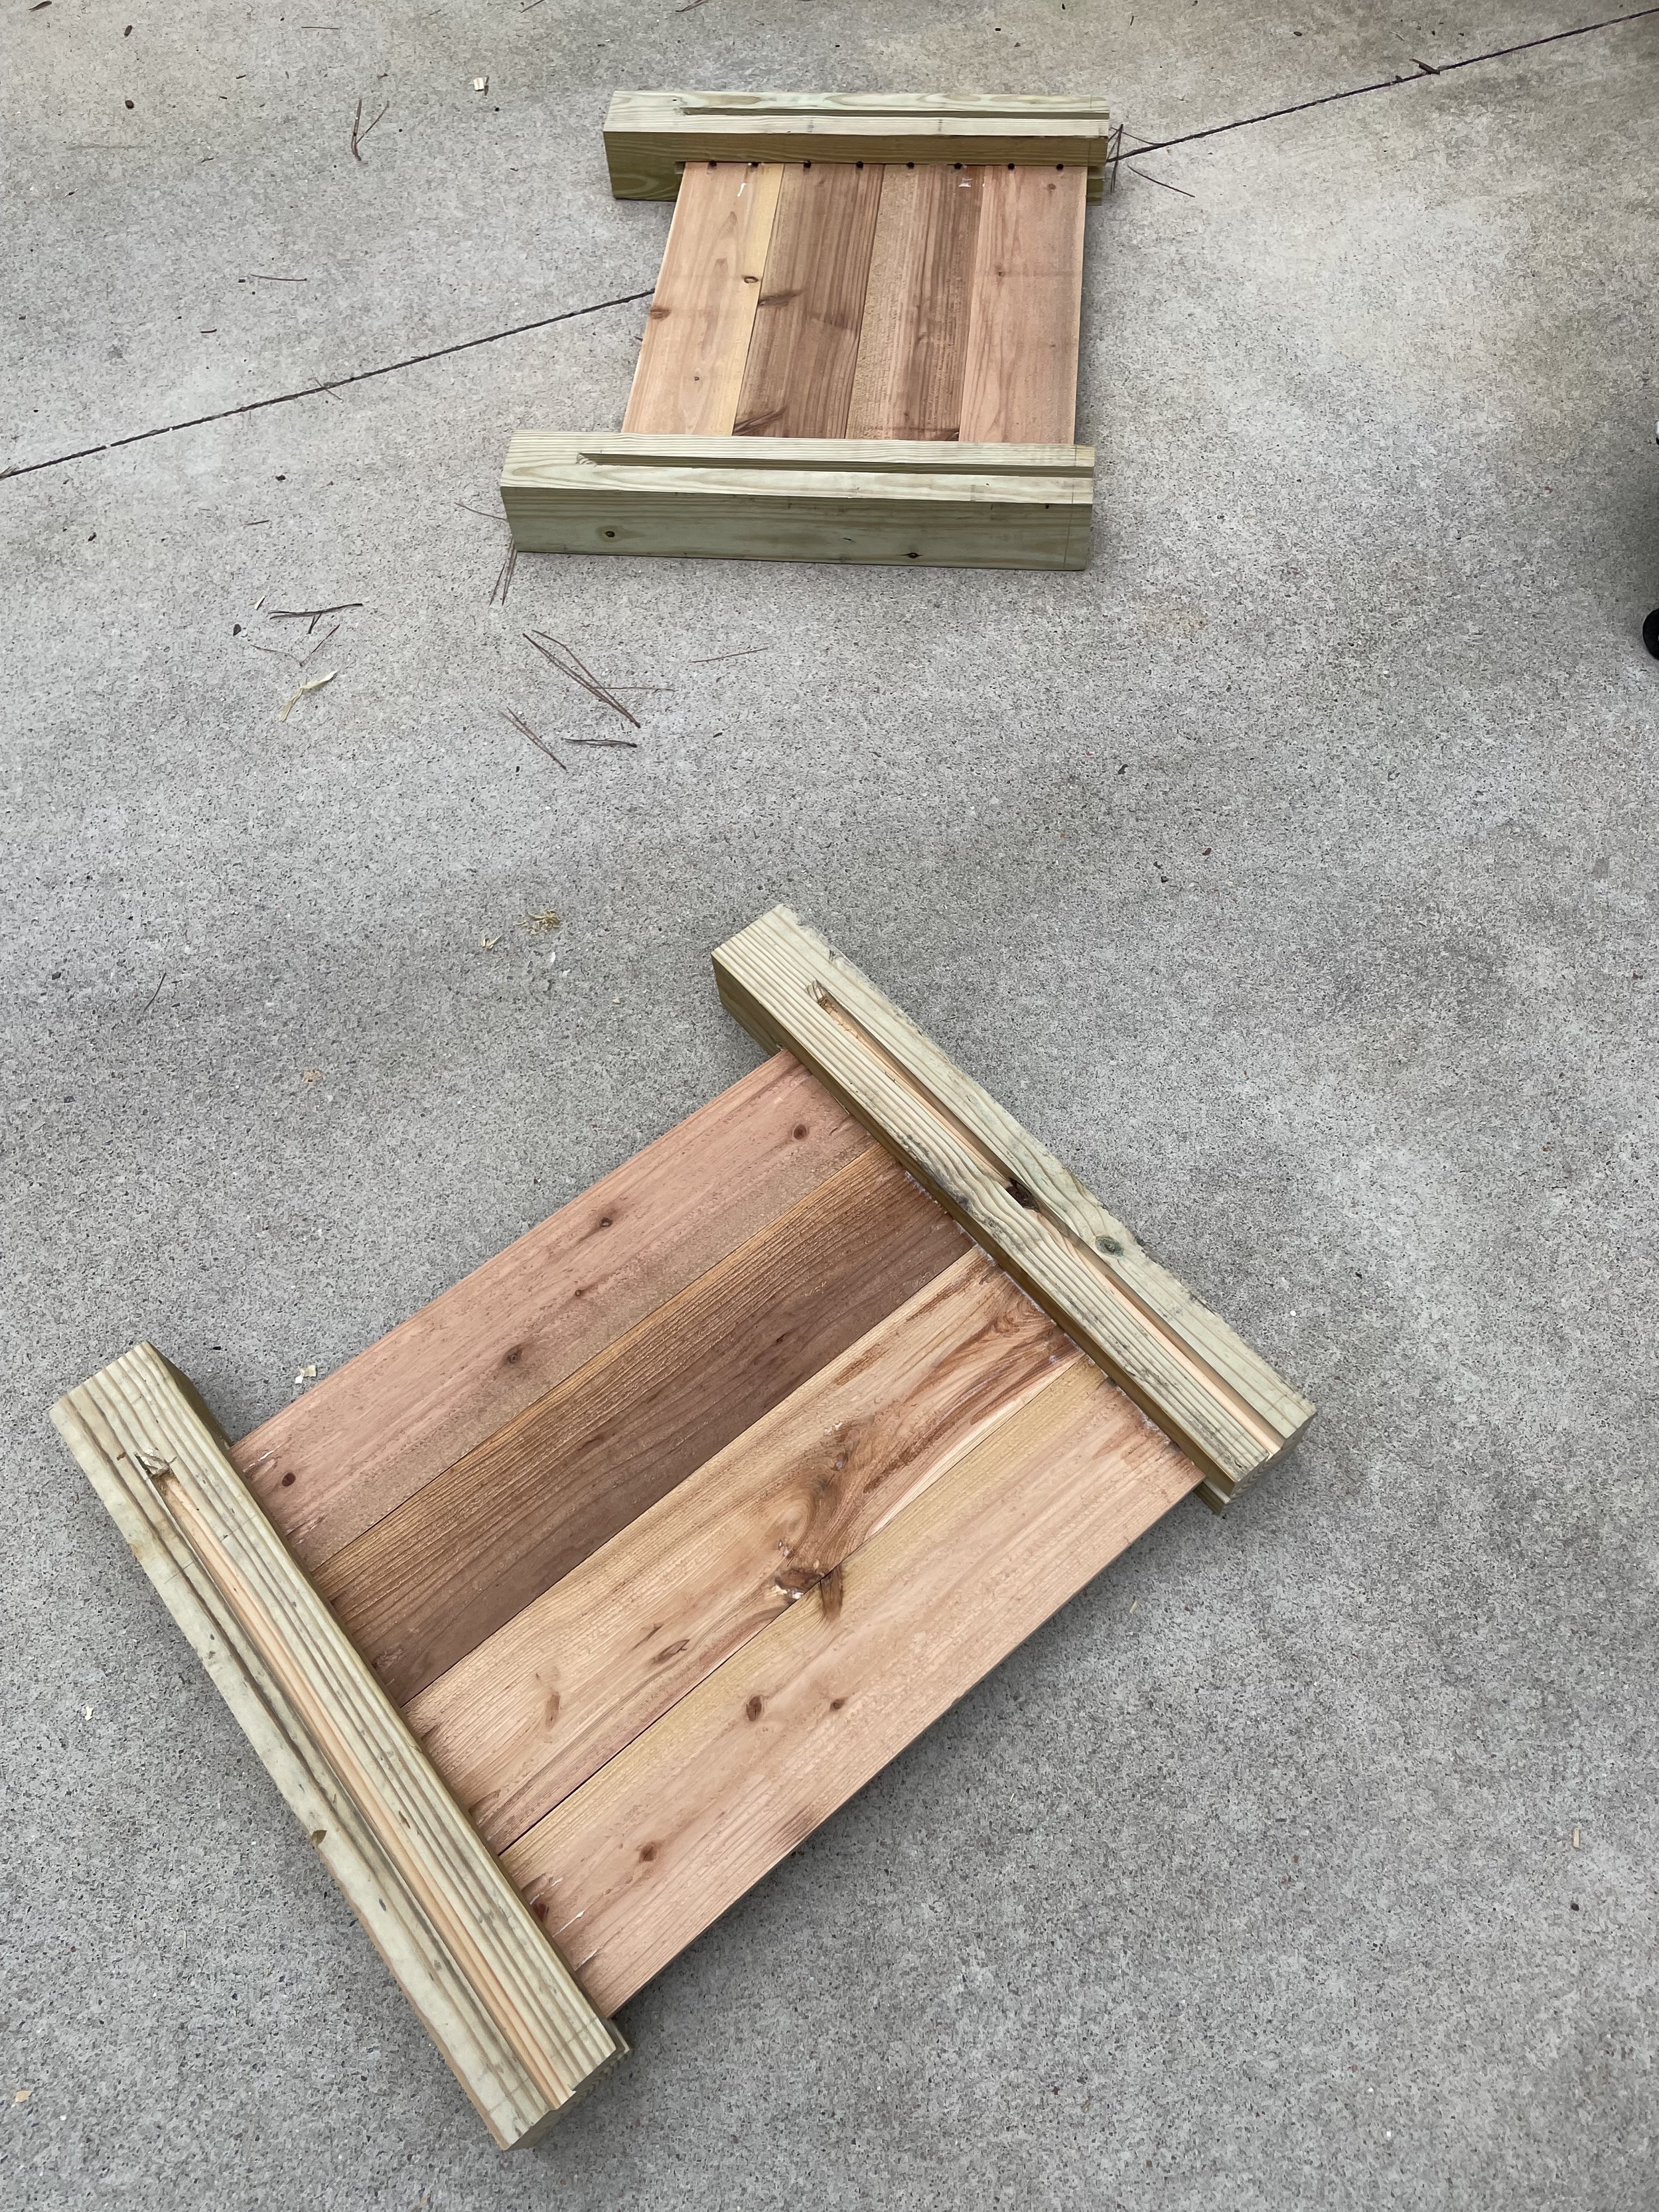
Last time I used a table saw and router to cut the different sized dados. This time I’m only cutting a single width, but I need it to not go the entire length of the post. Without a whole lot more thought, I decided to just jump in. I measured where close-ish to where the table saw blade begins to contact the wood and measured back to where I wanted the bottom of the dado to be. This meant that I tried to get my measured cut to be from the top to where the blade cut began, not from where it was at full depth. This shows my “guide” for remembering where to stop.
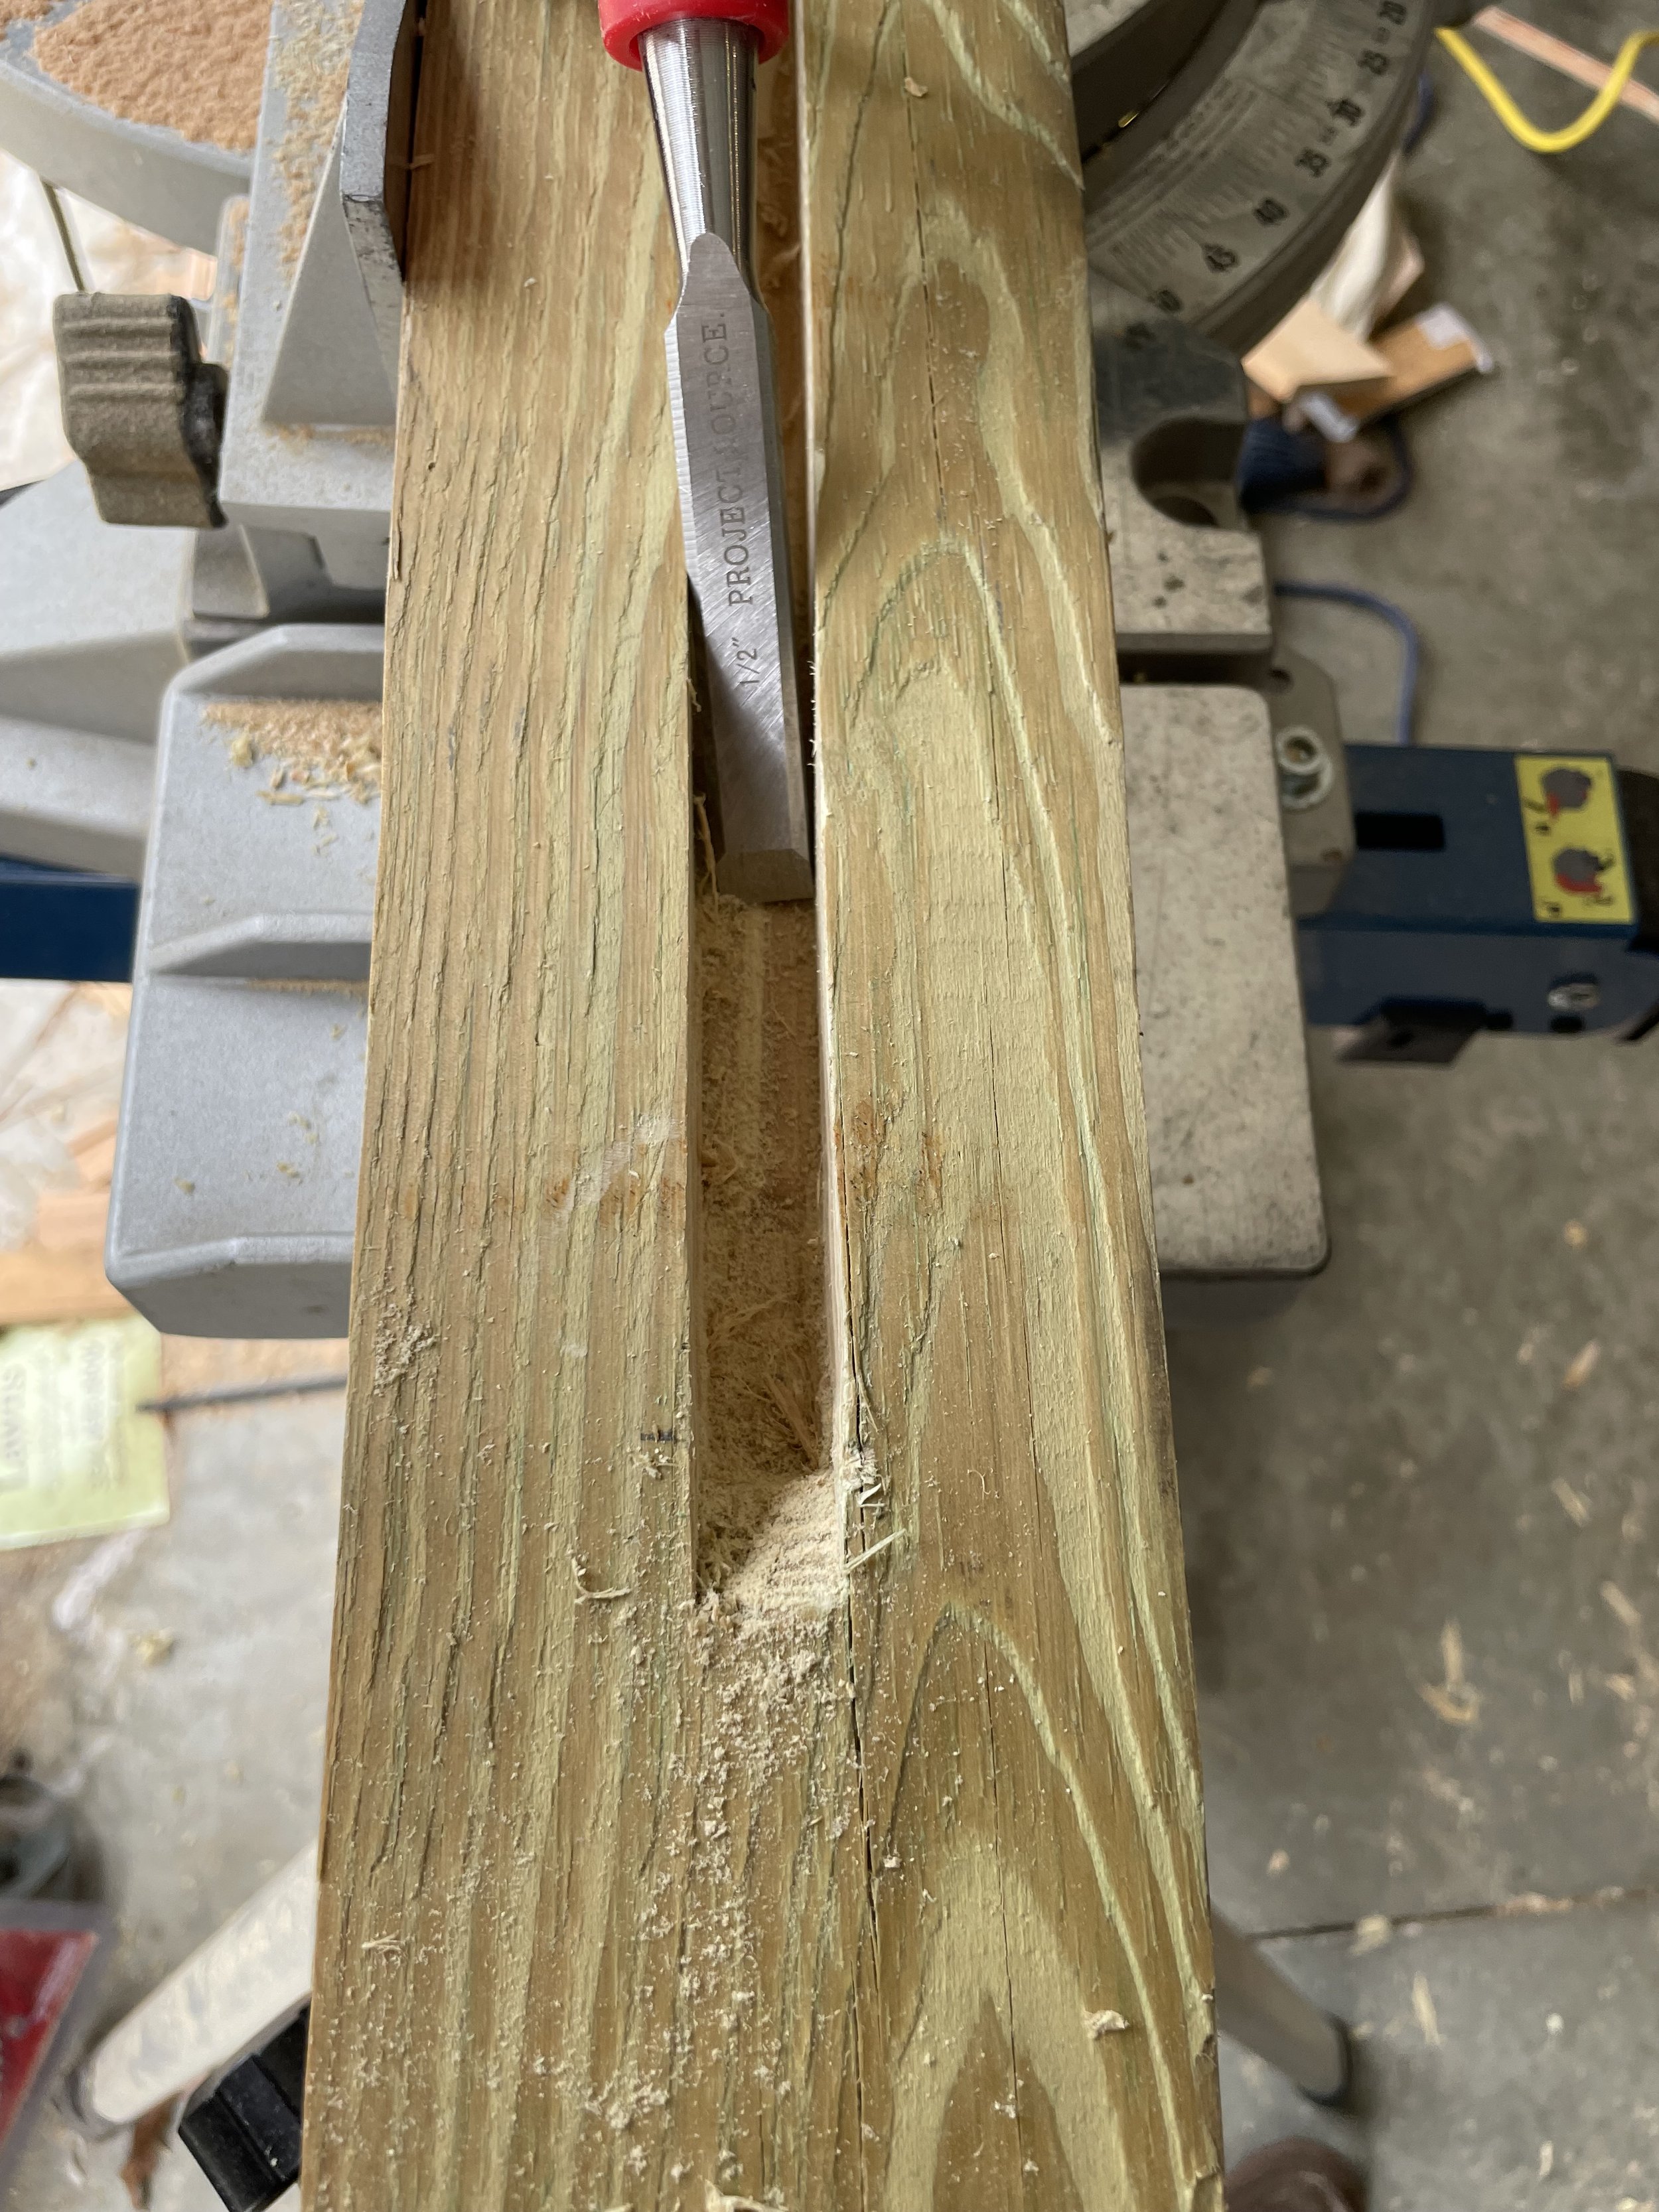
Once off the table saw, I chiseled out the bottom of the valley and brought the length down to where it needed to be. This actually worked better than I expected.
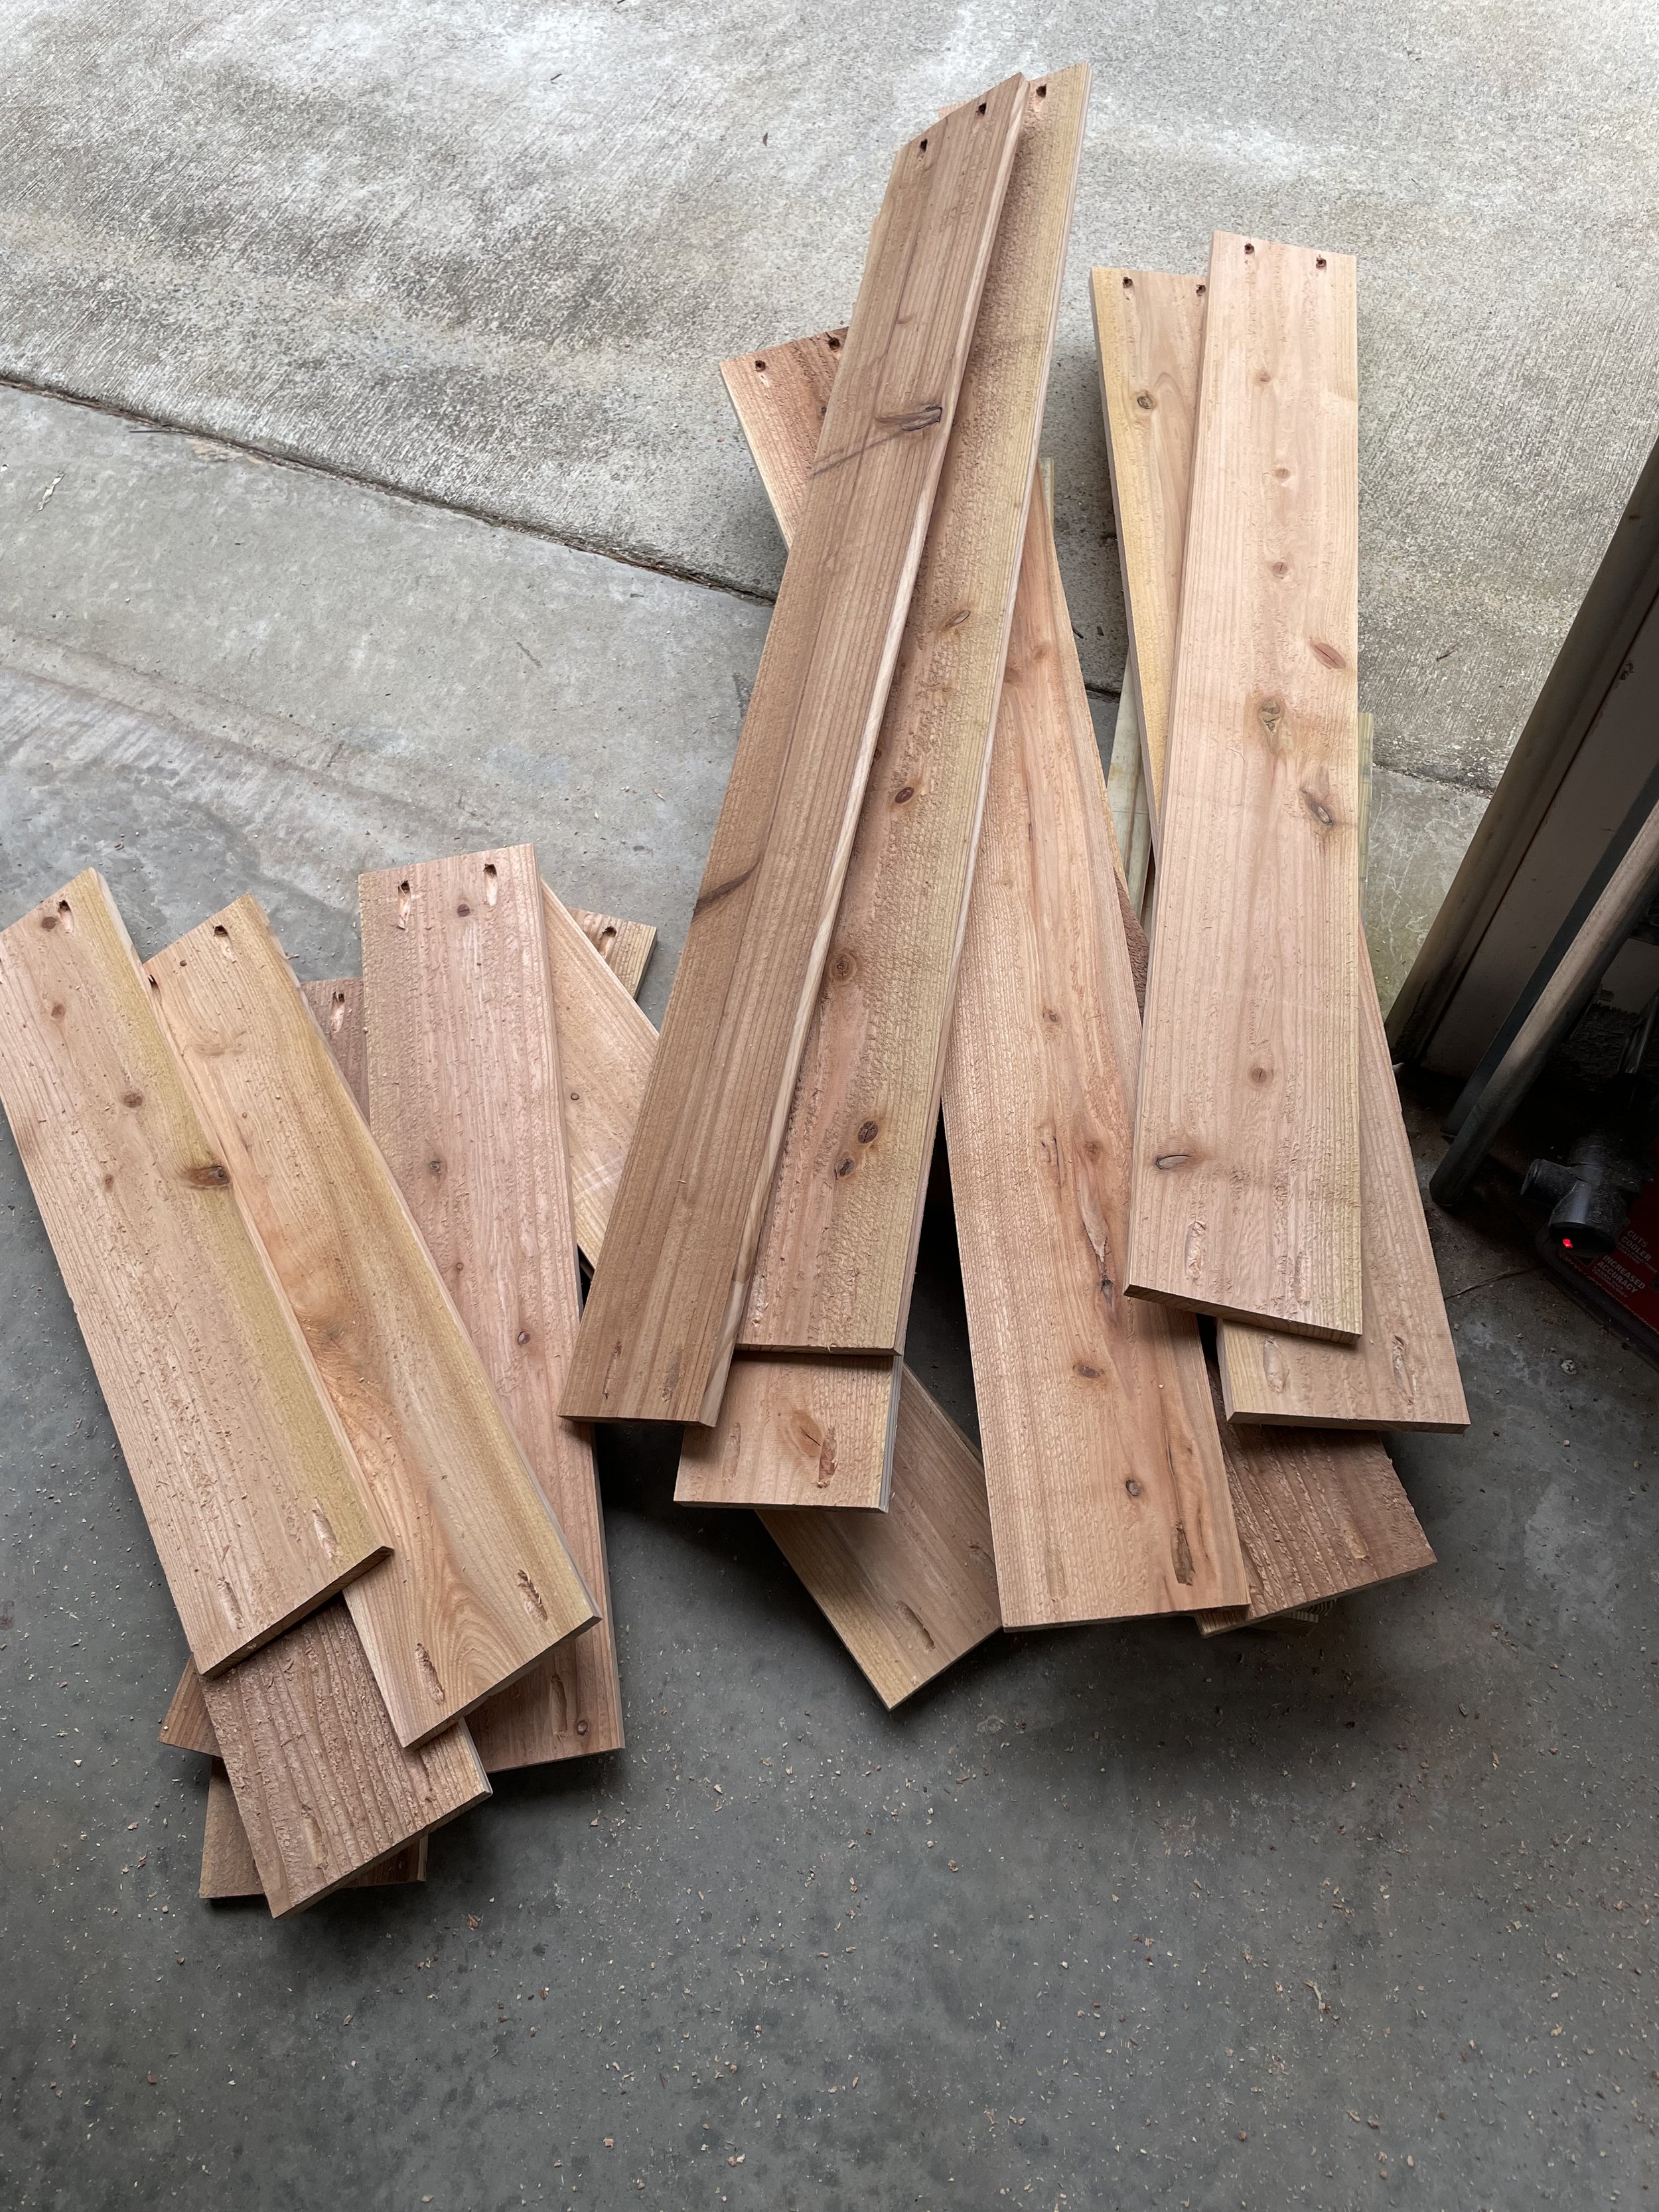
Now back to the slats. I cut the lengths twice as long as the width to keep it simple. I also trimmed them down the sides to ensure they were uniform (and make the math a lot simpler). Just a “few” pocket holes later, and I was ready to begin assembly.
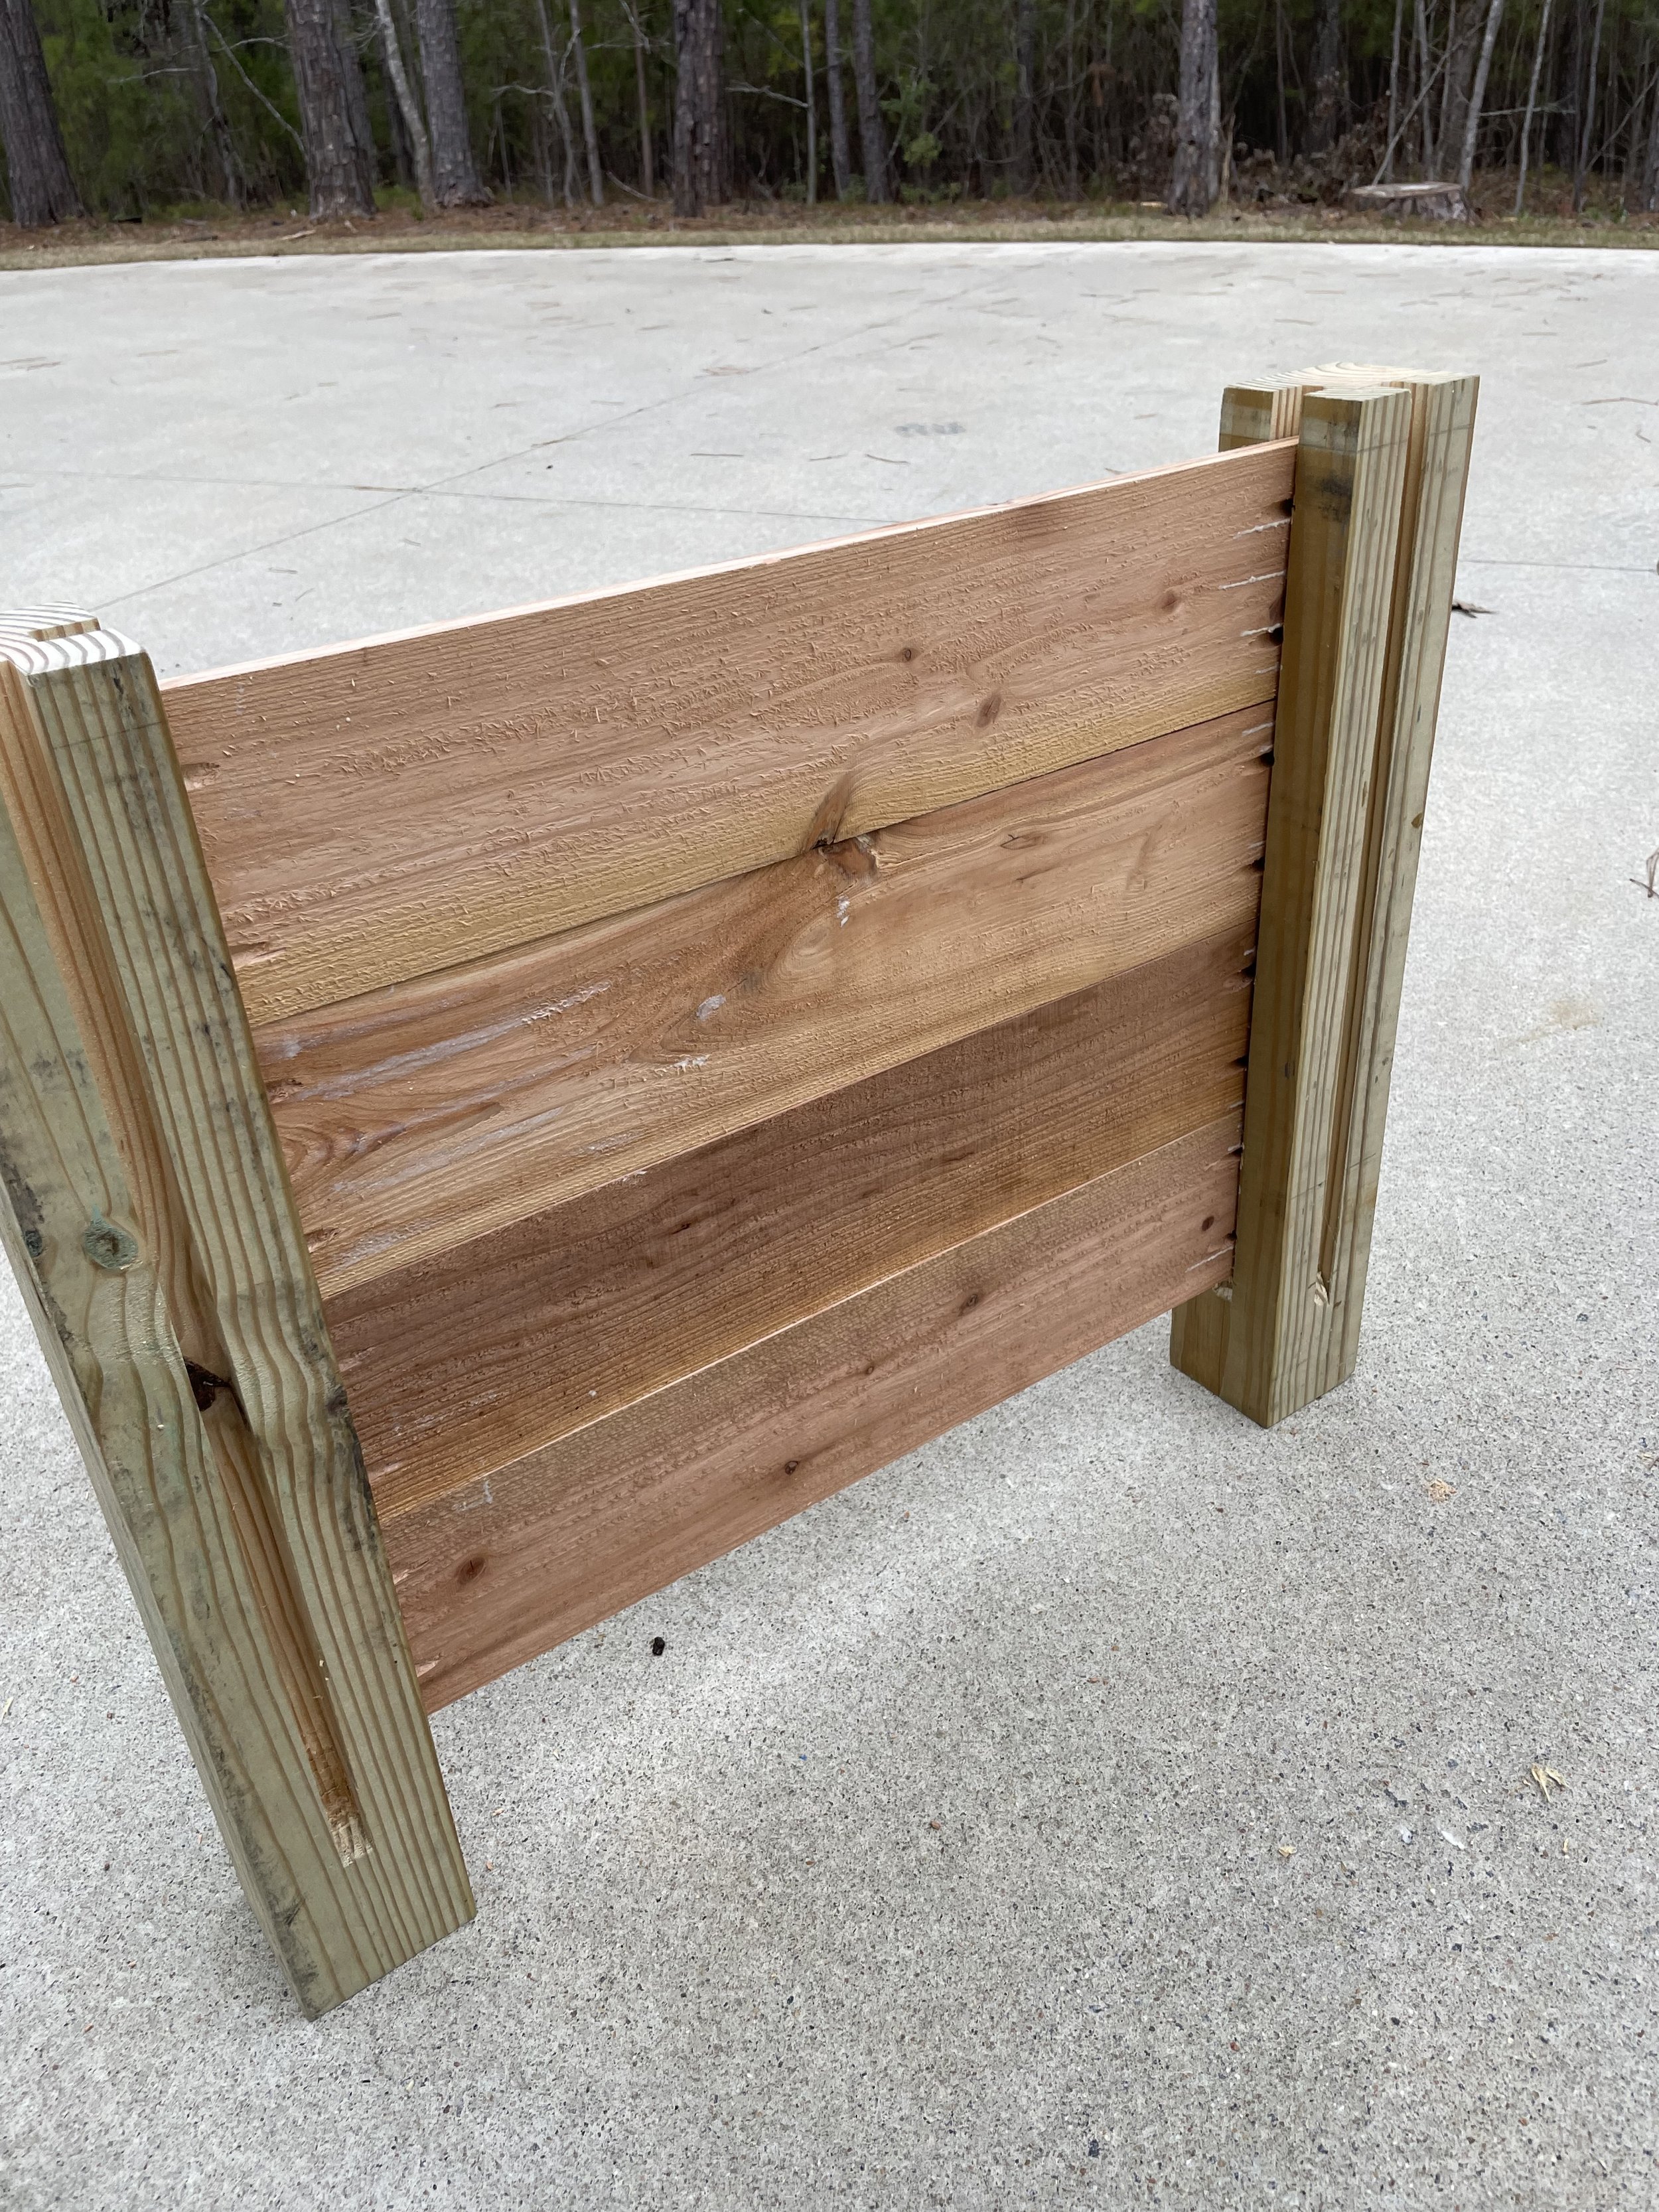
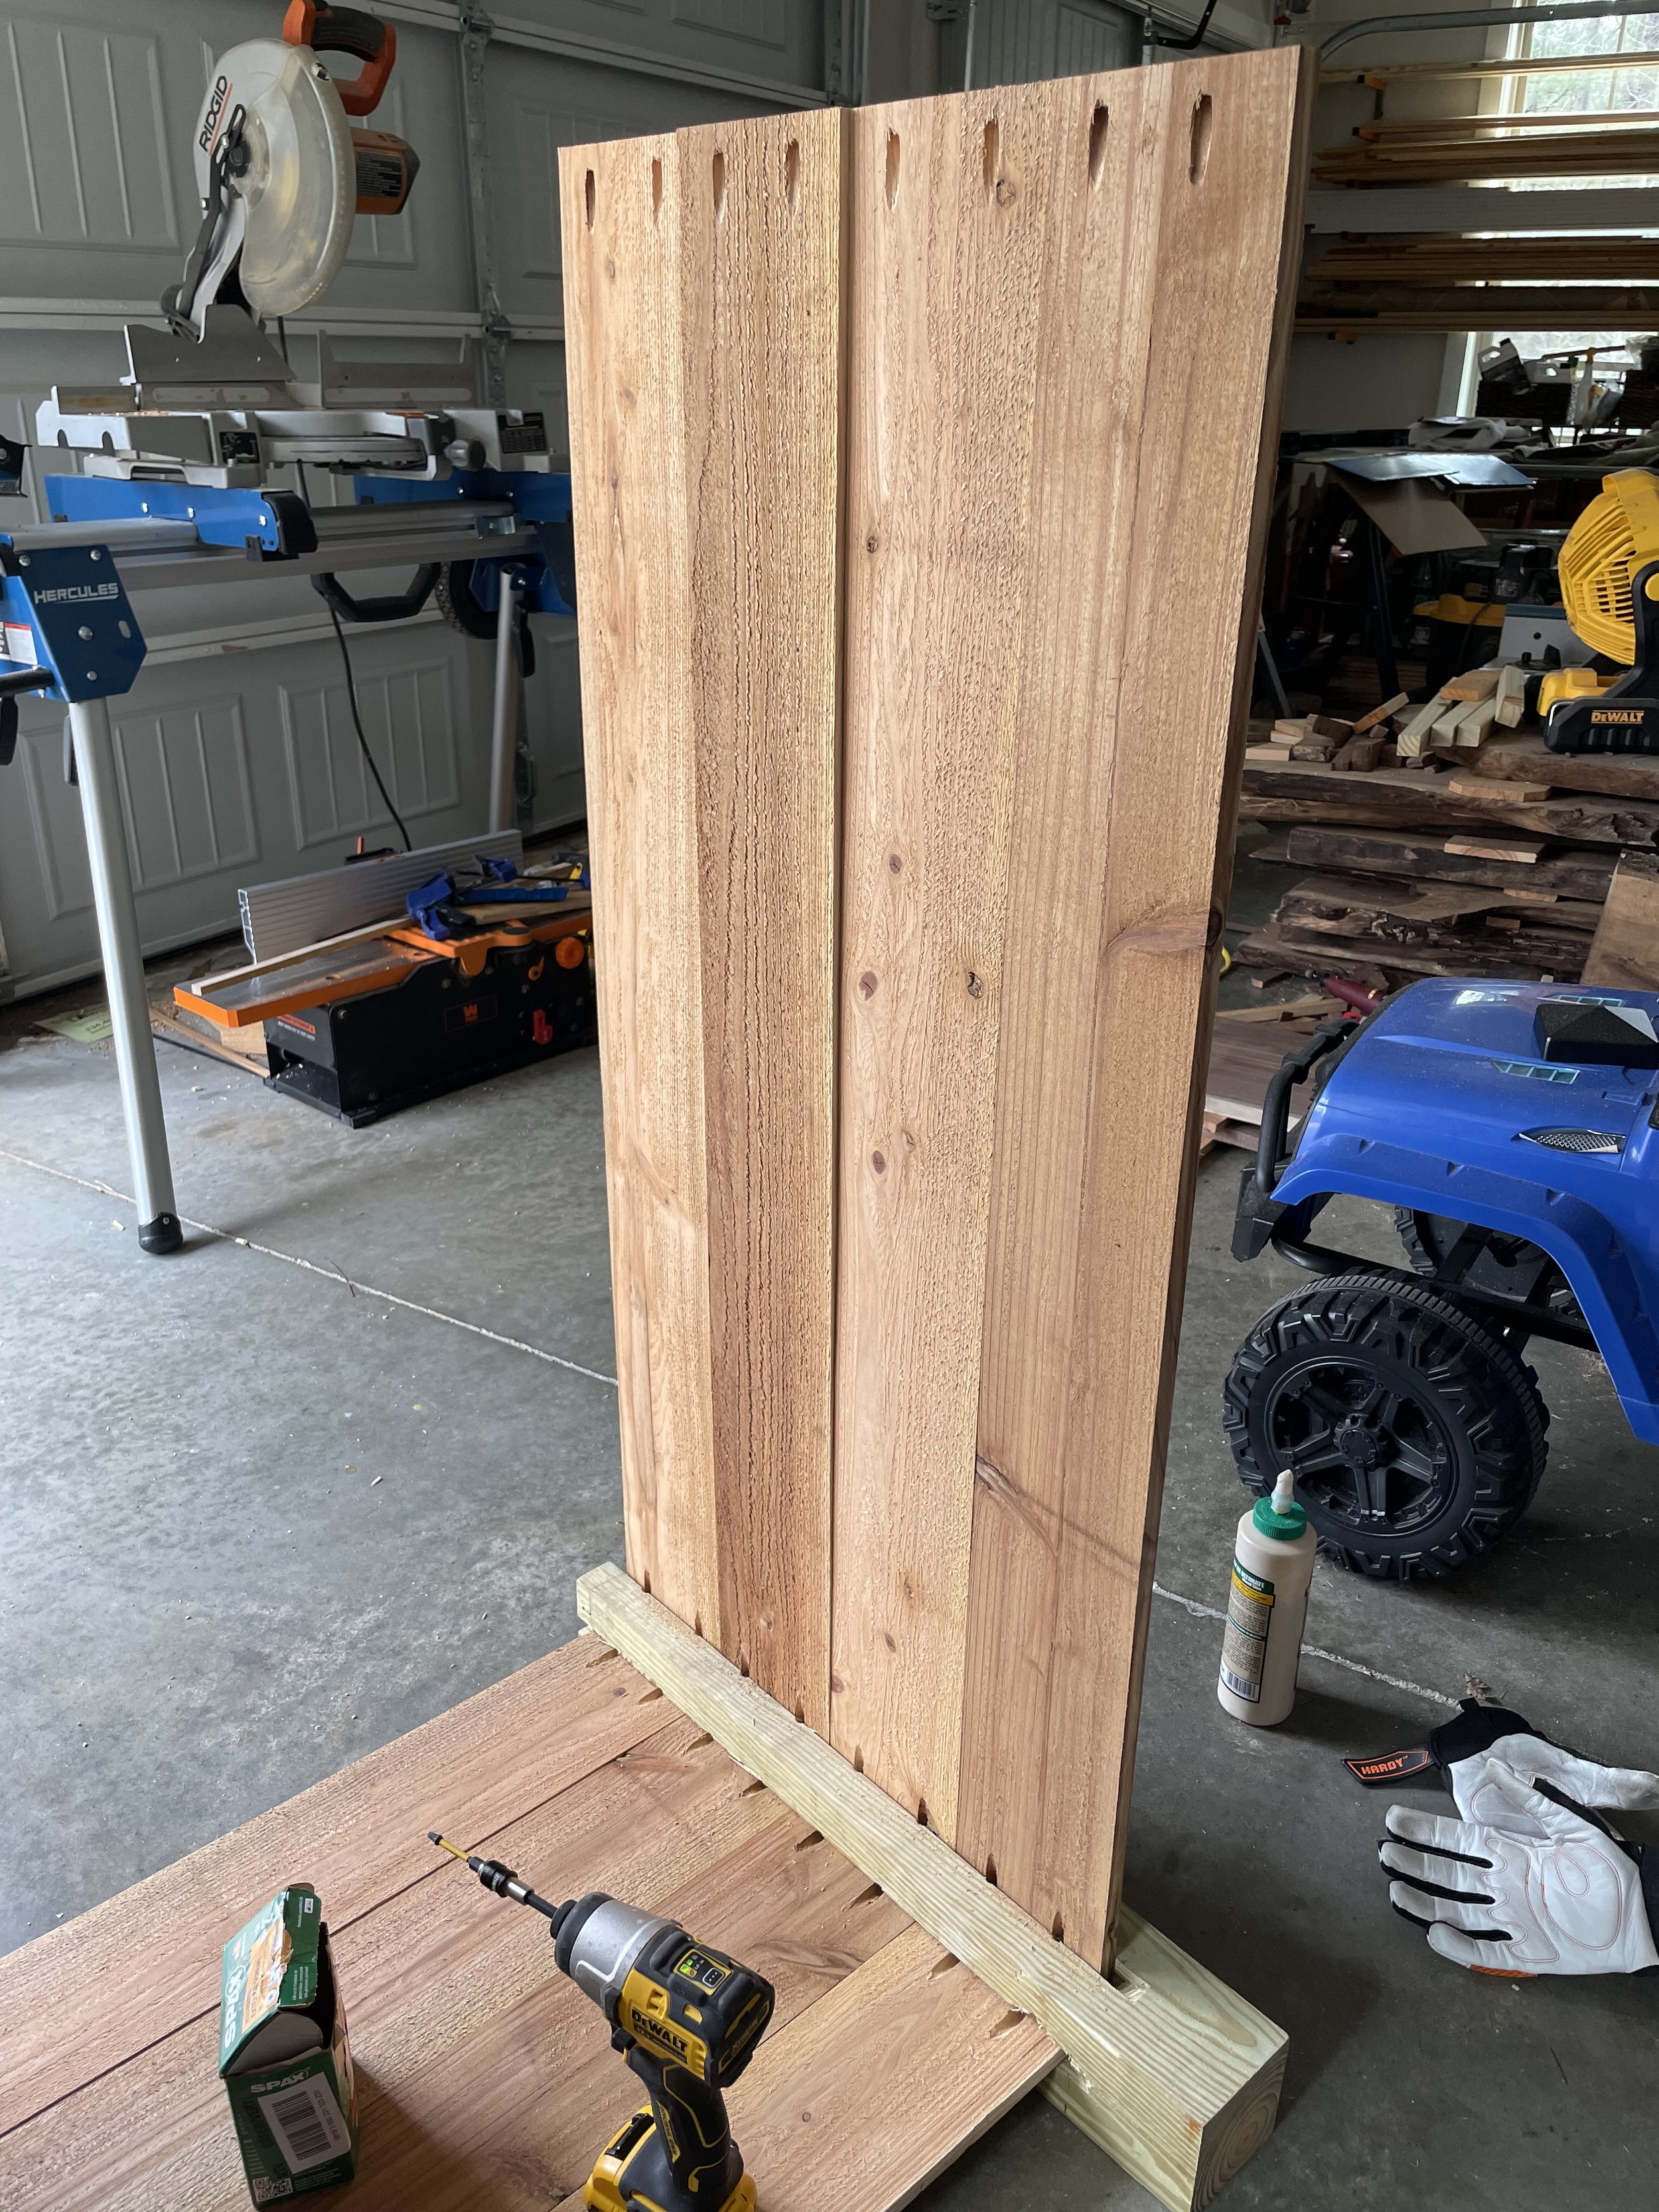
Sides are built! It’s a lot easier to build two ends and then fill in the middle. I say easier, but I still had fun trying to get these straight.
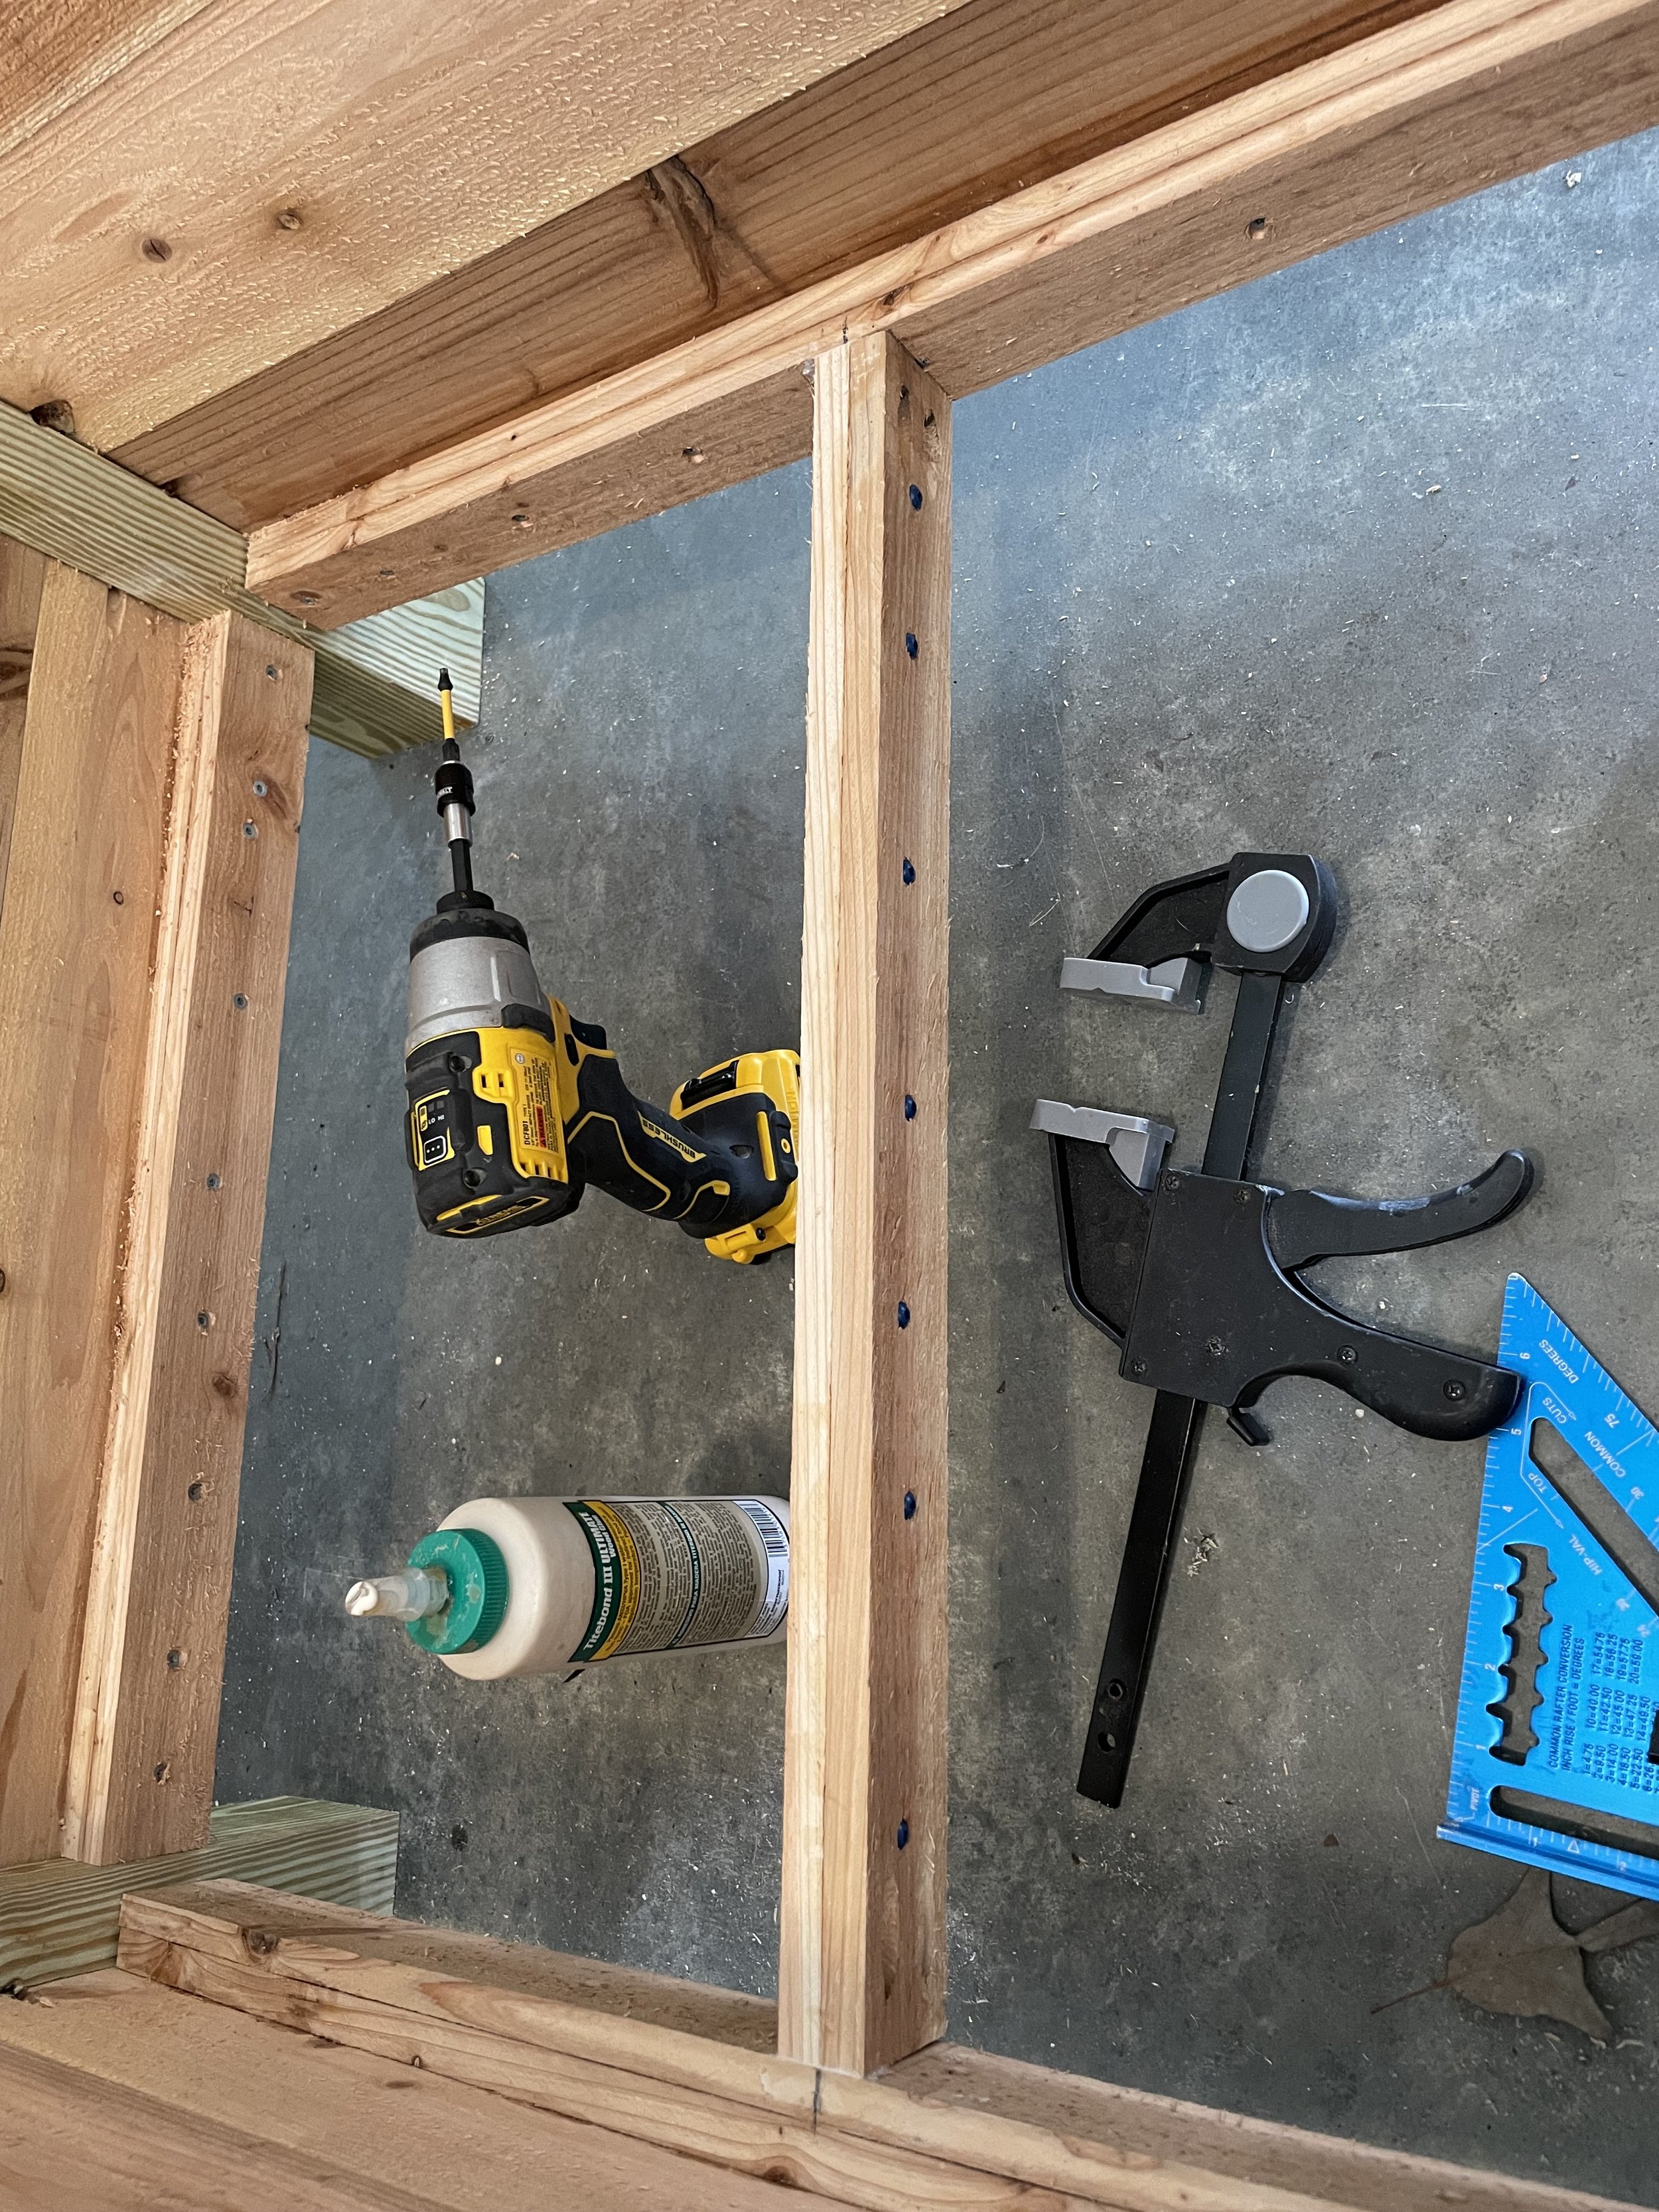
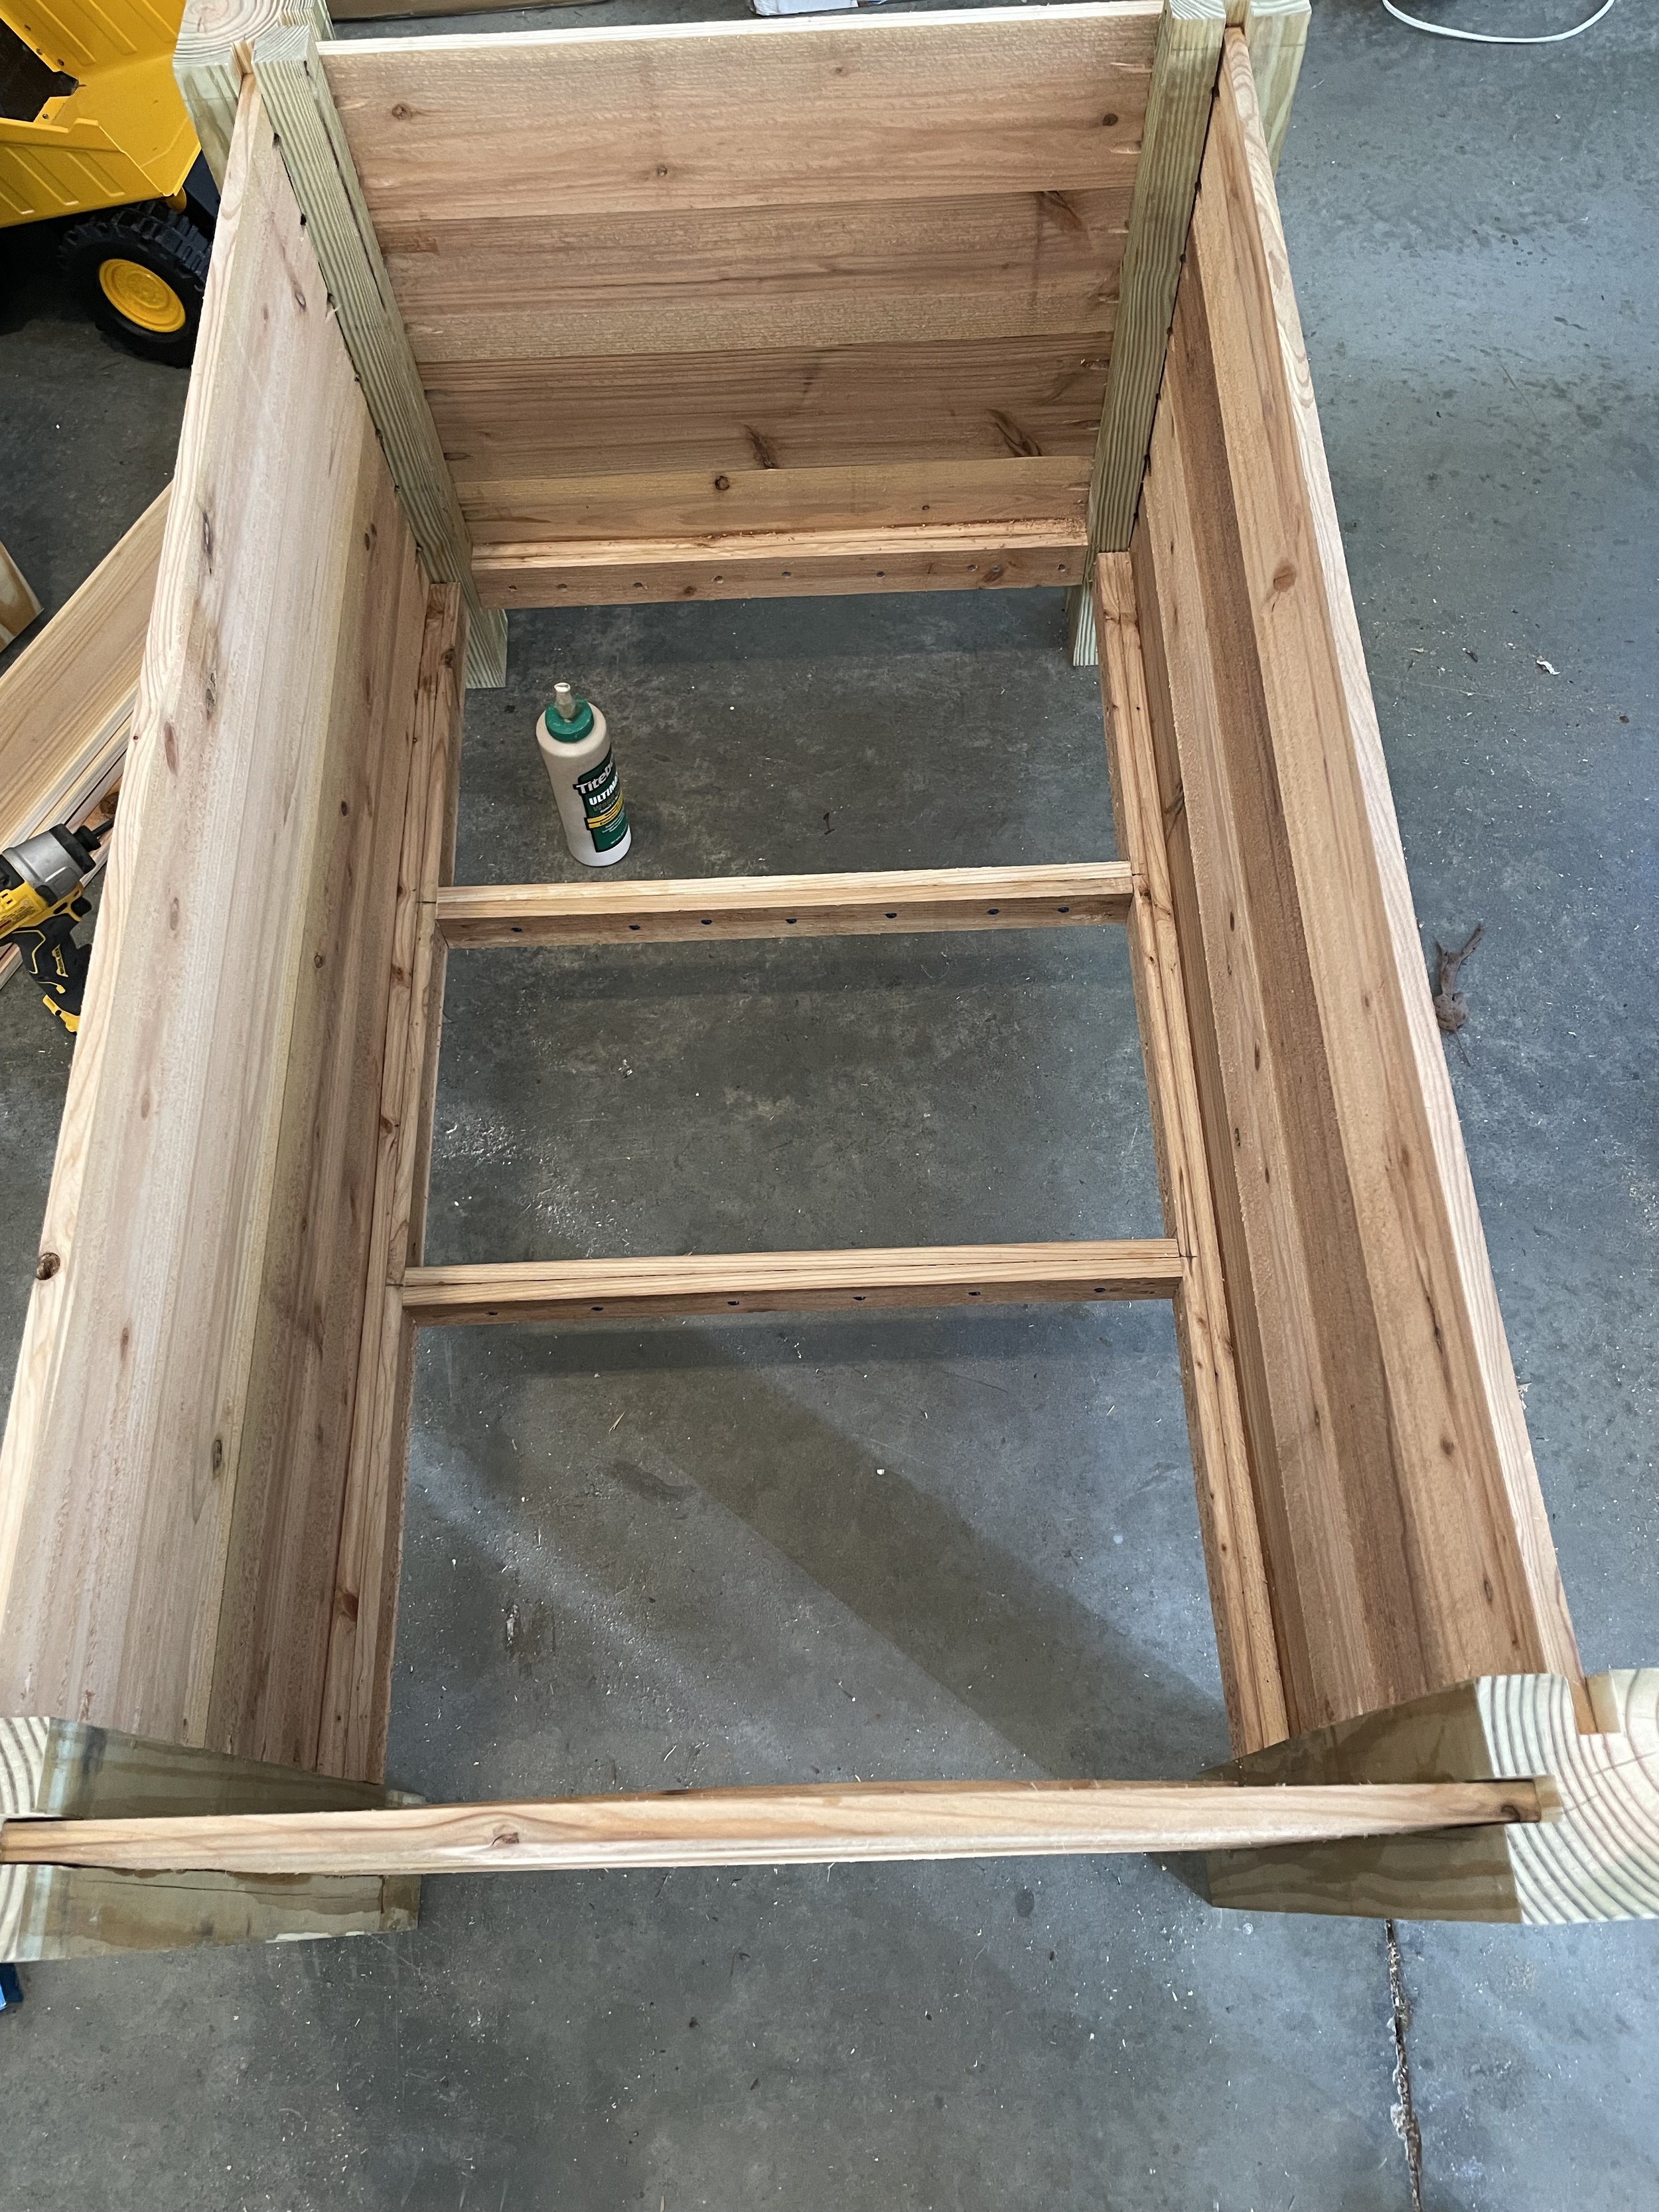
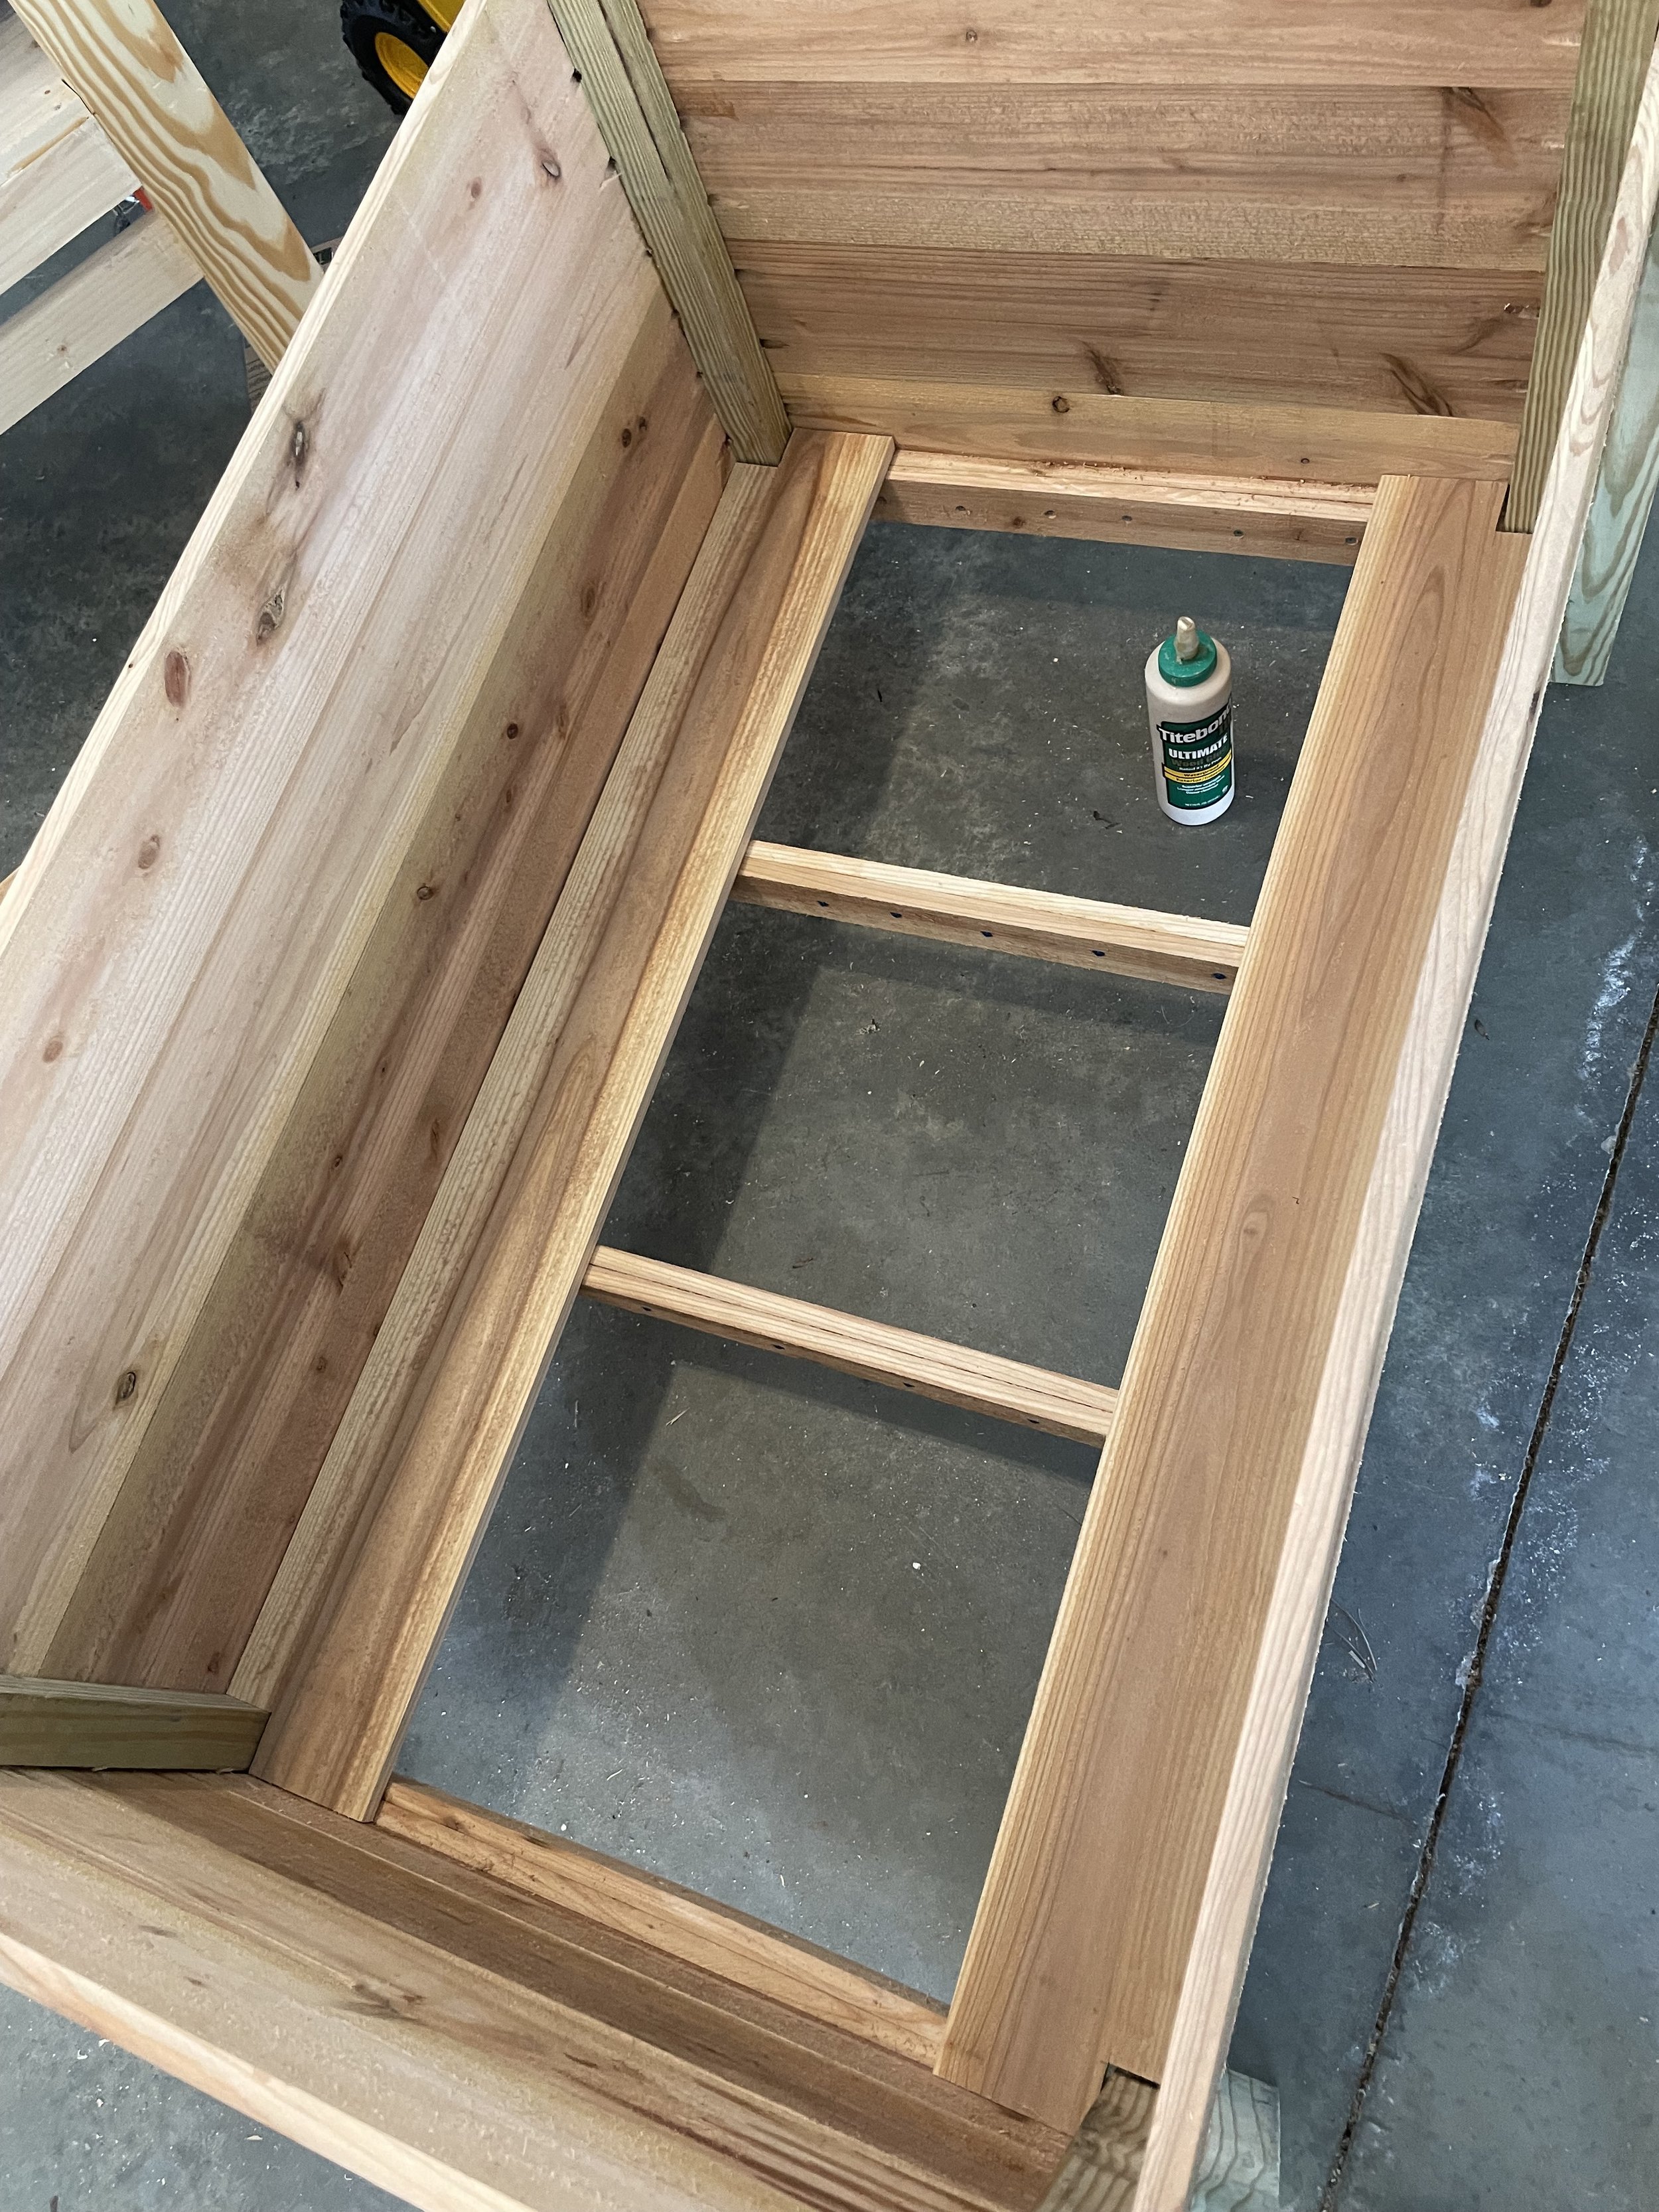
Now that I’ve got 4 sides, it’s time to make this thing actually hold stuff. I decided to run a thin board around the bottom to thicken it for a base. This will make it a bit more rigid, but more importantly, it gives me somewhere to easily anchor ends of the floor boards. Once I had the perimeter built, I needed some stringers to run across the middle for support. Here, I decided to overbuild again. I made some “beams” and then set those into the base too.
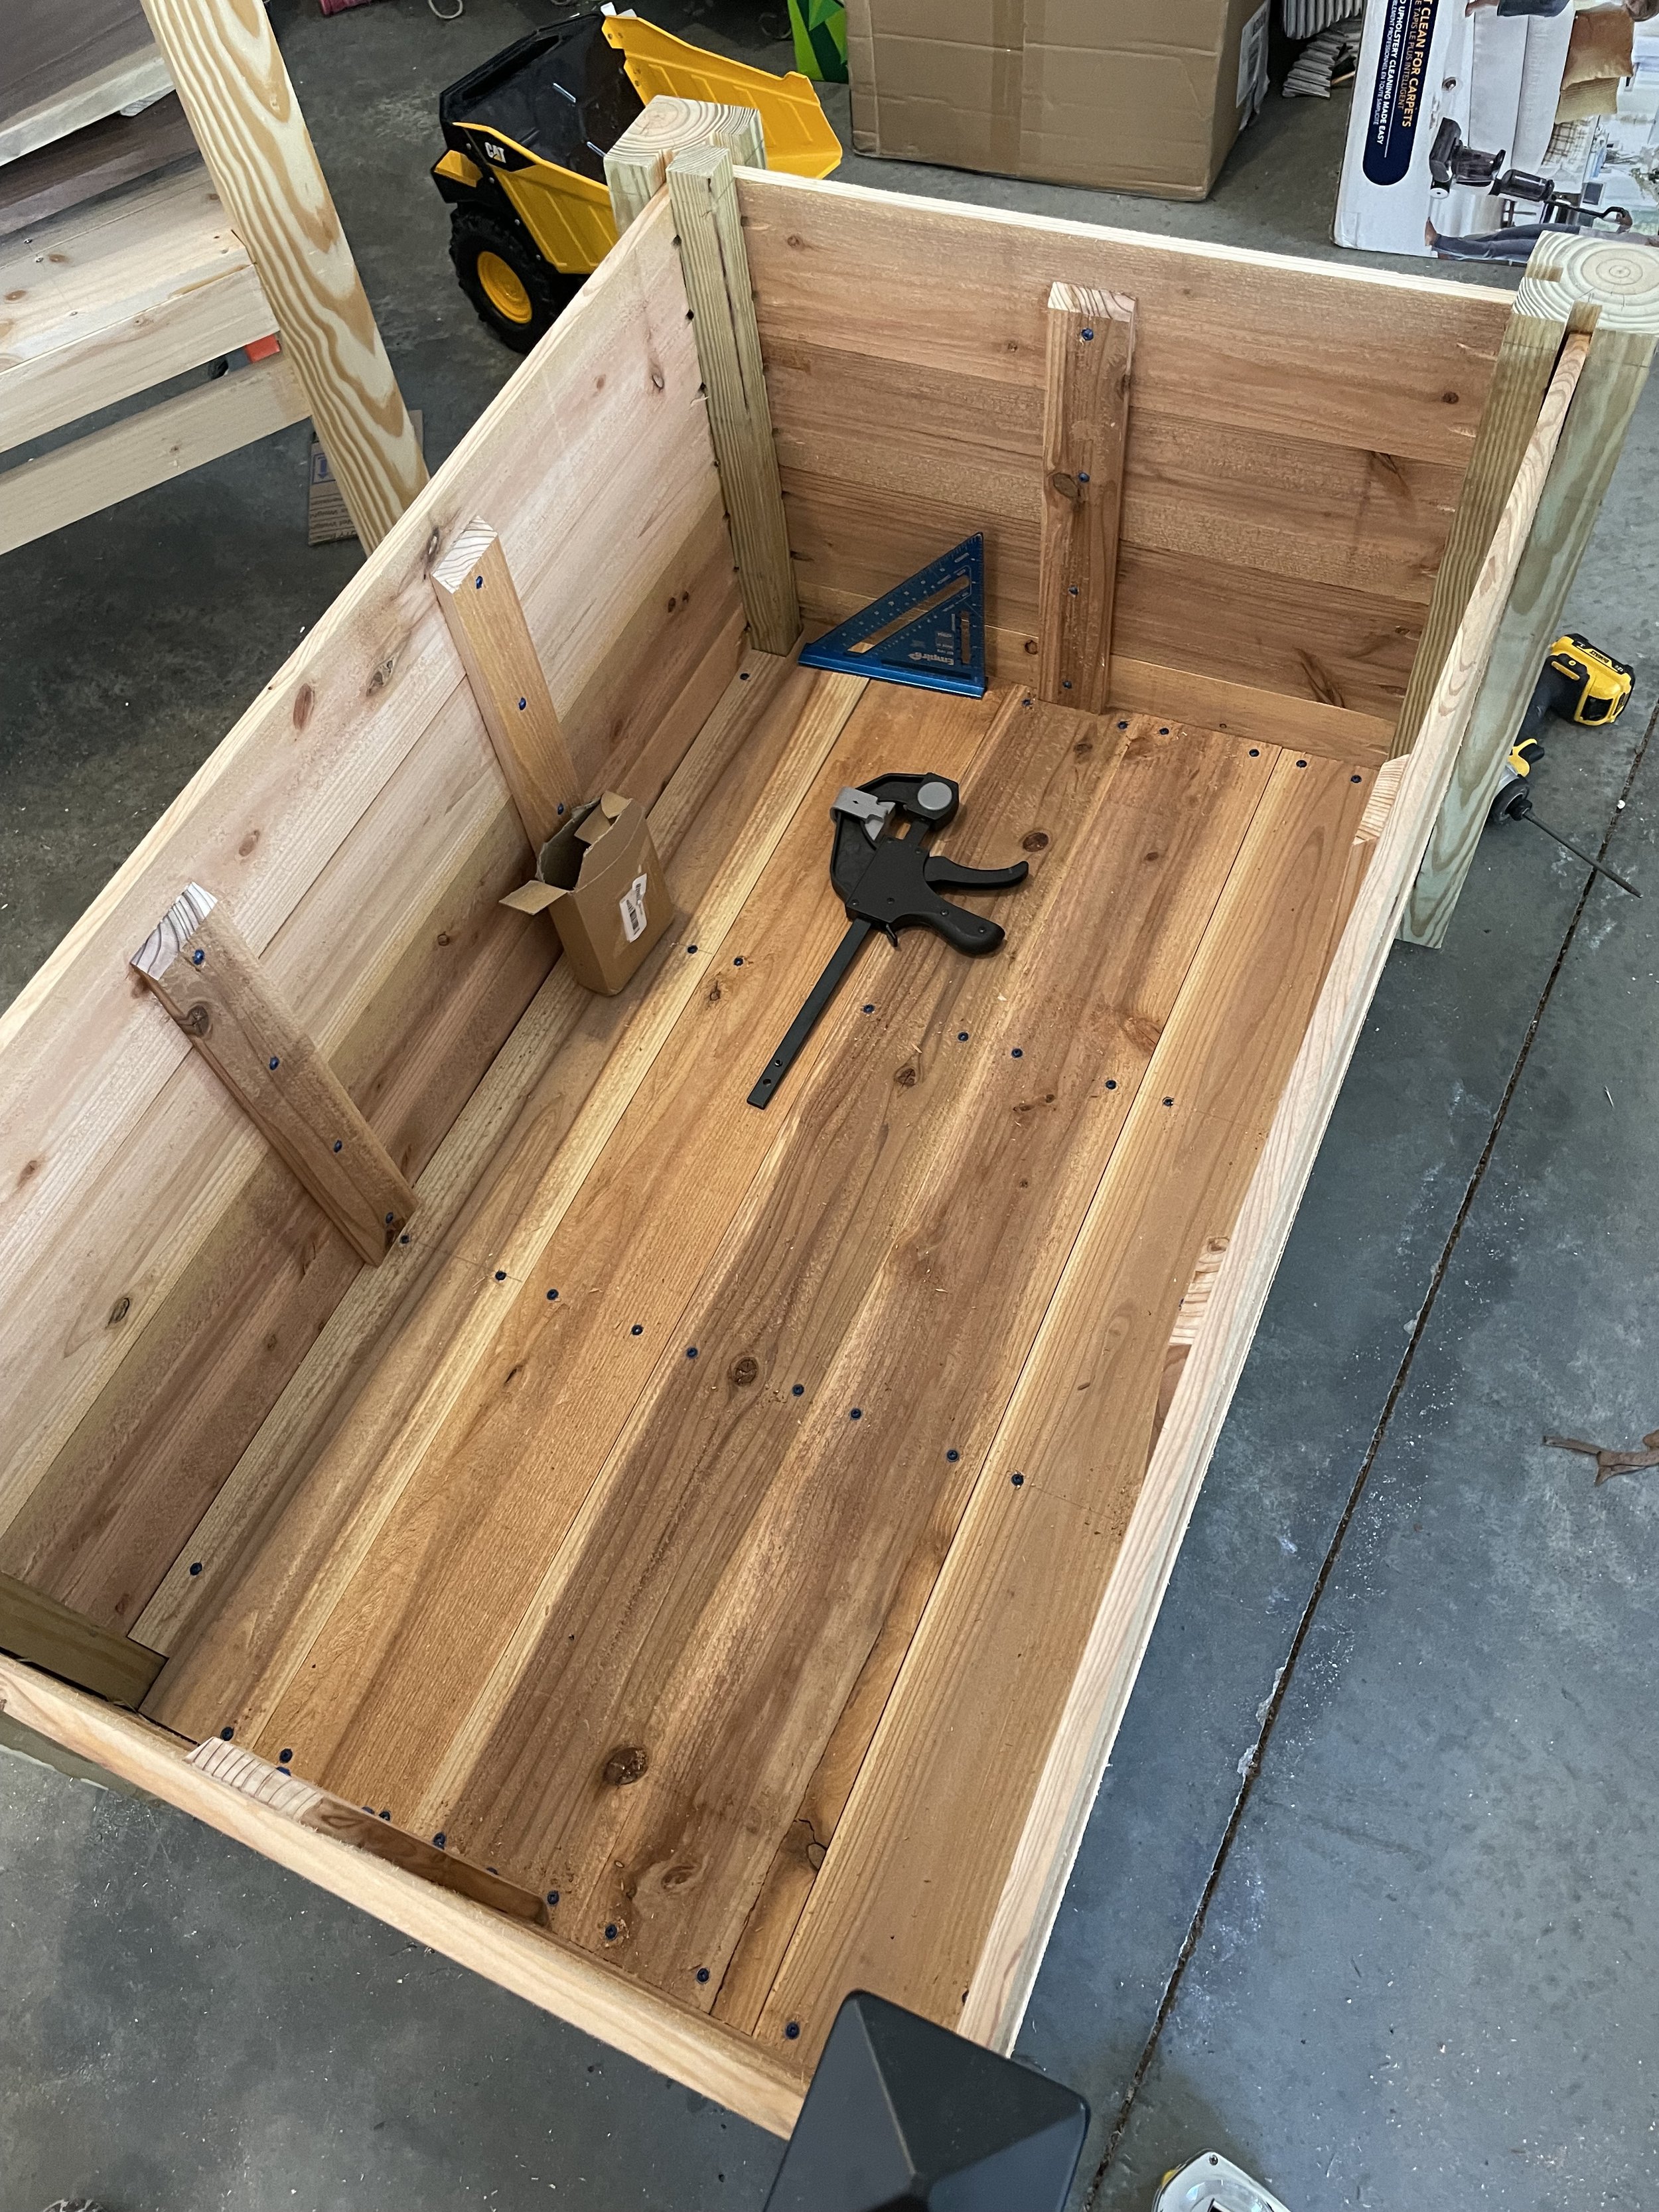
Now I can run the floor boards. I measured out the corners and made cut-outs for them. Then each plank got screwed in. At some point I should probably remember that this is all going to be quite literately buried.
At this point, you may be wondering “why the blue screws?” That’s a good question! Well, I say that like there’s a story. Bottom line is that these were the 1 inch exterior screws I had on hand, and I didn’t feel like driving to the store for anything different.
I added some side supports to keep the planks from bowing out. Then I tackled the gaps at the top of my posts. While these would be covered up by the end caps, I had a small problem. The caps have holes on opposite sides where they attach to the post. This means that no matter what way I put them on the post, I’d only have one side with solid wood under the hole. Yay for scap piles!
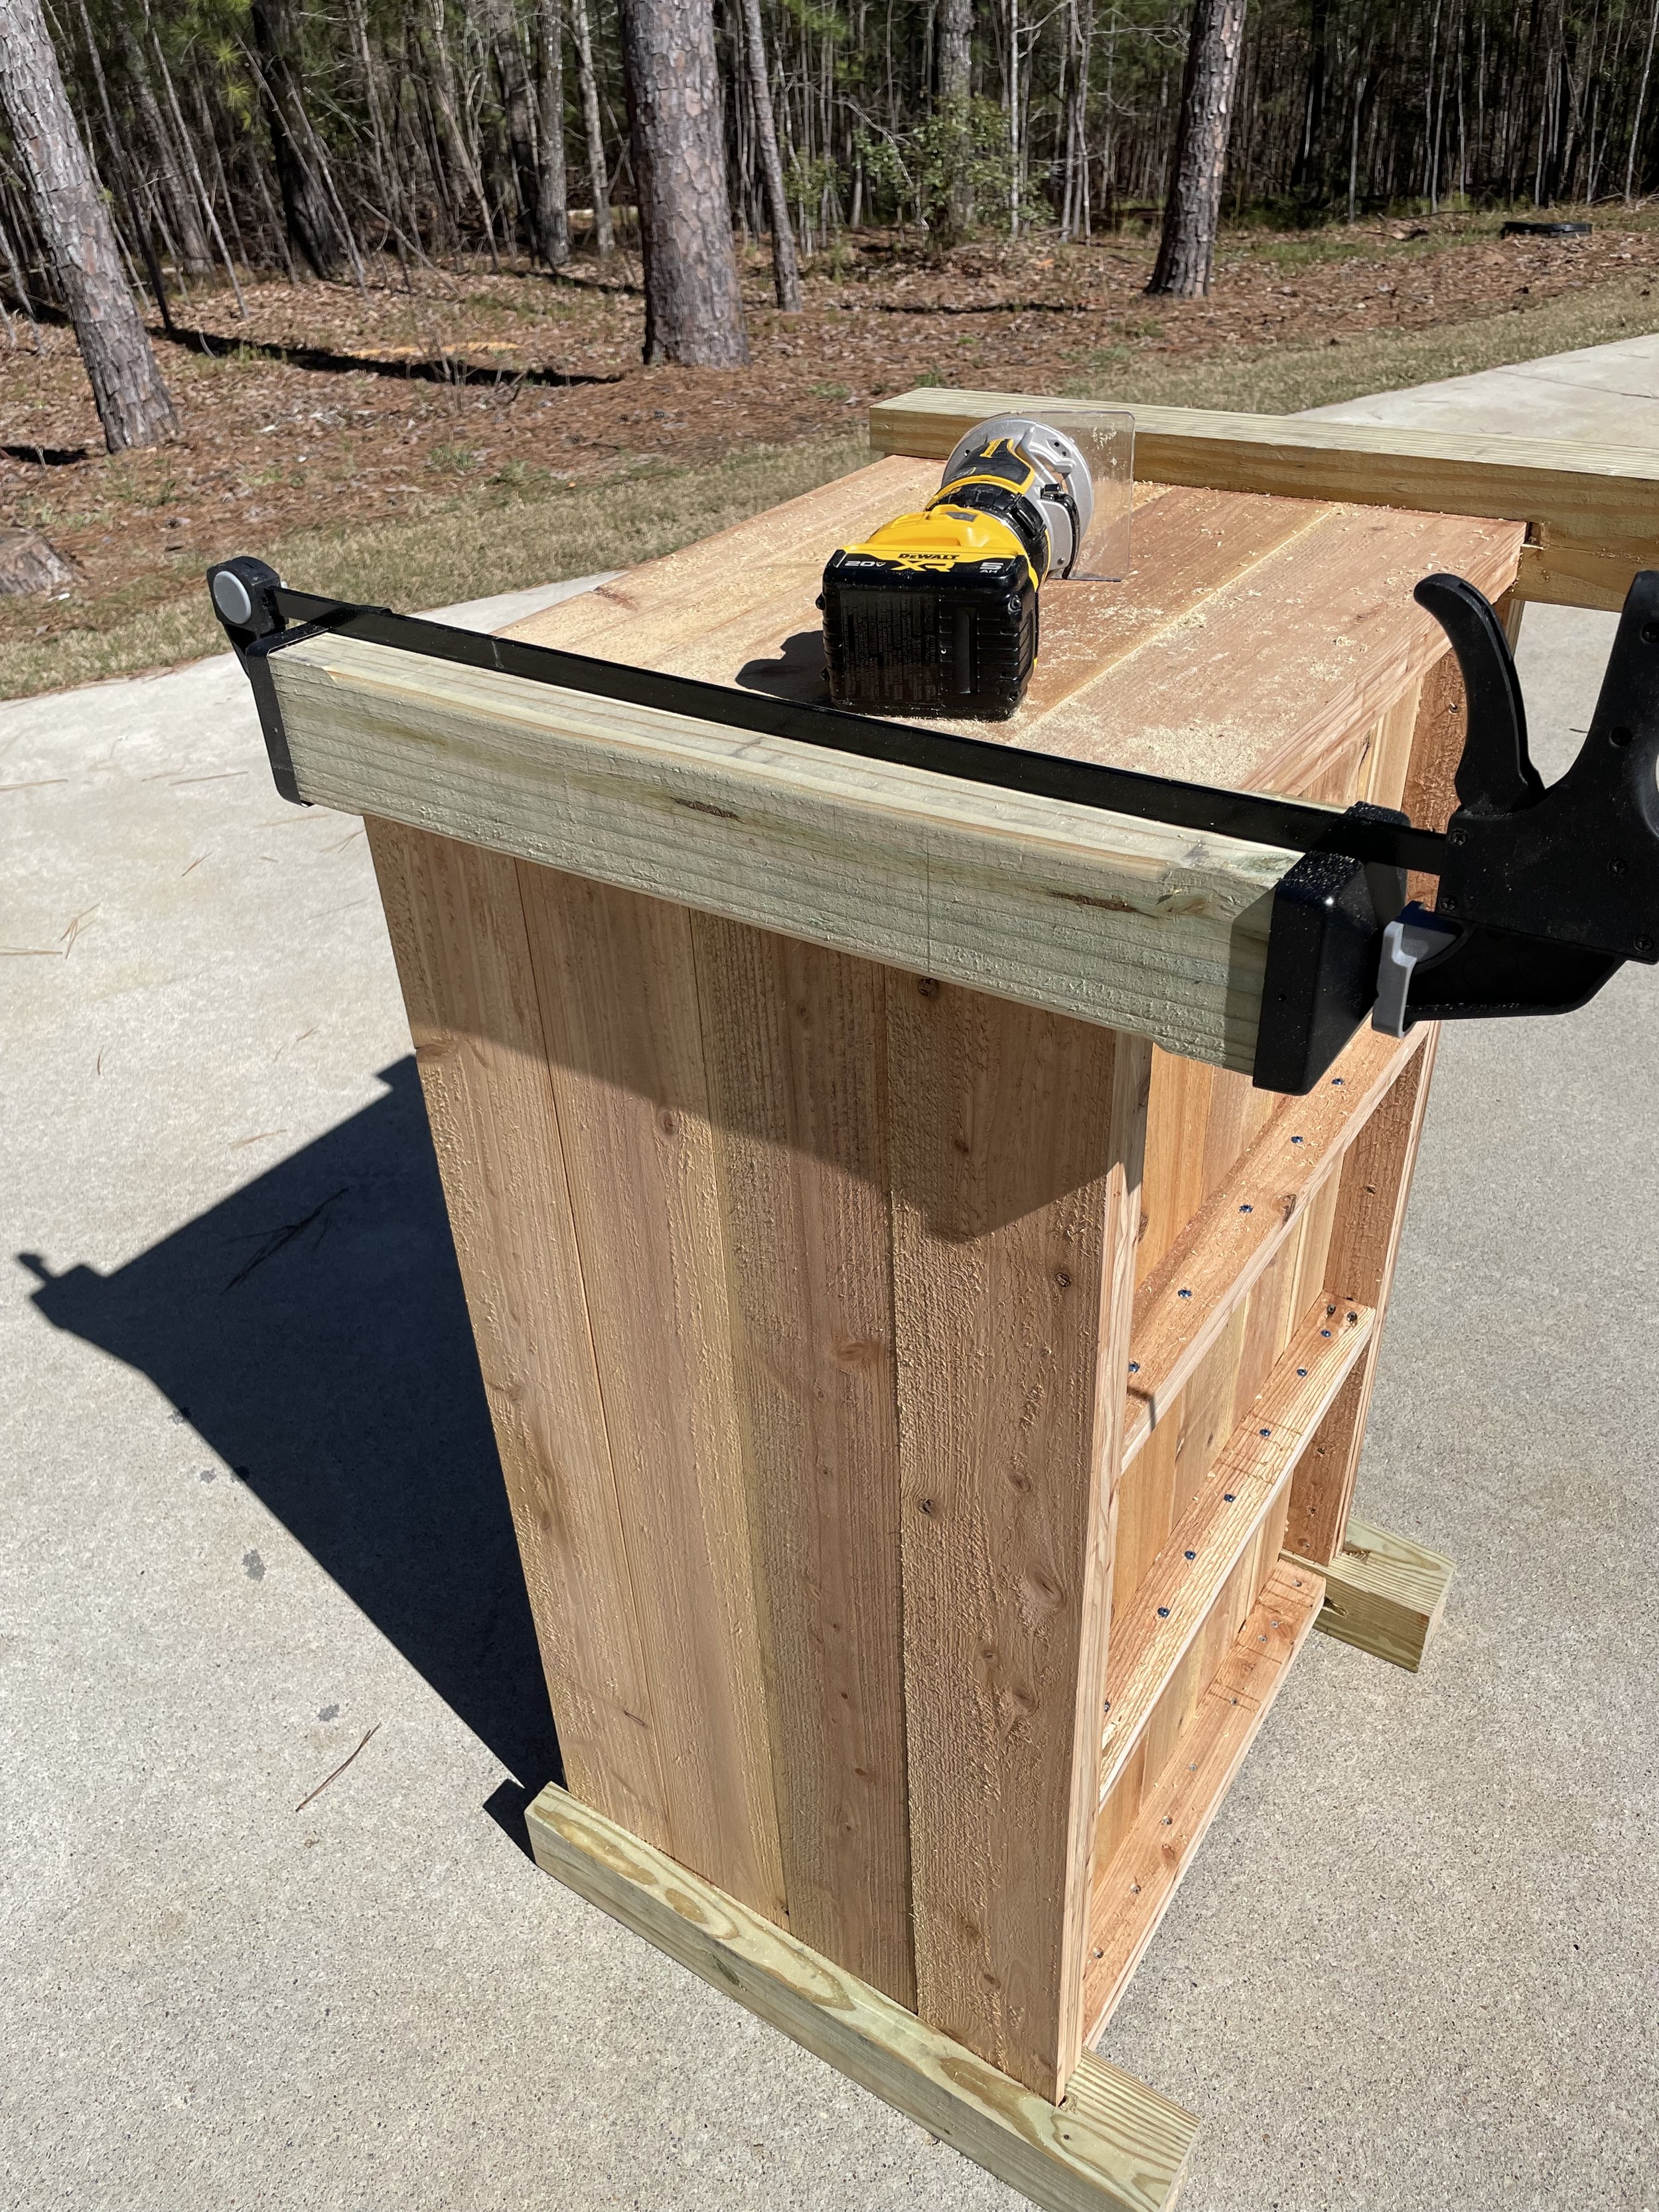
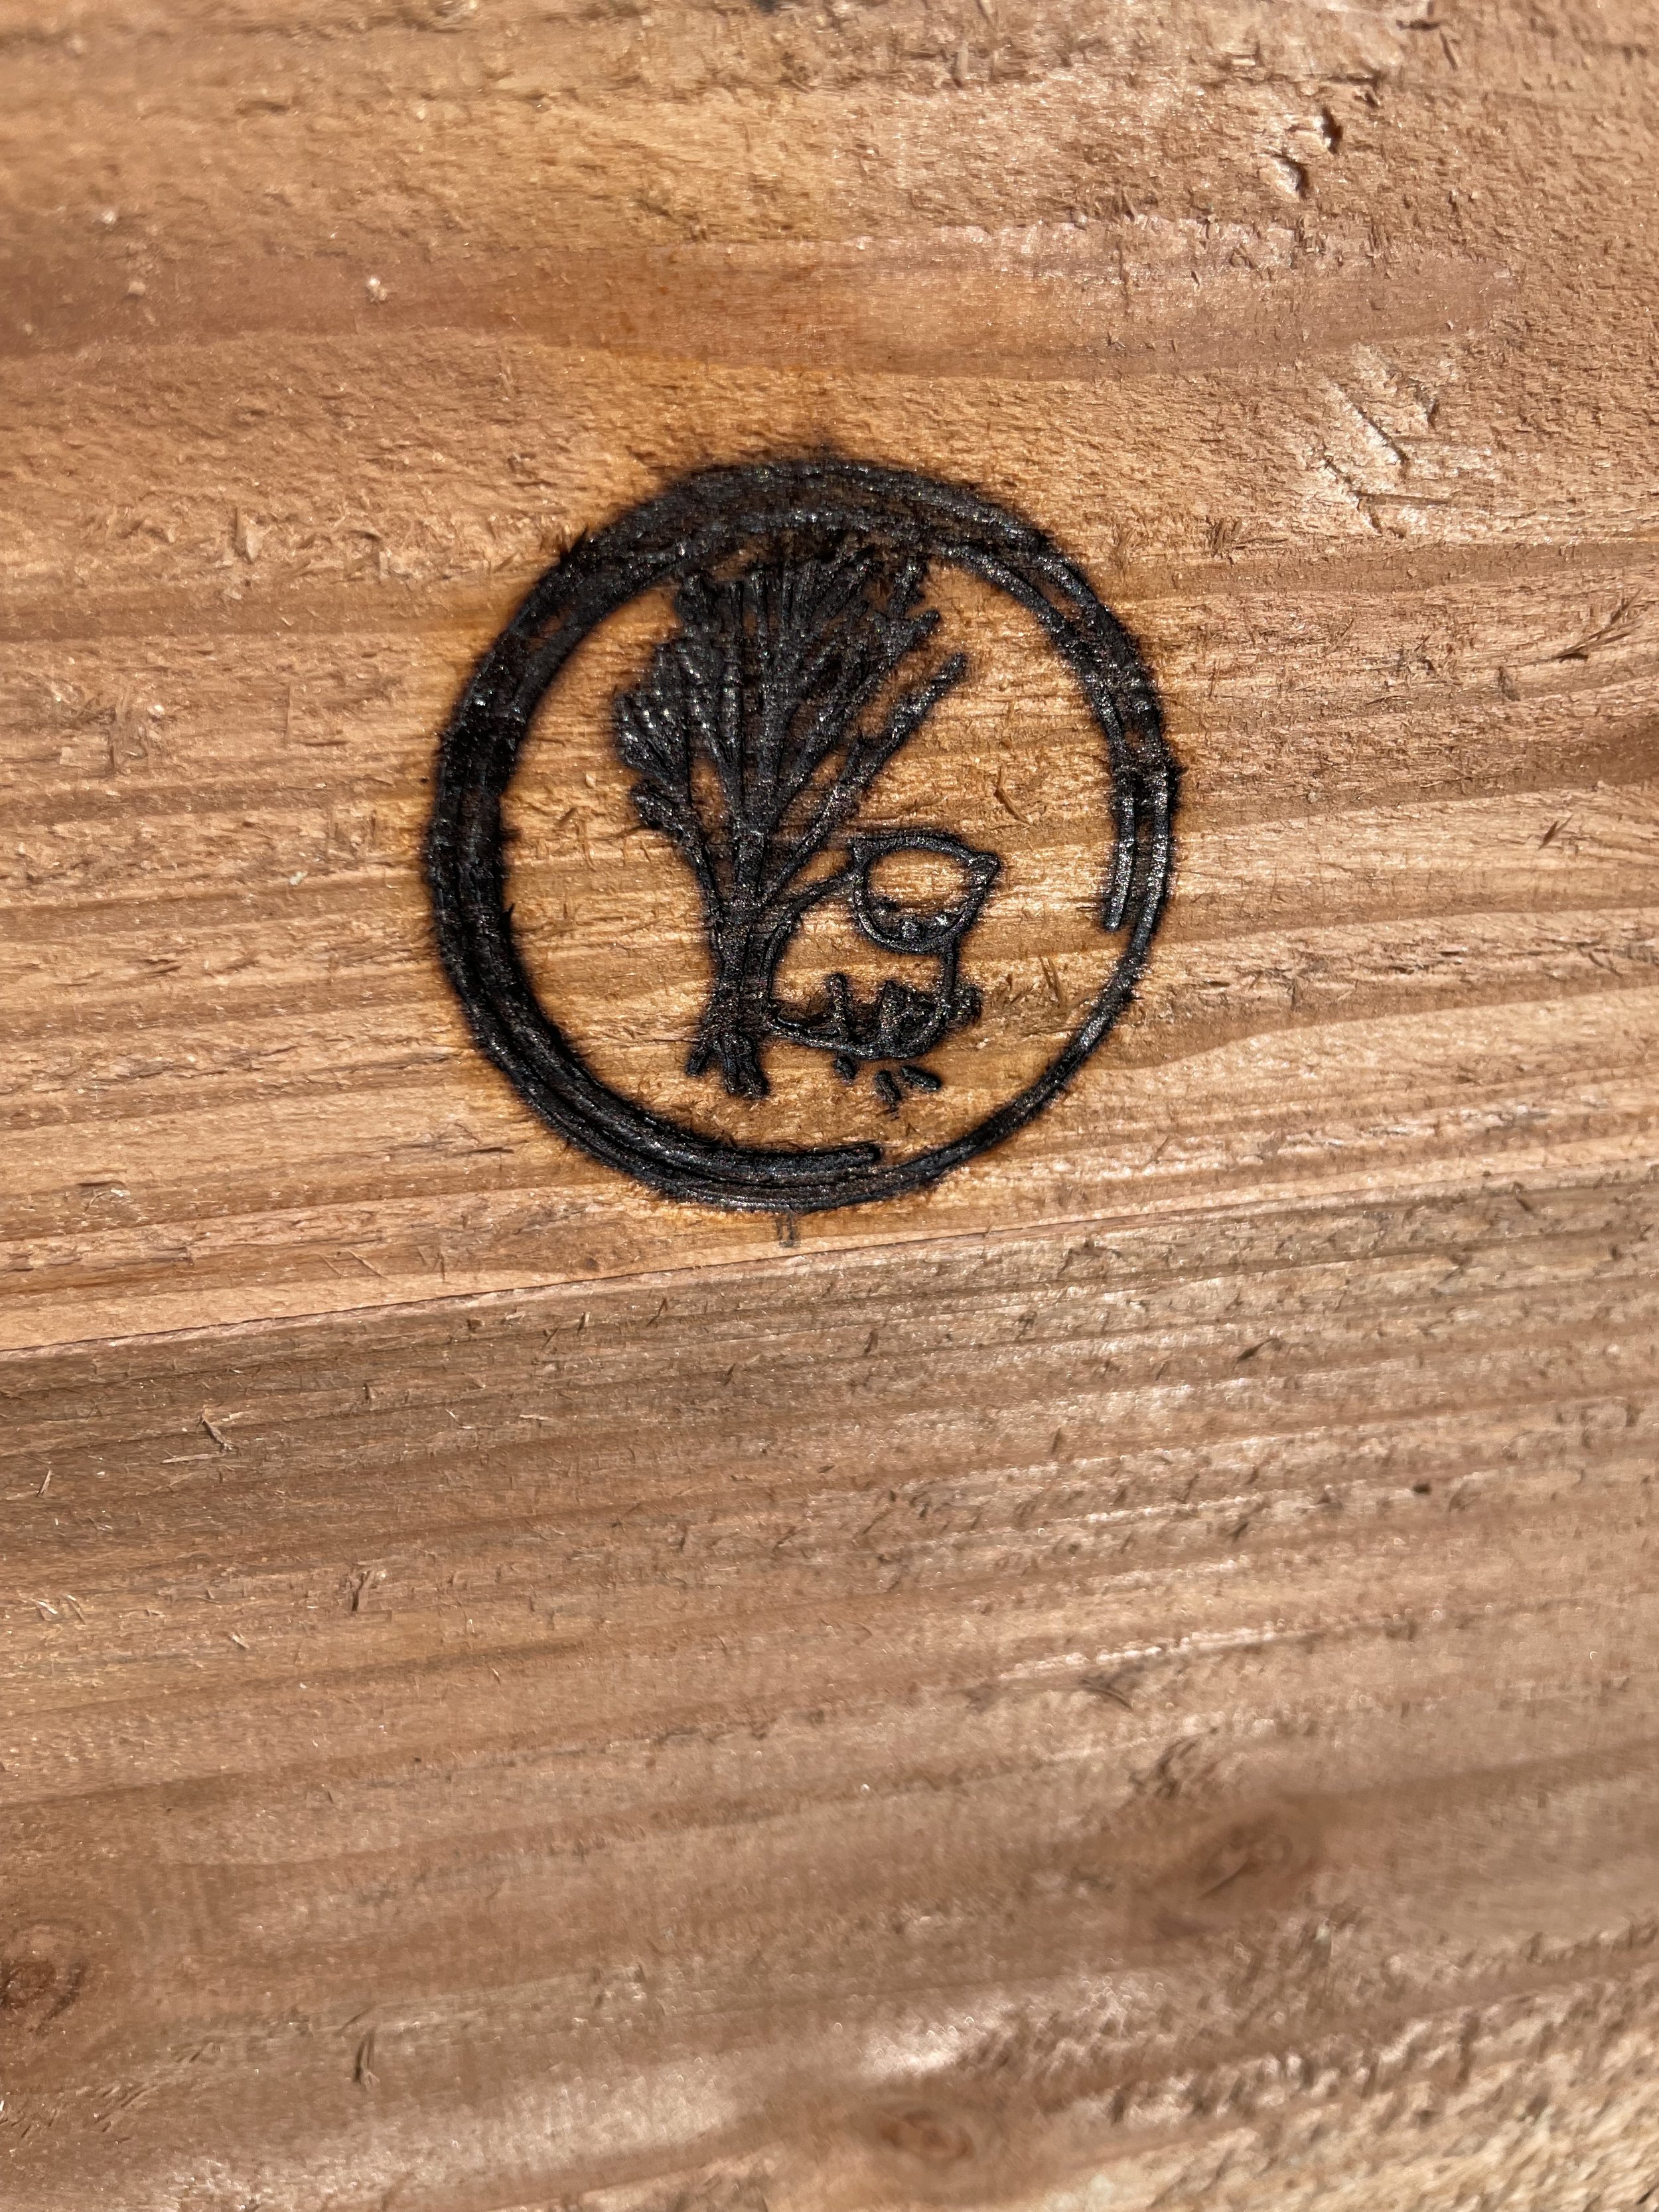
I ran the trim router down the sides of the posts with a round-over bit. I didn’t want to run it all the way to the top cap, and I didn’t want it to look funny. So I clamped a cap onto the top and bottom of each post and just did the space between. This gave is a nice touch of looking finished and less like a boring 4x4. After blowing off the dust, I heated up the Bugsydoodles brand. Then I stopped looking for more things to do before I messed something up. I’ll come back with more pictures after we put a truckload of soil and some plants in it.


