Shelf for Holden’s Room
We’ve been wanting to do some shelves for Holden’s room. I finally got around to putting up one that had been sitting around, only to find that the box we got had clearly been returned. On the outside, it “looked” like everything was there. However, it was junk from at least 3 different type of products. Even the instructions were for yet another shelf. True to character, I put the office bookcase down for another “quick” side project.
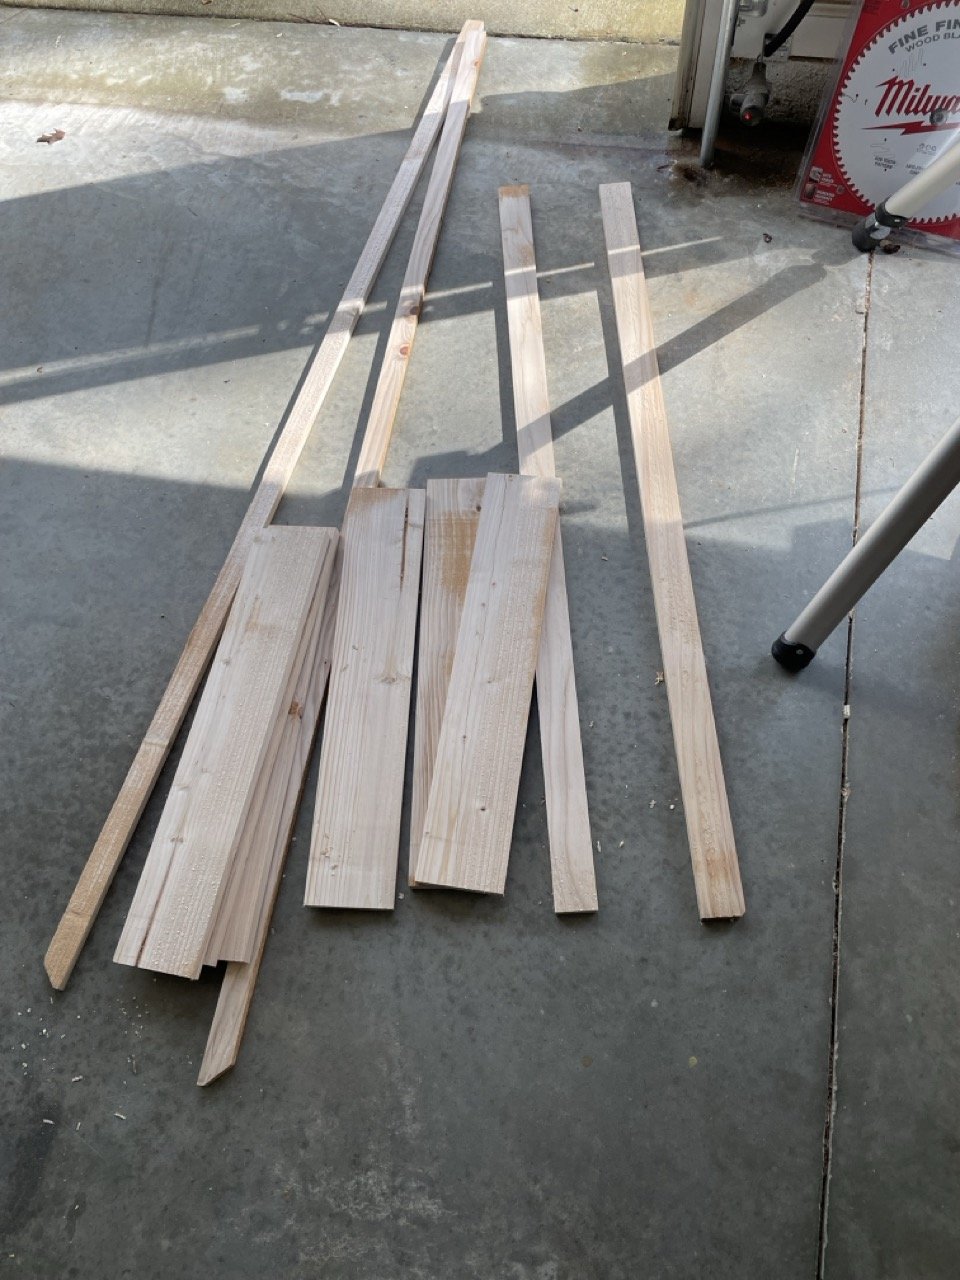
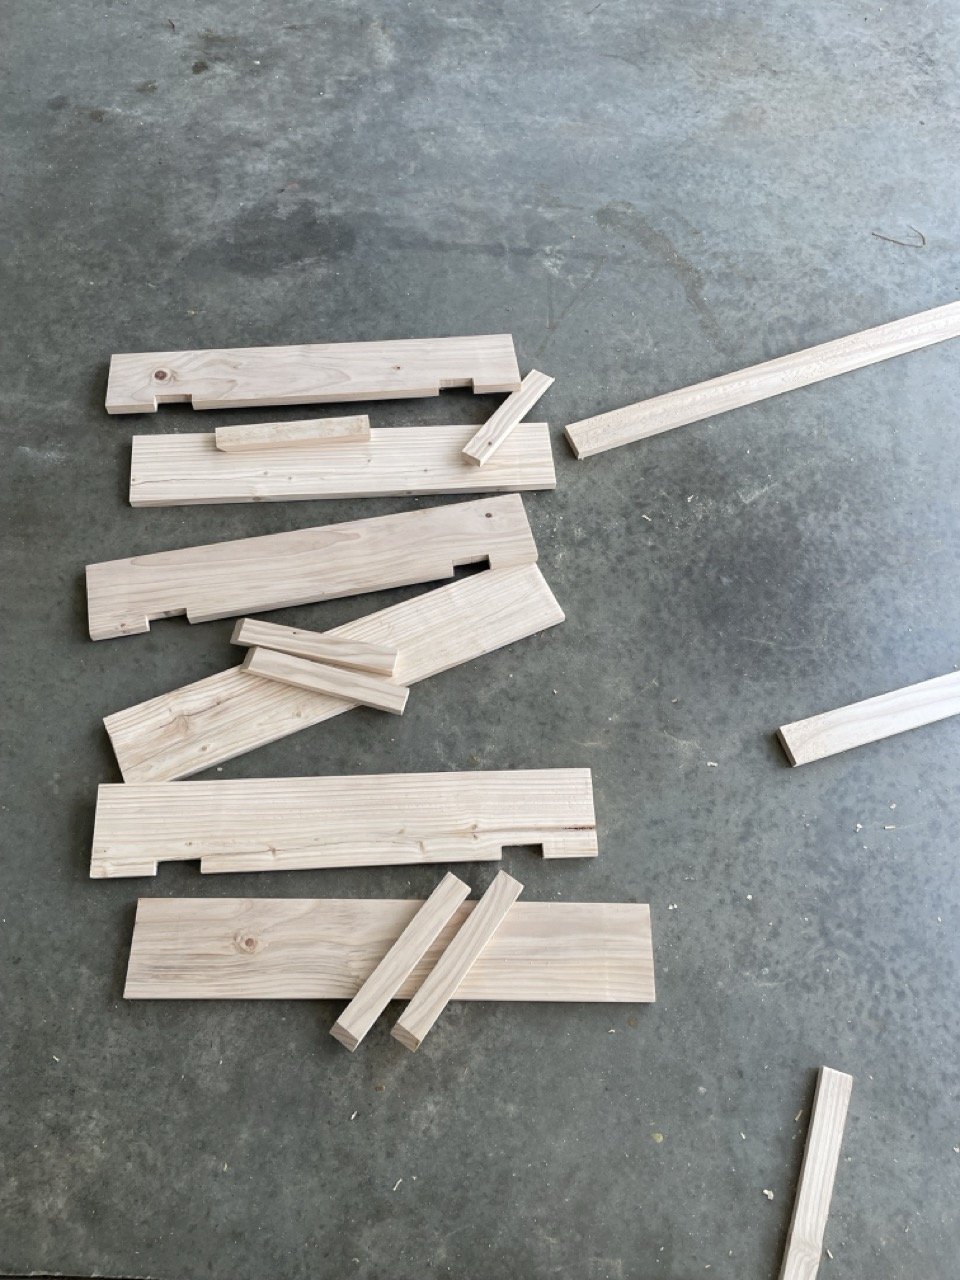
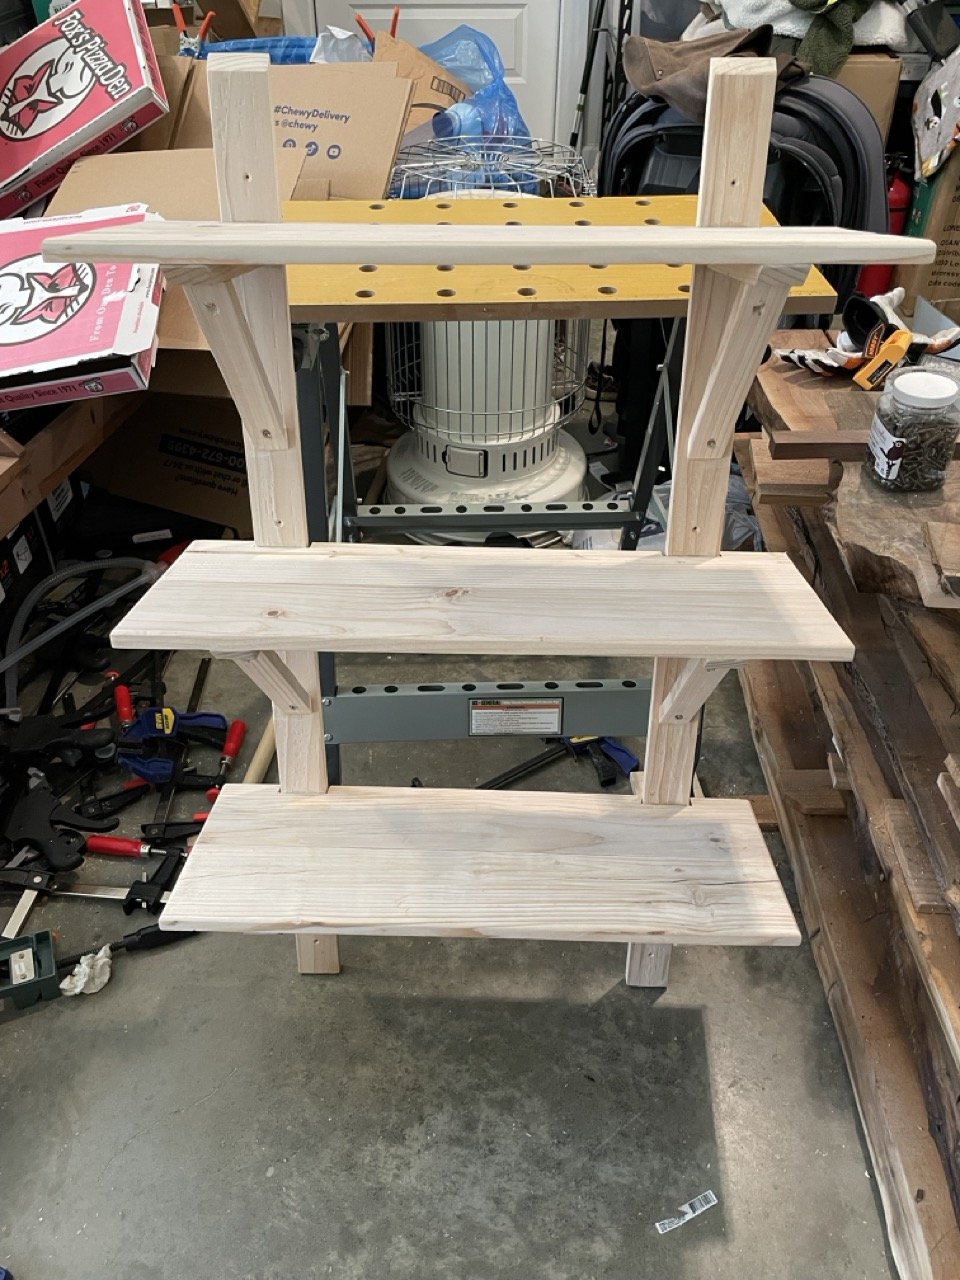
This is one of those projects where I just did some quick math and cut a bunch of wood. For better or worse, this sometimes helps me to get going. Especially when I think it’s going to be a quicker project. All of my measurements for this were determined by the size of plank I had available. After getting them cut, I ran them through the planer a few times. My goal was to get them uniform thickness.
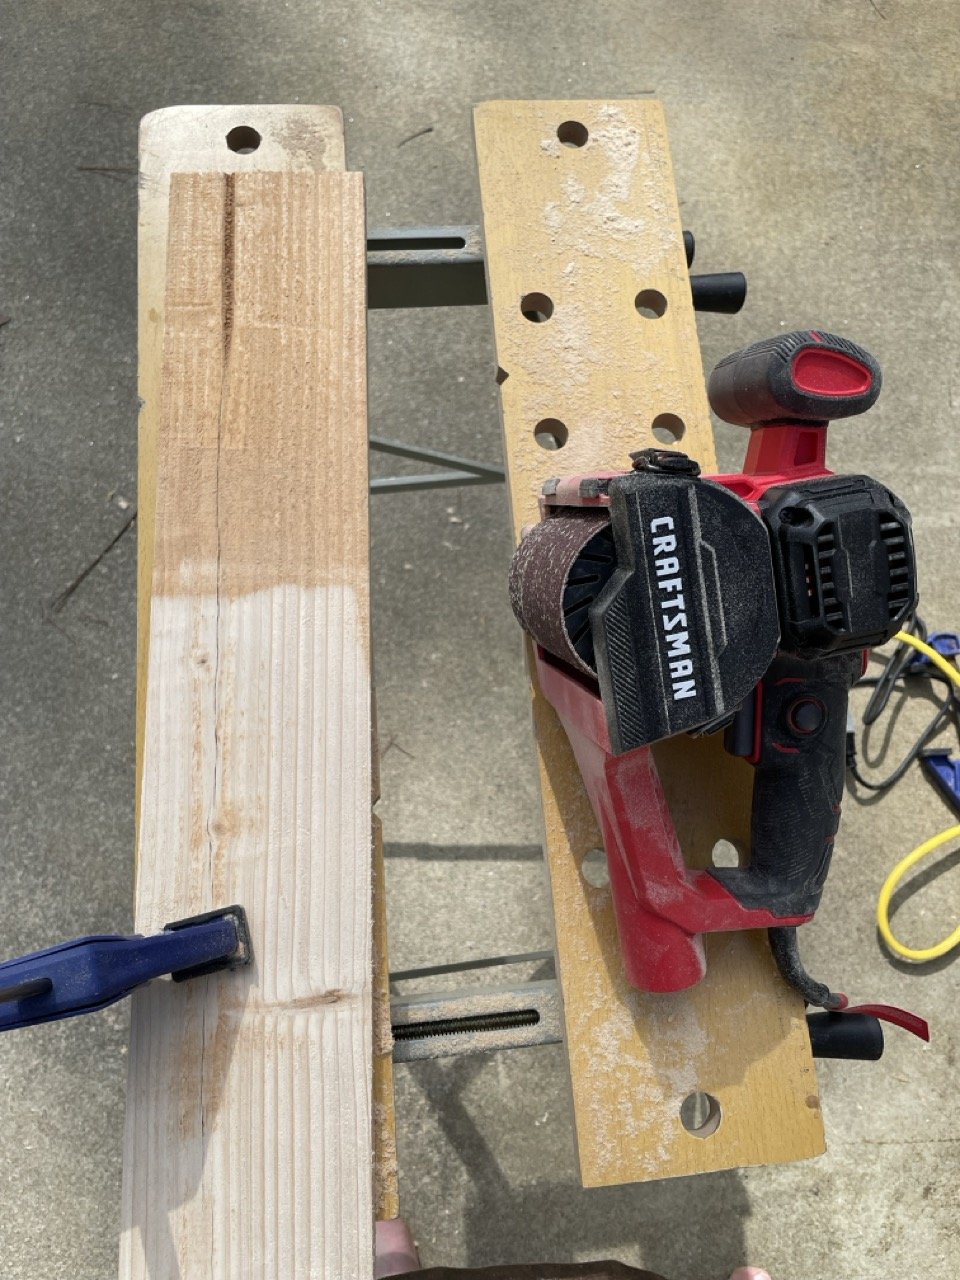
After getting the pieces planed, I set about sending them down. Of course, I found one board that I forgot to plane on both sides. It did give me a chance to use the drum sander Dad gave me for Christmas though. If anyone wants to sponsor me, I’ll happily give them reviews! This thing was a beast. It worked faster than expected for getting through the rough stuff.
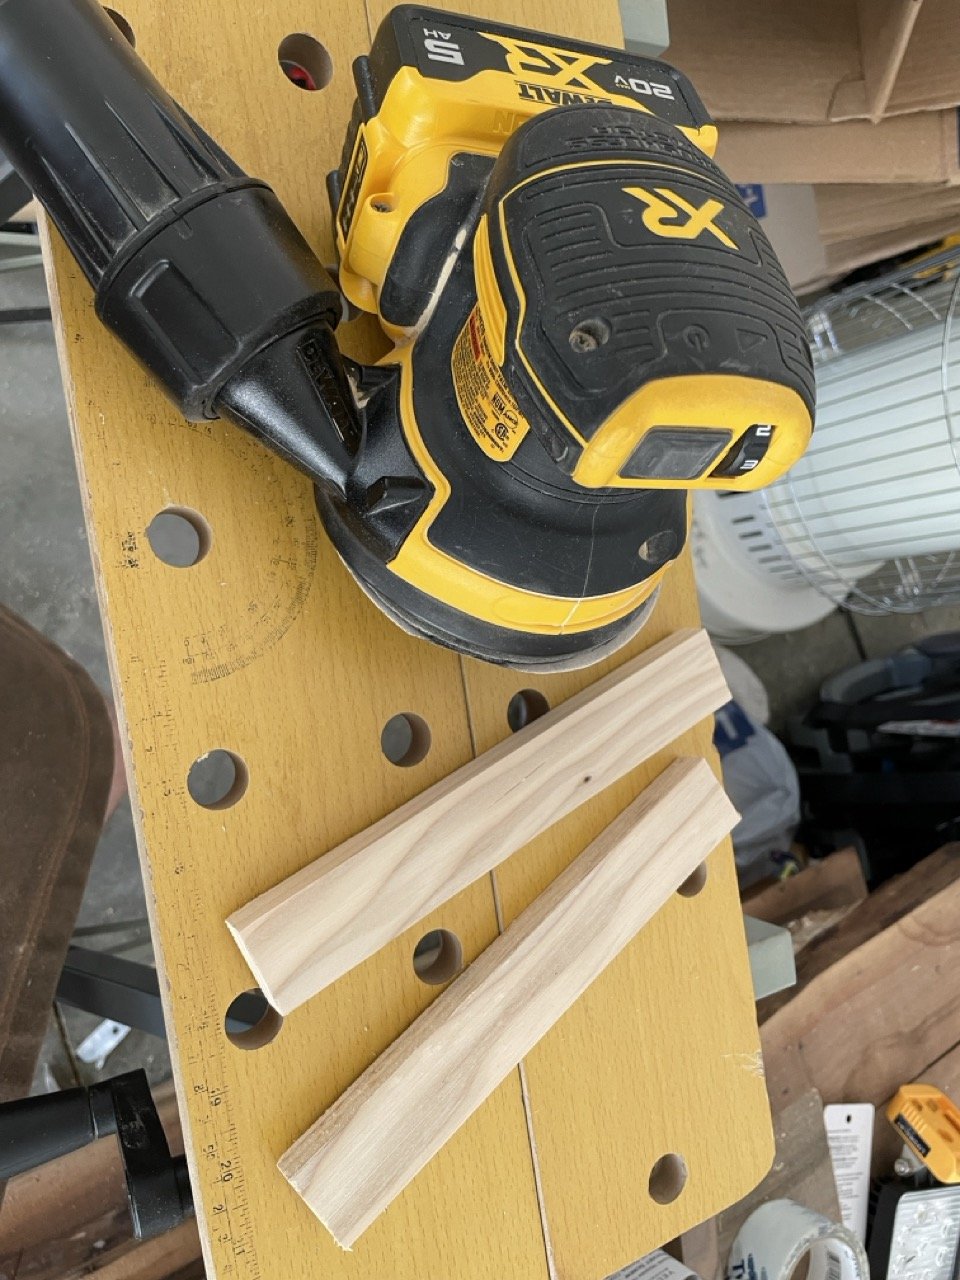
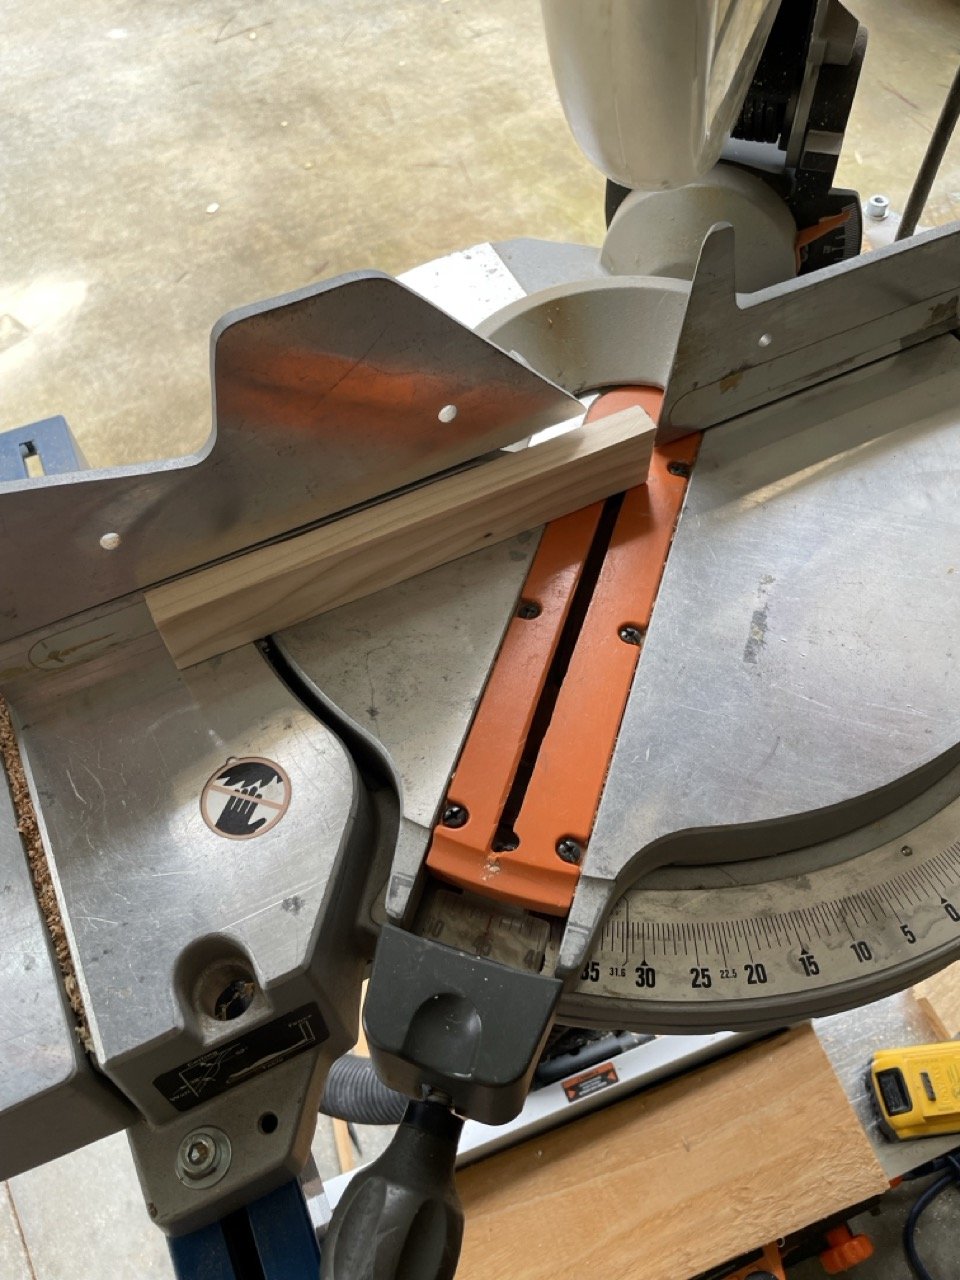
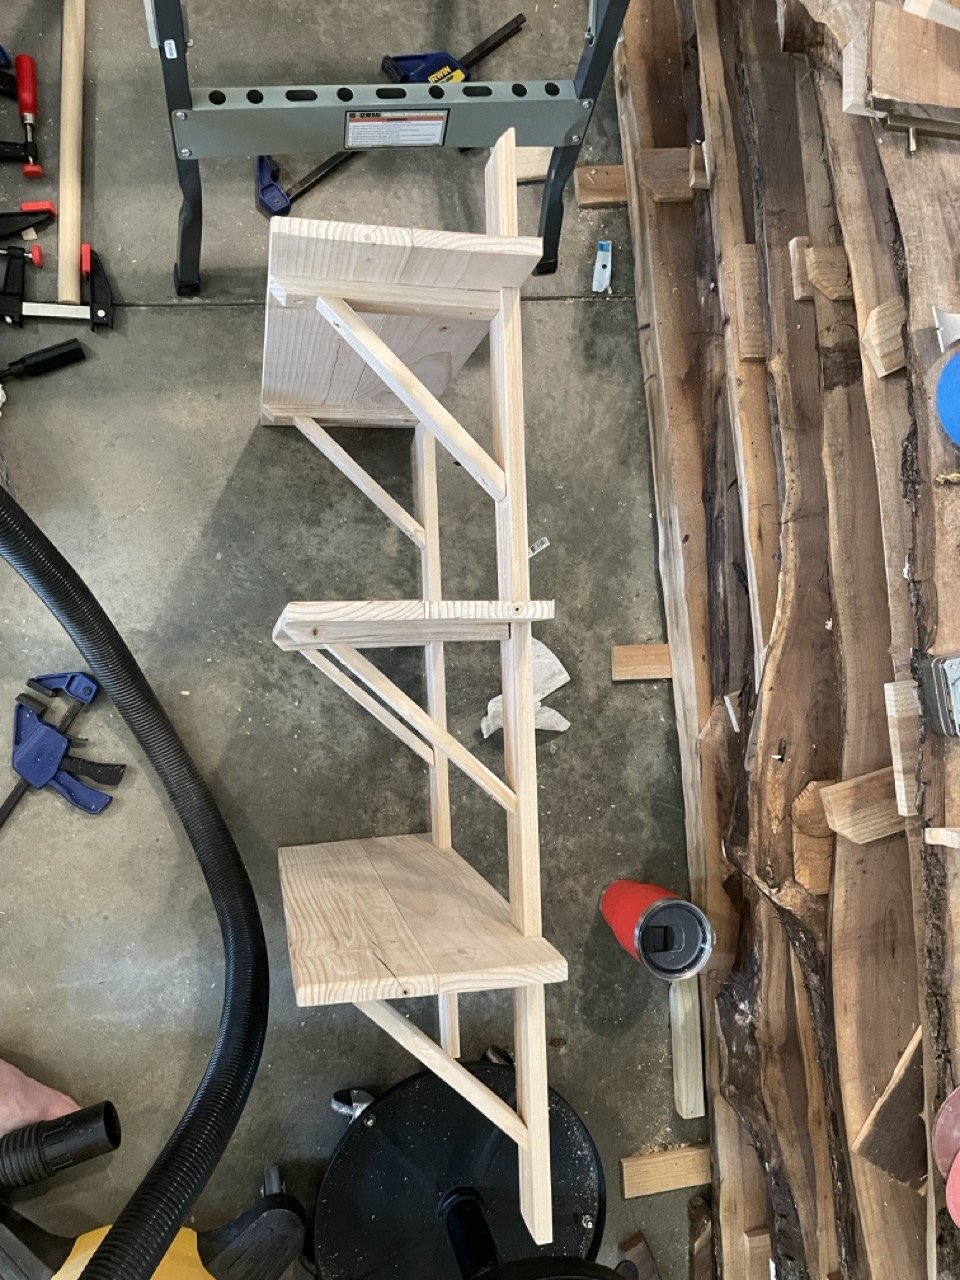
After getting the pieces sanded, I cut the angles for the bottom supports. These short pieces go underneath the shelf to tie the two boards together. I wanted to make the edges beveled on the front to make it look cleaner.
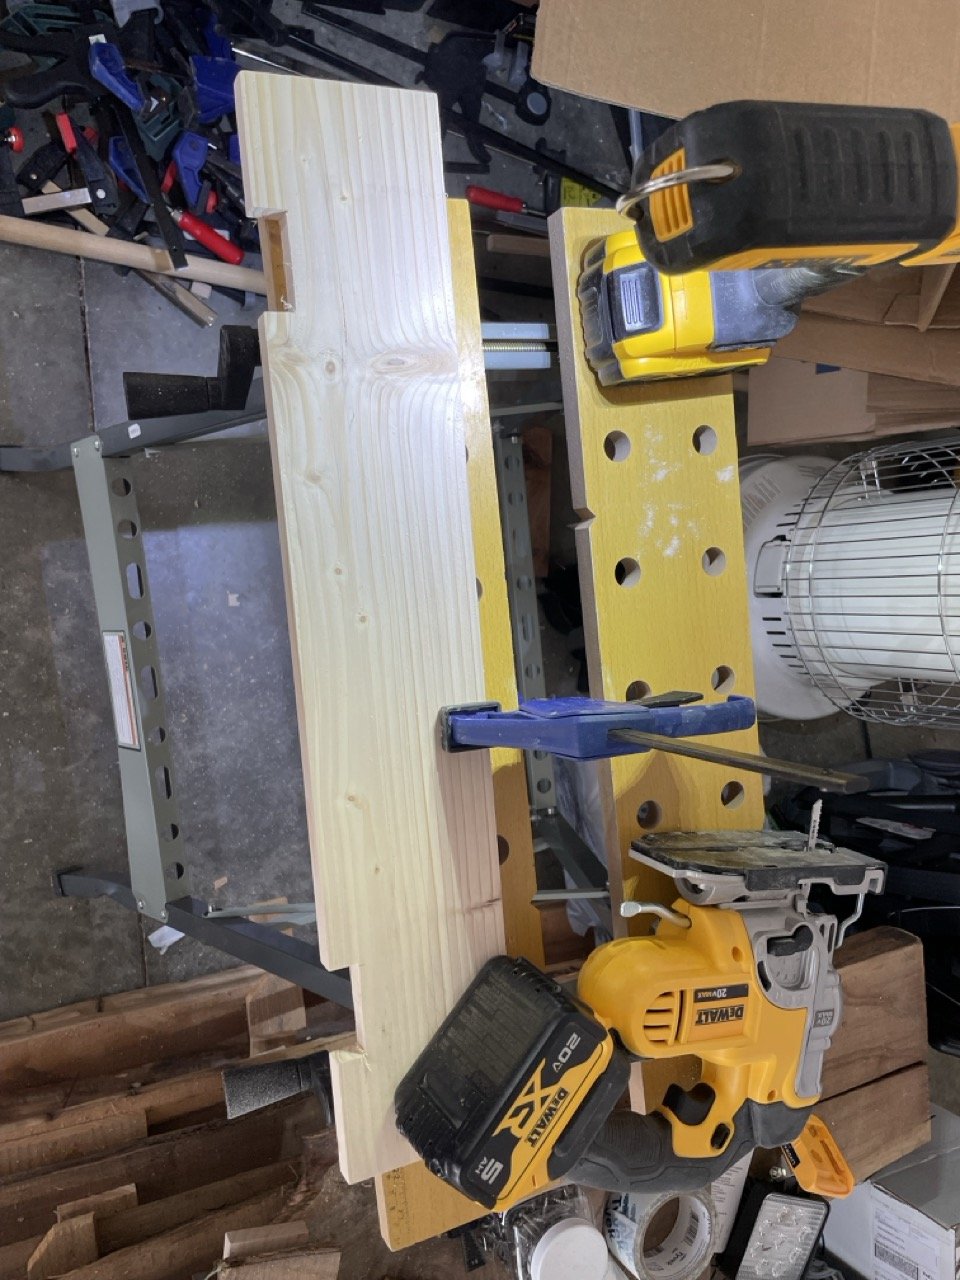
For the back of the shelf, I also cut out notches for the vertical rails to sit in. Again, if anyone is interested, I’m happy to pose tools with work for sponsorship! This jigsaw worked like a champ for cutting out the holes.
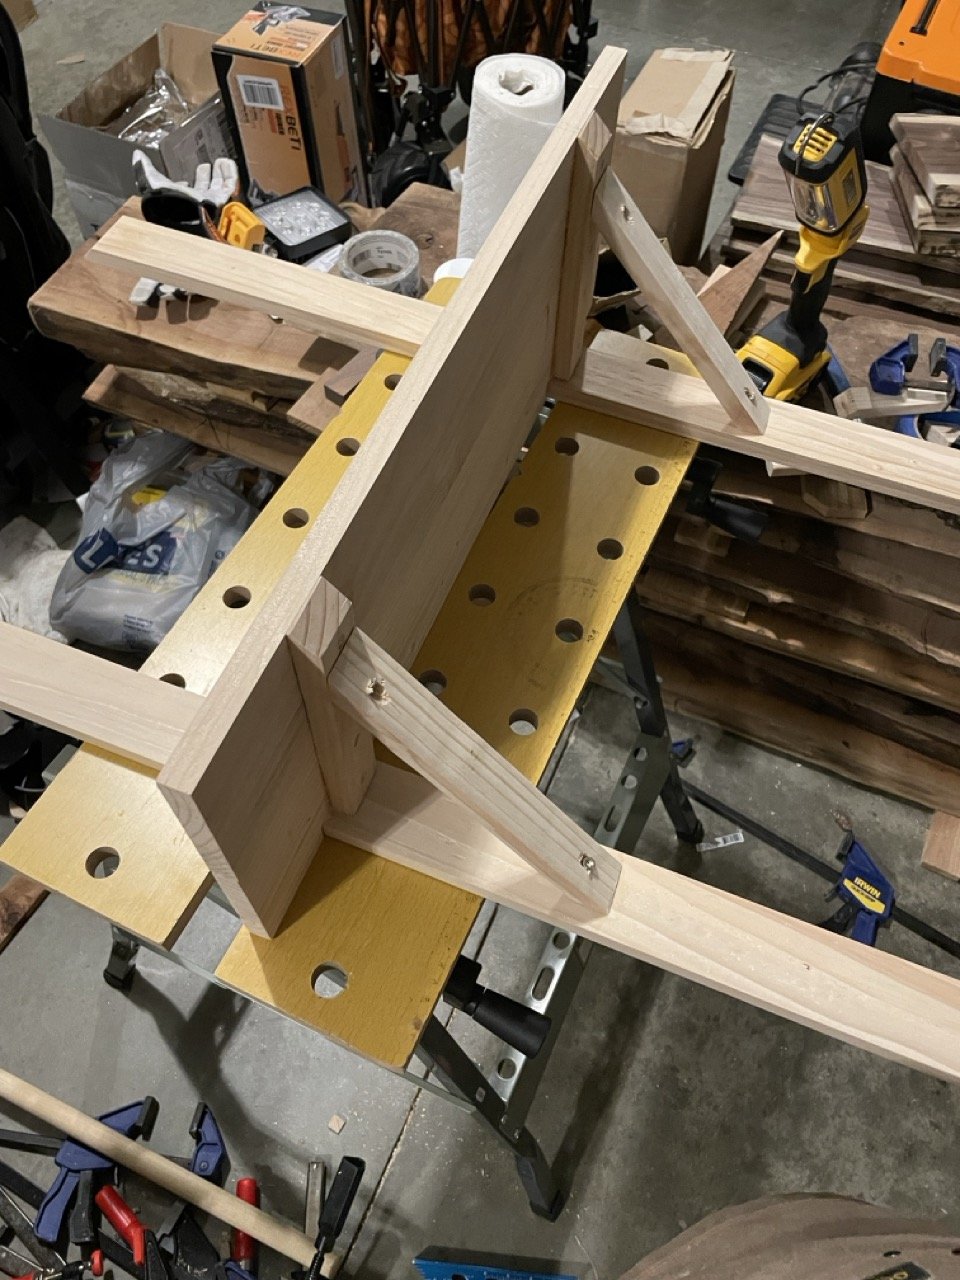
After I had all of the initial angles cut, it was time to build the individual shelves. This was pretty straightforward. I was going to do some fancy biscuit joins, but realized that it was overkill and a few screws would be sufficient. I ended up running through clamps really fast though.
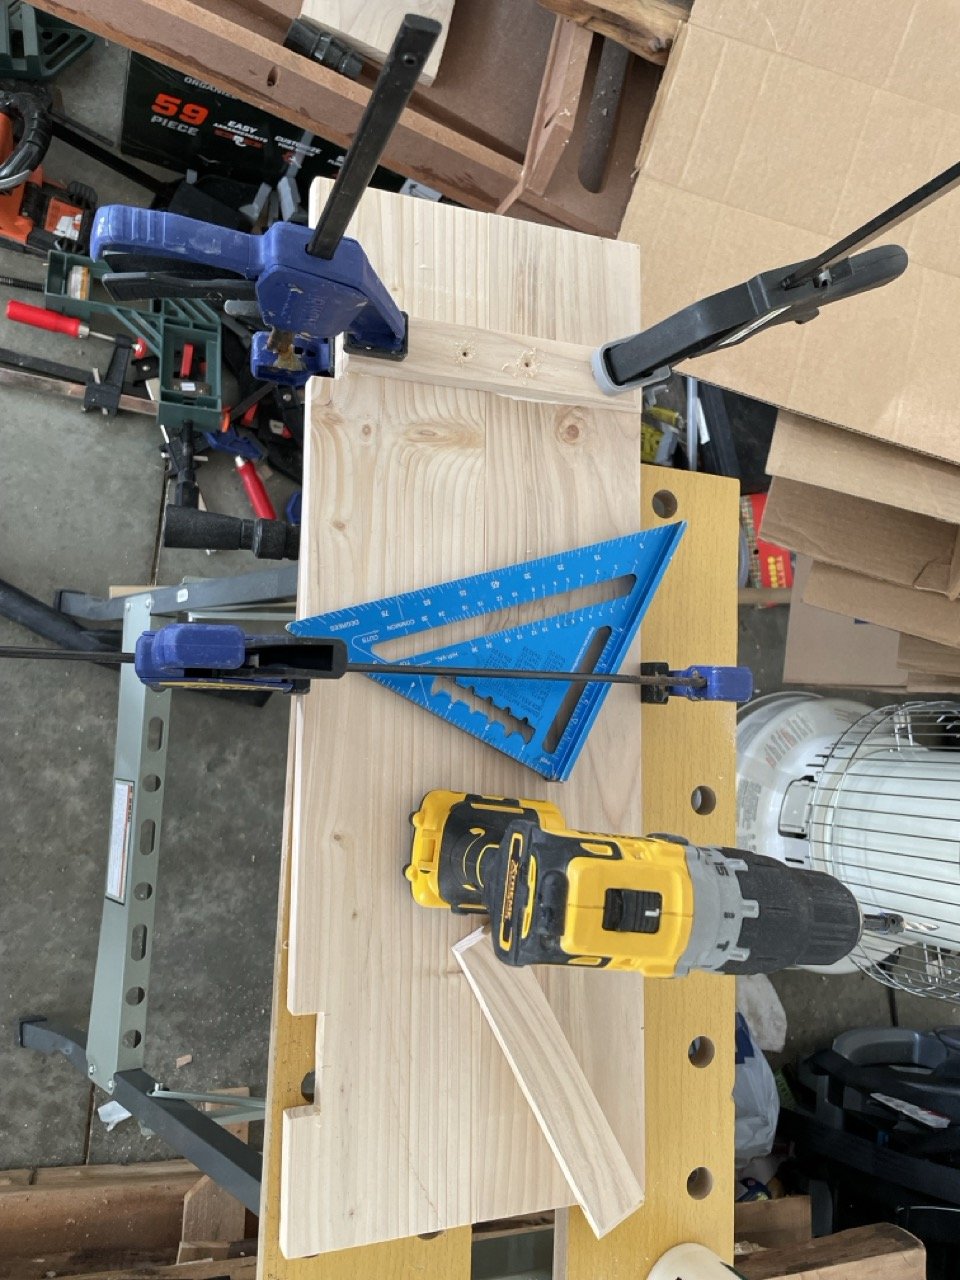
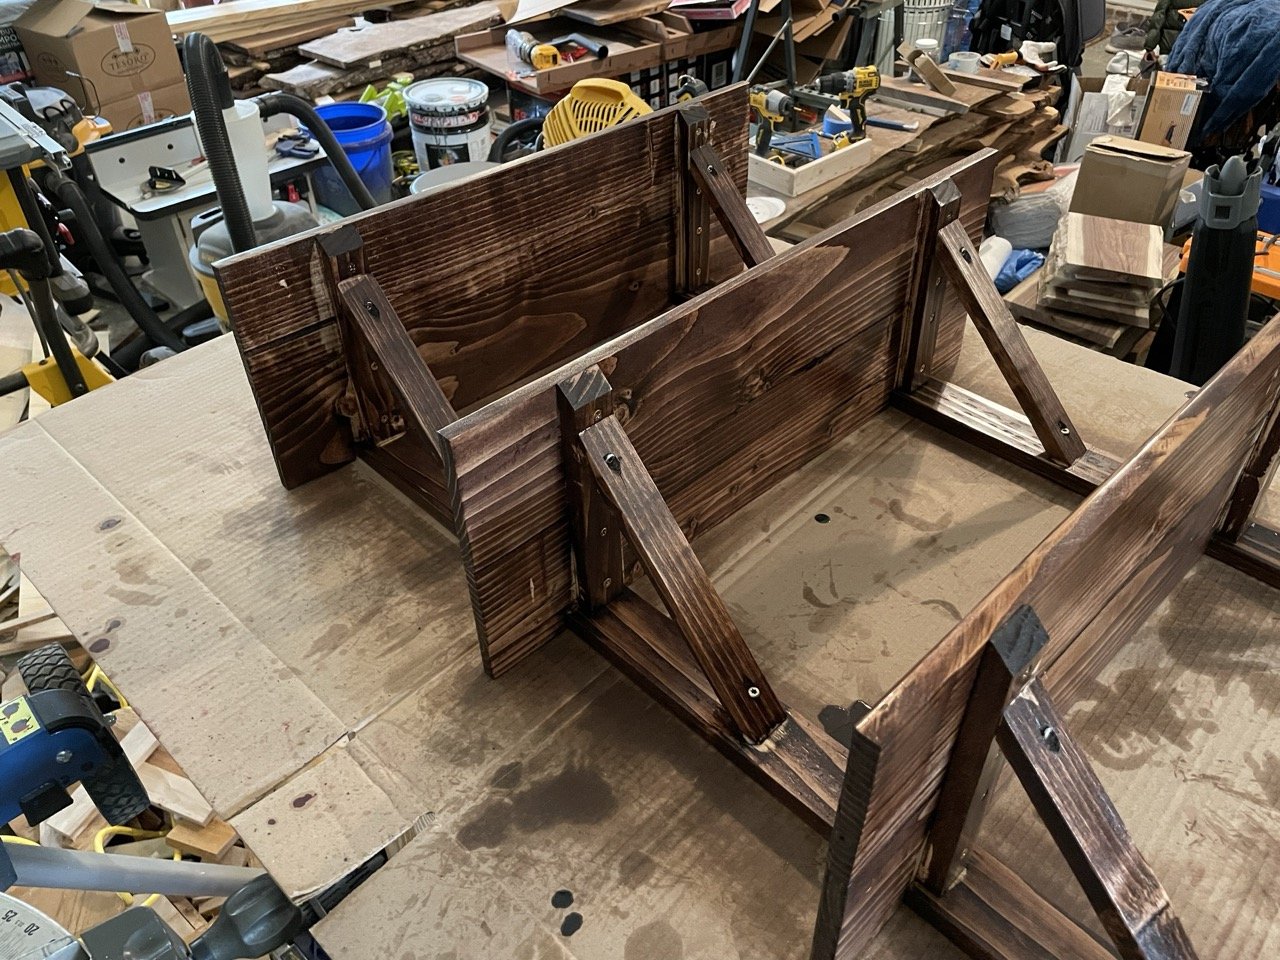
Don’t go and start making fun of my funky hole drilling for the angled bottom supports. It’s shockingly tricky to clamp this square AND get the hole drilled the right way. I bet I could do it better if someone wanted to sponsor their drill here though! hehe
Overall, I’m pretty happy with how this turned out. It had a few places where I wish I had done something different, but overall it looks better than any of those parts in the box that kicked this whole thing off.
The finishing of this shelf got away from me. I should have used a lighter stain to avoid some of it, but I was able to smooth it out a lot. This picture actually seems to make it look worse. After staining, I put a few coats of danish oil on it for some protection.
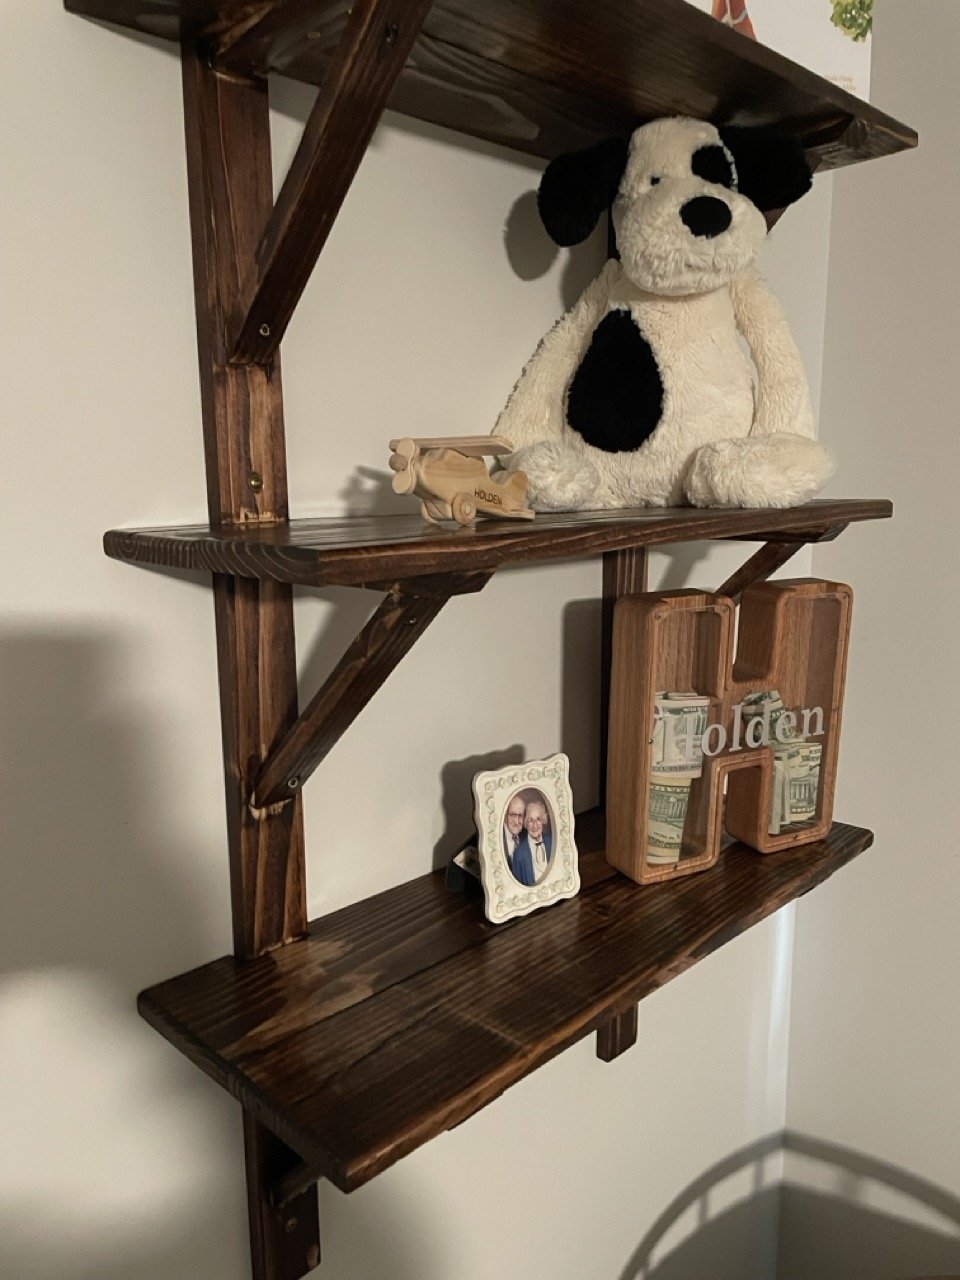
I was excited to get this on the wall! I’m really happy with how this looks and it should stand up any abuse that Holden can throw at it.


